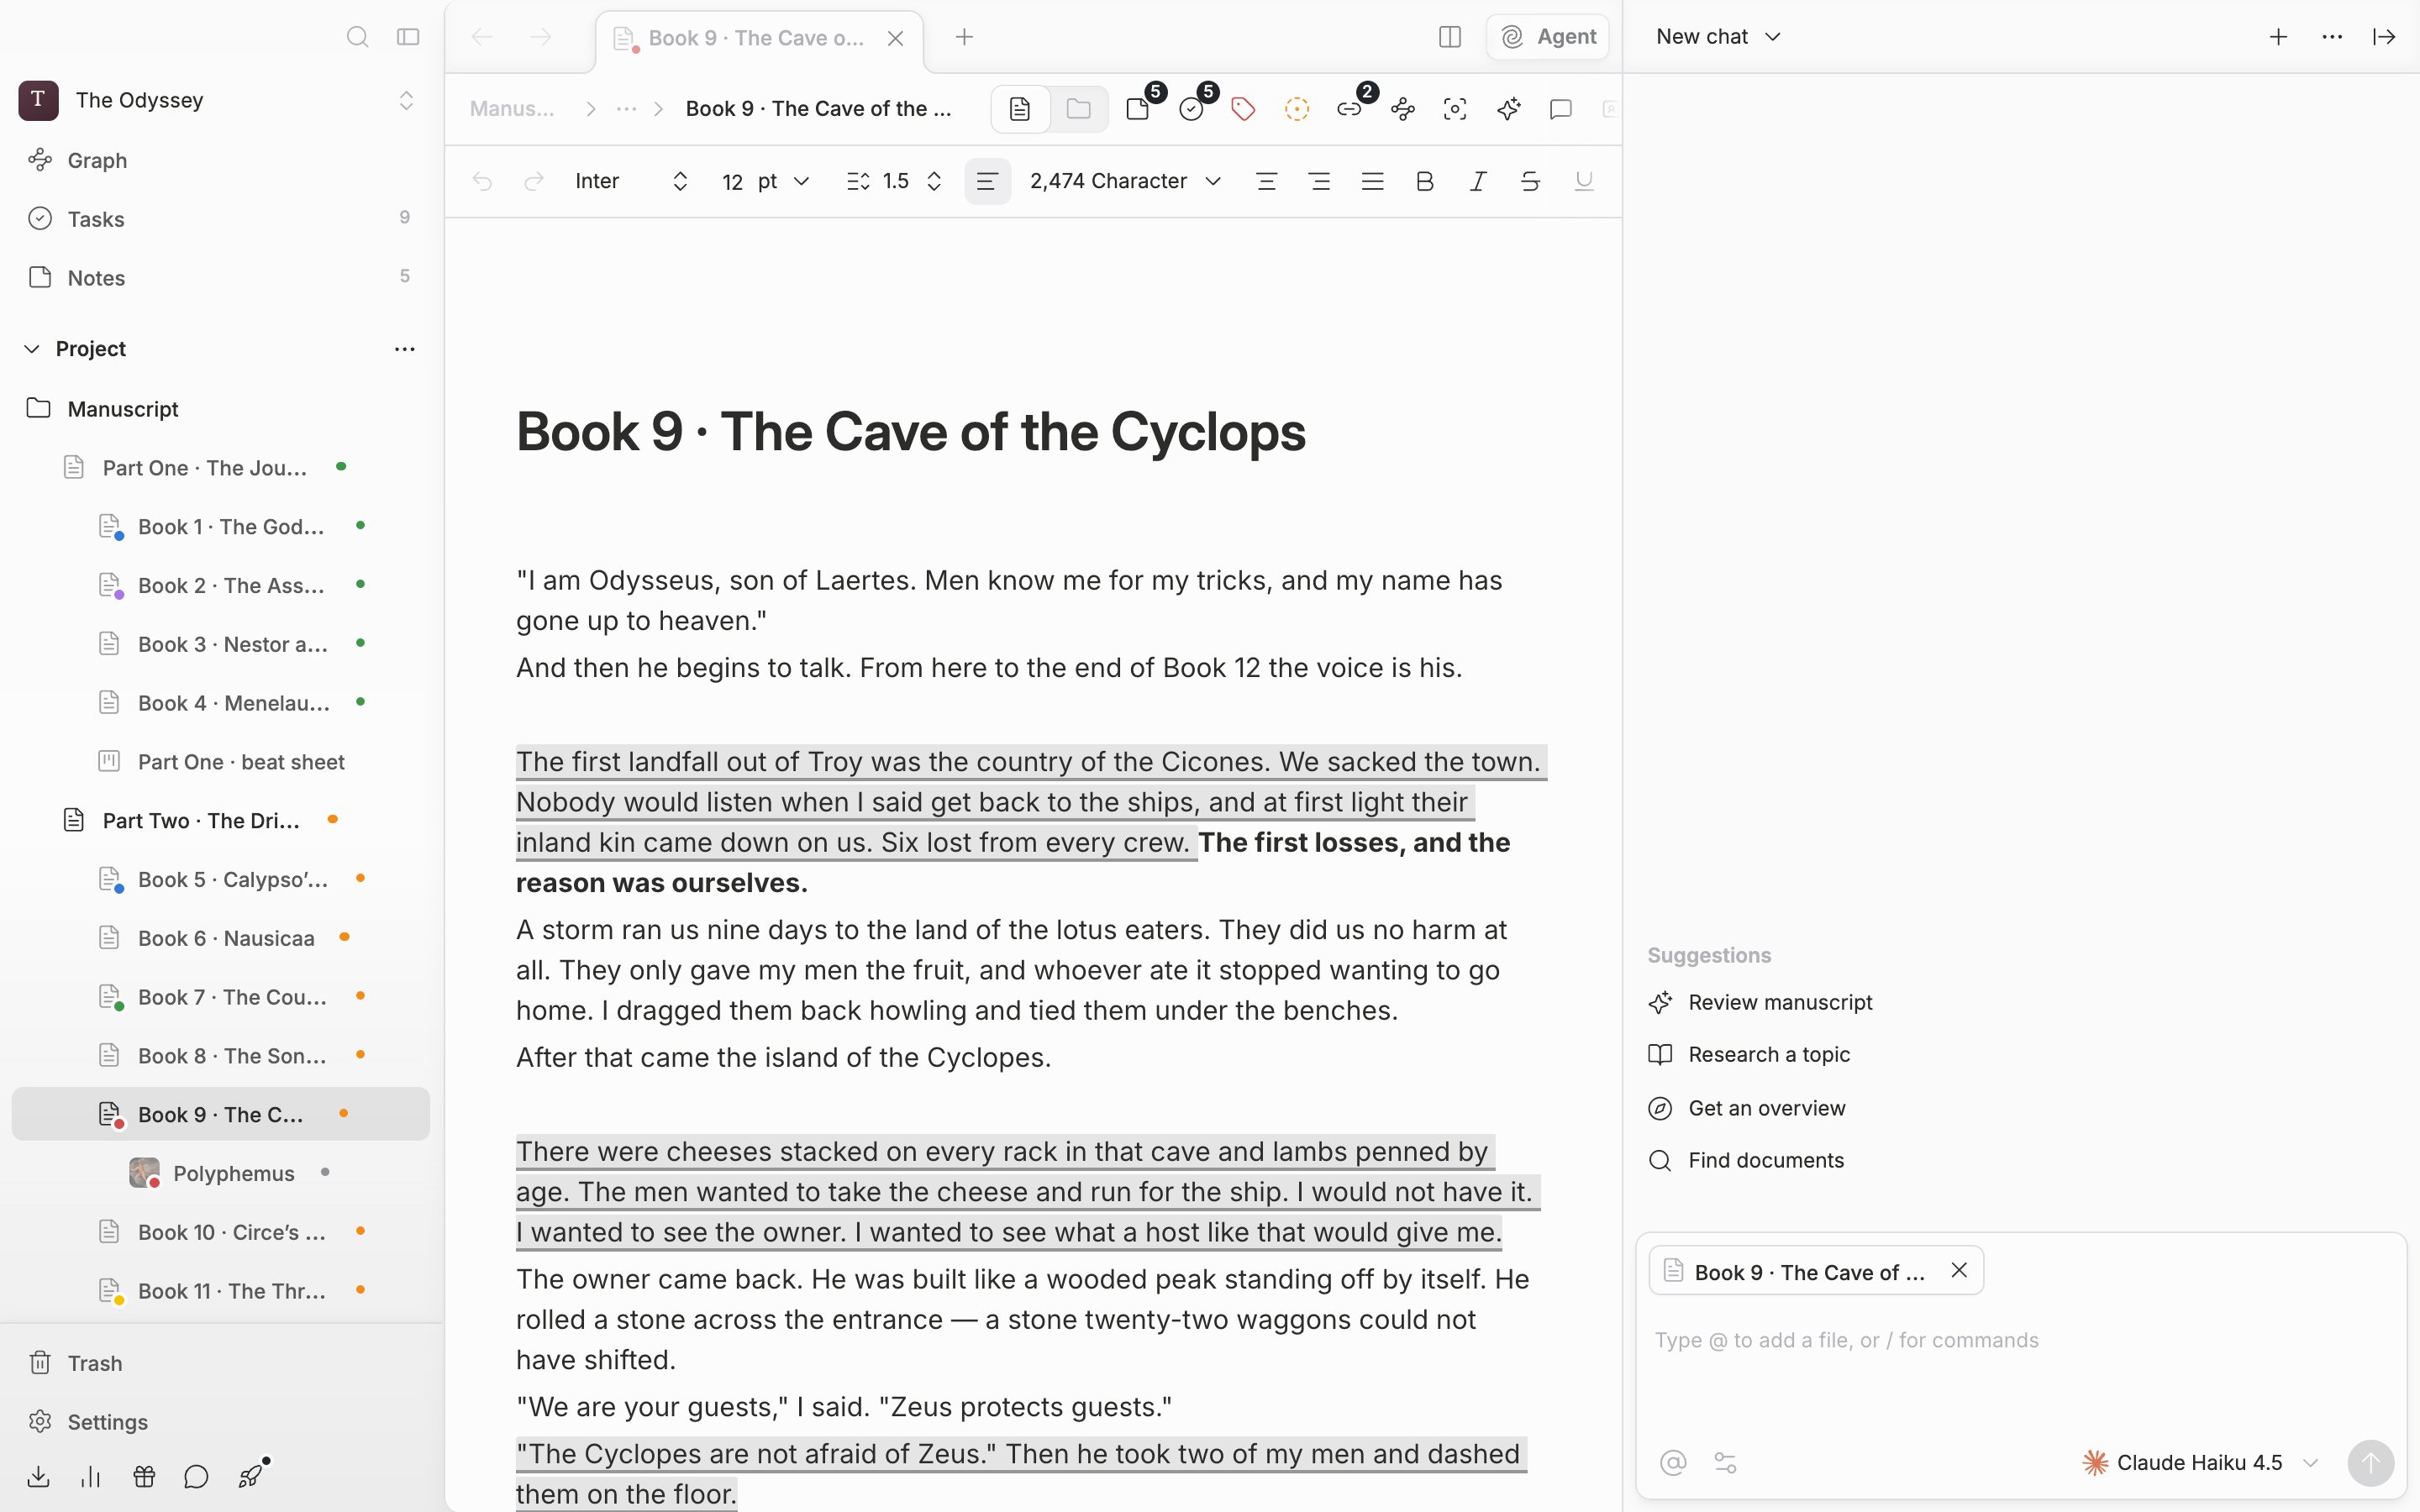
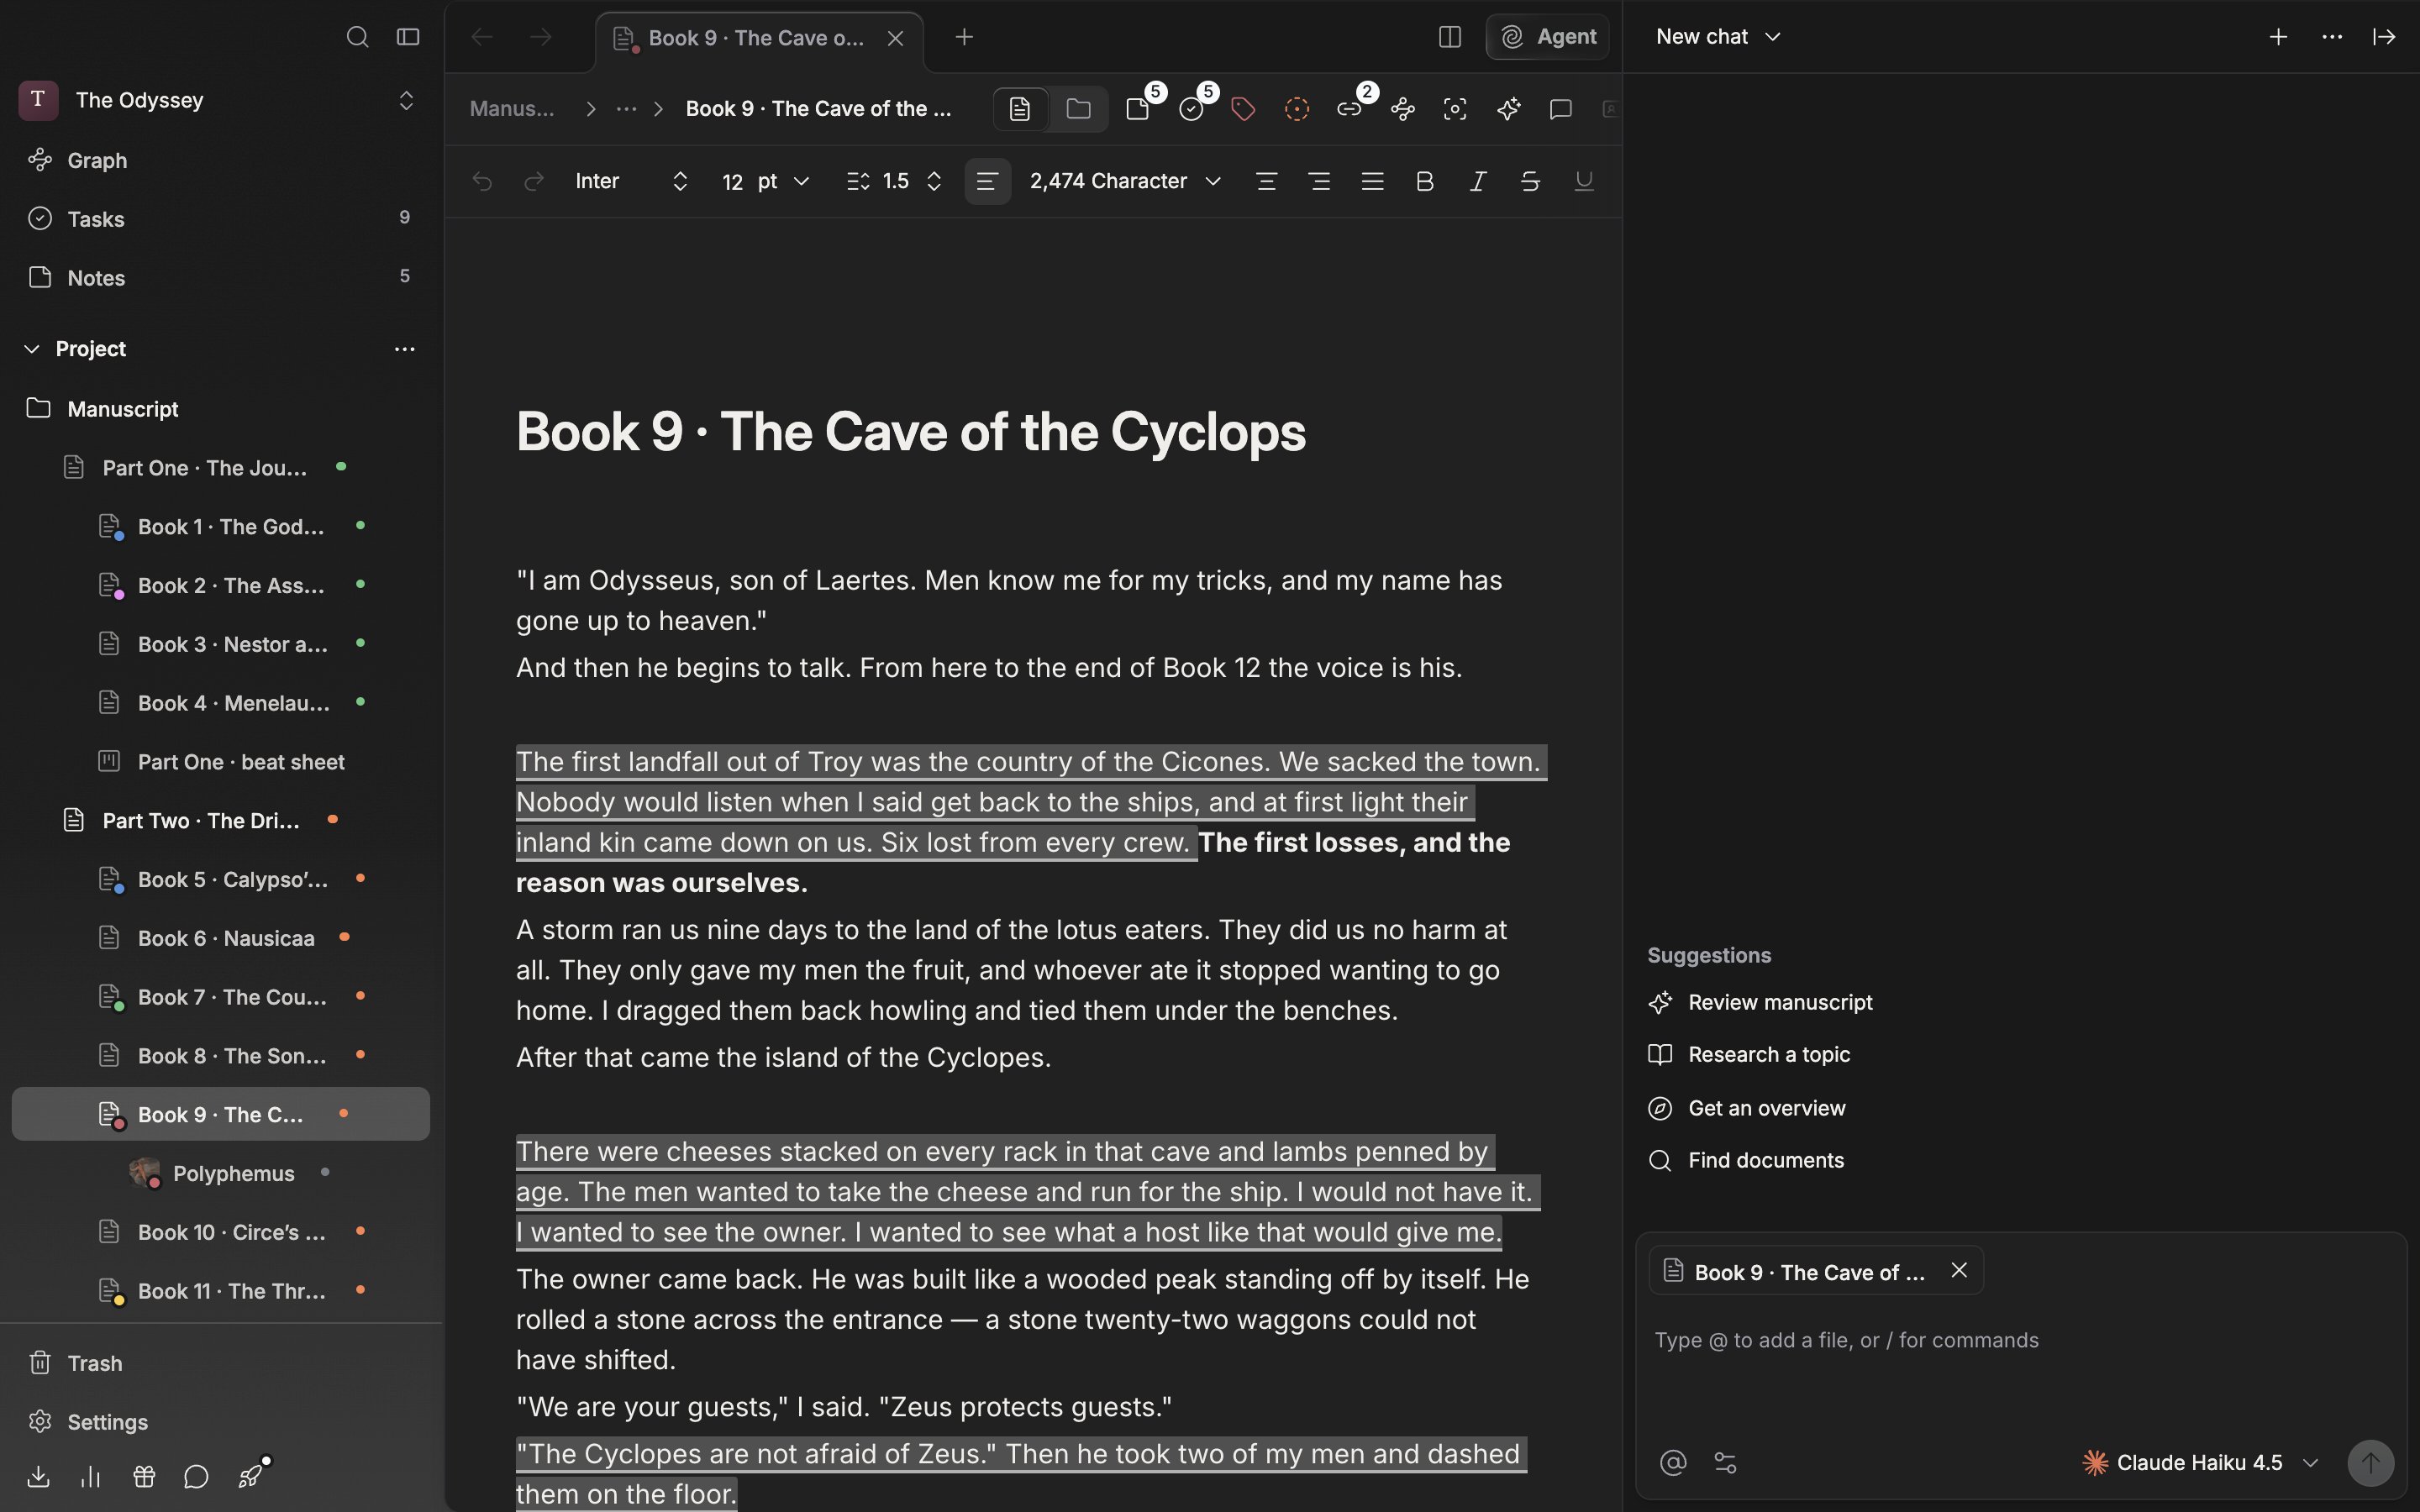
The agent panel, opened against the right side of the manuscript.
## Attaching context Files you have open in the focused window are attached as chips from the start. Once you edit the context yourself, it stops following along until you send the next message. After you send, the chips you added by hand drop out and only the open-file chips reattach and follow the window again. The same goes when you open a new chat. Press the at-sign (@) button below the composer (**Add context**) and the project's file list opens. Narrow it down with the **Search...** field and click, and chips stack up above the composer. Press a chip and that file opens; the X beside it removes the chip. You can pick folders too, and they expand into the files inside them when you send. When there is nothing to pick, it says **No items available**. Typing `@` in the composer brings up the same list. Picking this way embeds the file name in your sentence, and deleting that name takes it out of the context as well. ## Sending the first request When the conversation is empty, **Review manuscript**, **Research a topic**, **Get an overview**, and **Find documents** appear under **Suggestions**. Pressing one only fills the sentence into the composer and does not send it right away, so edit it as it stands. The gear button's **Mode** has three settings. **Default** is "Can search, edit, and more", **Ask** is "Answers only, won't make edits", and **Plan** is "Plans first, then executes after approval". If you do not want it touching the manuscript yet, start with **Ask**. Any mode other than Default is written on the button as **Ask mode**. `Enter` sends and `Shift + Enter` breaks the line. While it is answering, you can halt it with **Stop**. In Default mode, an approval card comes up first when it tries to create or edit a file, and you pick from **Accept once**, **Allow for this session**, **Always allow**, and **Reject**.