> ## Documentation Index
> Fetch the complete documentation index at: https://docs.pensiv.so/llms.txt
> Use this file to discover all available pages before exploring further.
# How far agent instructions reach
> You can write down what you want to tell the agent in advance, project by project. Here is how far those instructions follow along and who can change them.
Every project has its own prose style and its own forms of address for characters. Instead of explaining that over again every time you open a conversation, there is a place to write it once and keep using it.
With a project open, go into **Settings** and pick **Agent** from the list, and you see the **Project agent** group. Its description is "Instructions and data sharing for the agent in this project. These layer on top of the workspace instructions." Inside are two rows, **Share data to improve AI** and **Instructions**, and this page looks at the lower one, **Instructions**.
## Only inside this project
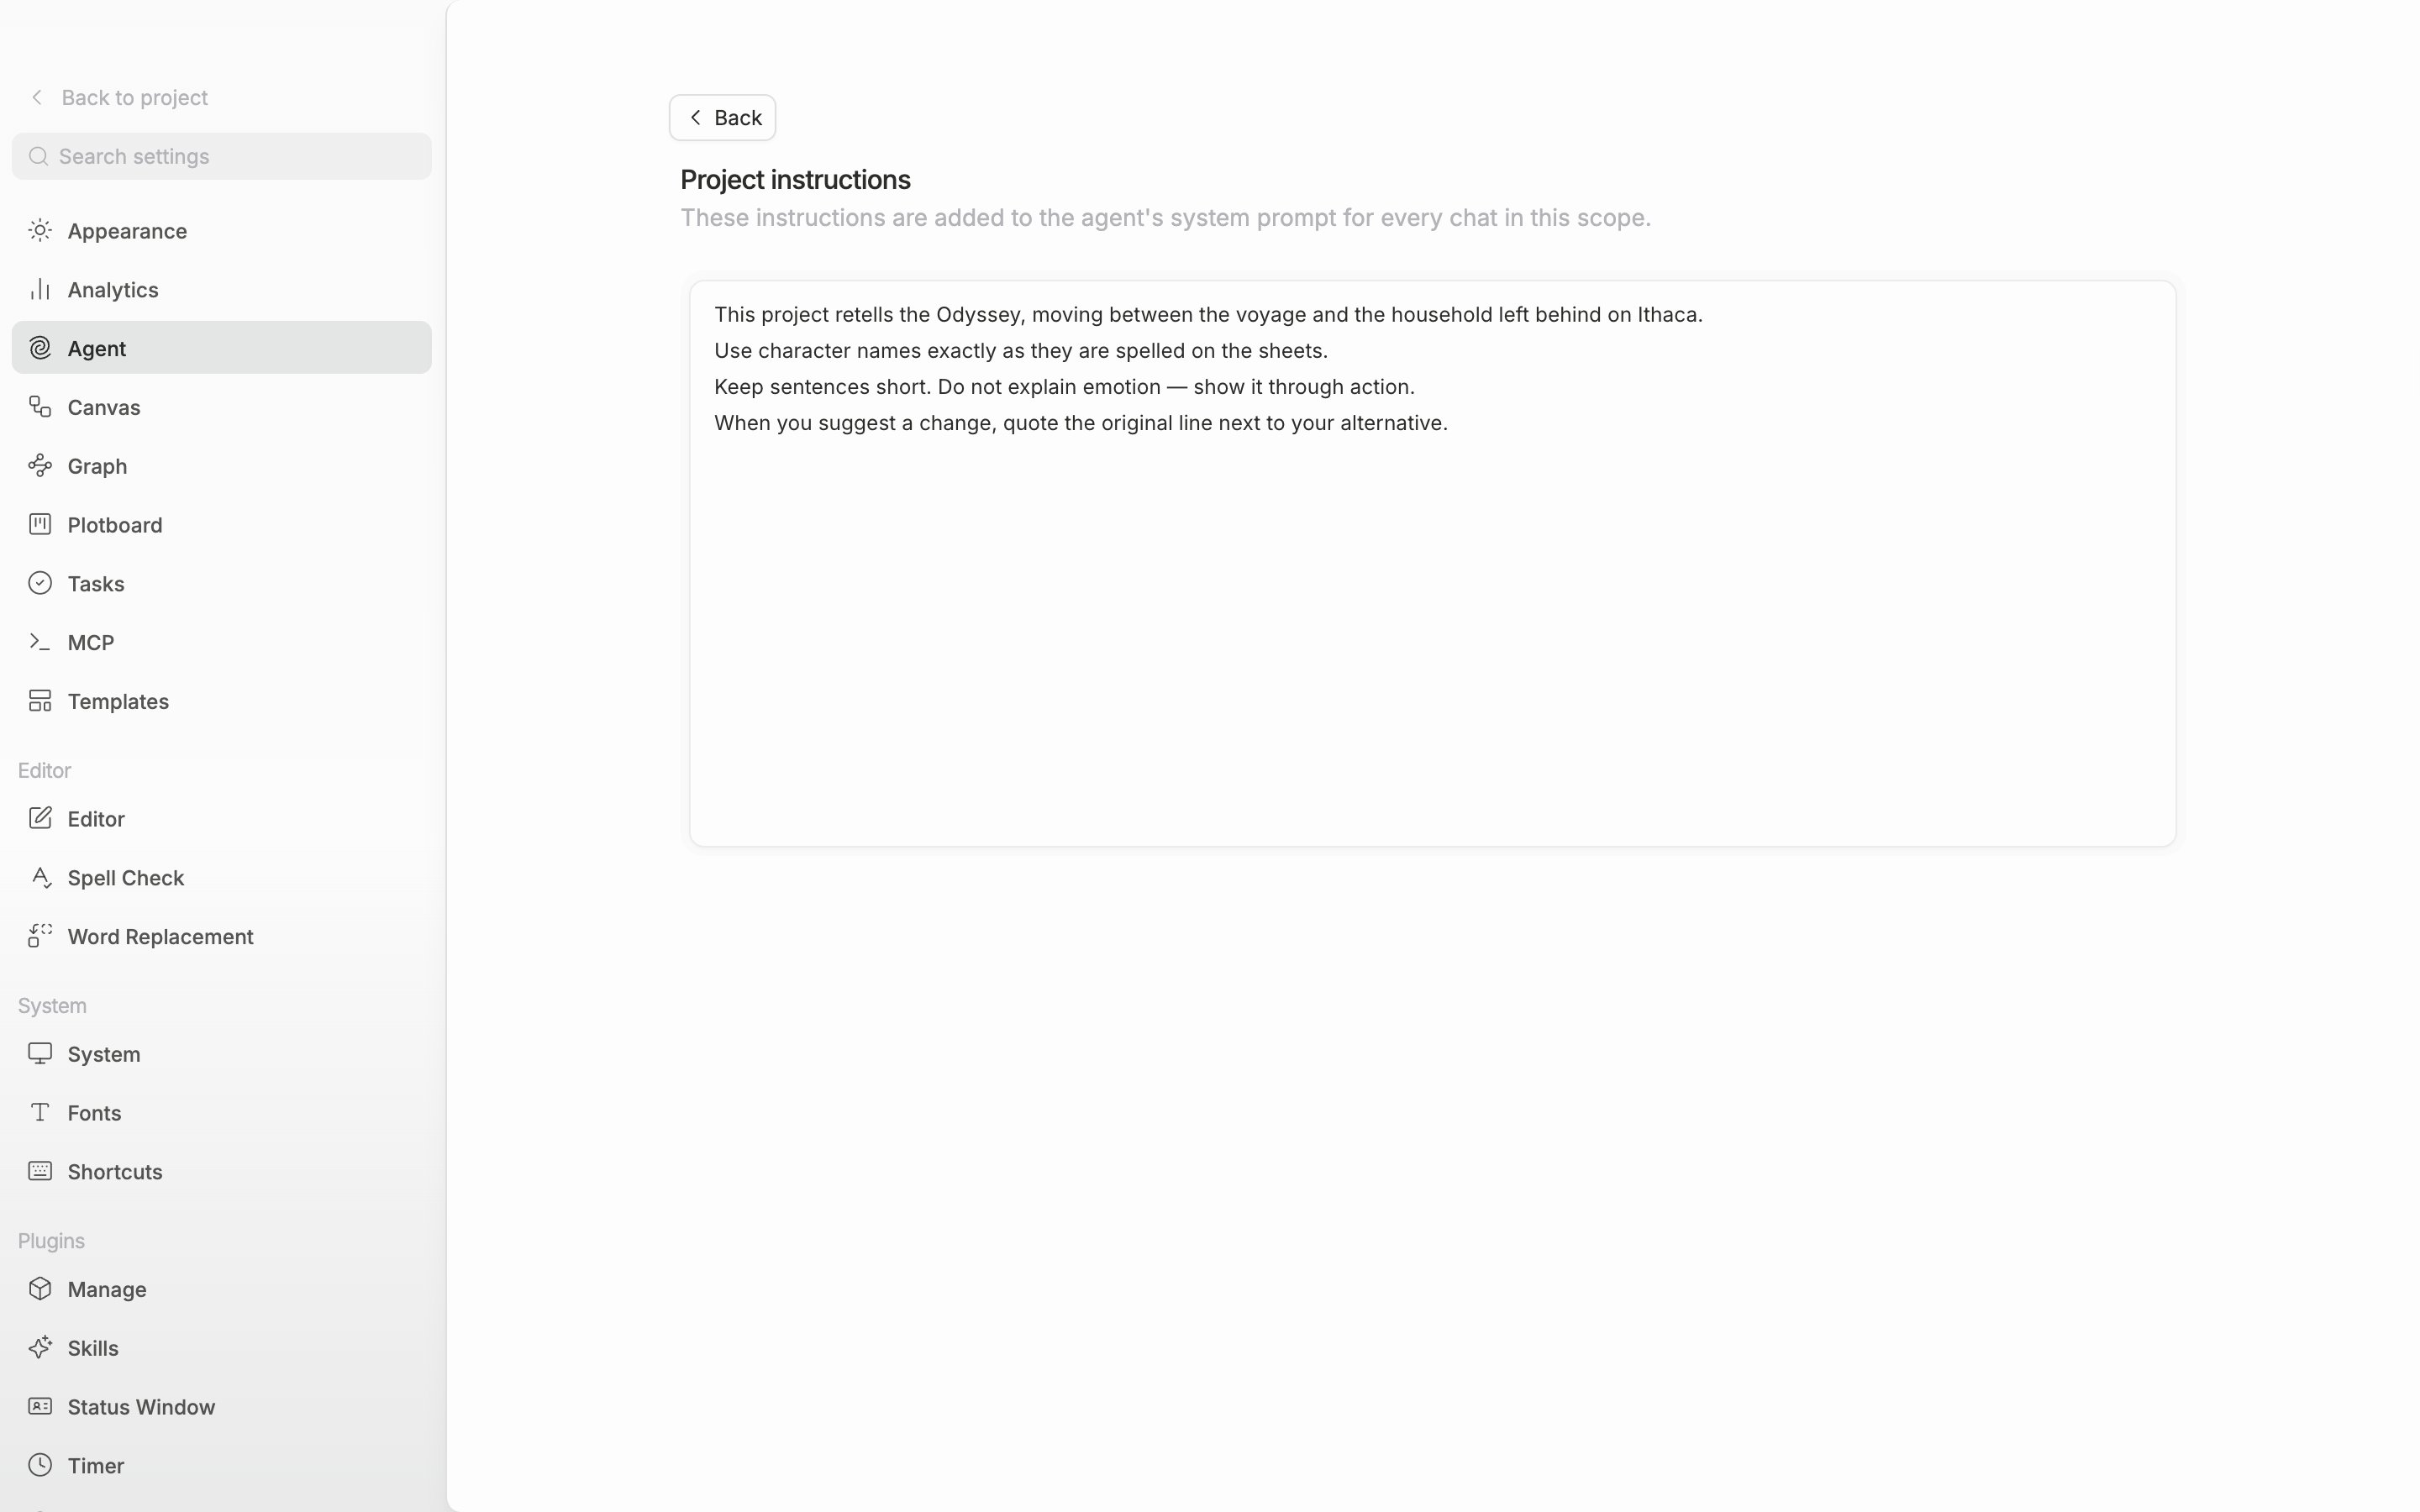
The button at the right of the **Instructions** row is **Add** when nothing has been written and **Edit** when something has. Press it and the edit screen opens with the title **Project instructions**. Below that it reads "These instructions are added to the agent's system prompt for every chat in this scope."
What you write here is attached to every conversation you open in this project. In return, it does not follow you to another project. If you are writing a period piece and a contemporary one side by side, you have to write each separately. The Instructions row previews the first part of what you saved as a single line, so you can tell which rules are in force without opening it.
## What to write
The empty editor's guide text is "Describe how the agent should write — tone, focus, constraints, terminology…". Put in manuscript terms, that comes to narrative point of view and tense, how characters speak, how names of people and places are written, and the clichés you want avoided. It takes up to 8,000 characters. Go over and it is cut off along with a **Character limit exceeded** notice.
It saves on its own when you stop typing. Leaving by way of **Back** at the top of the screen keeps what you were writing.
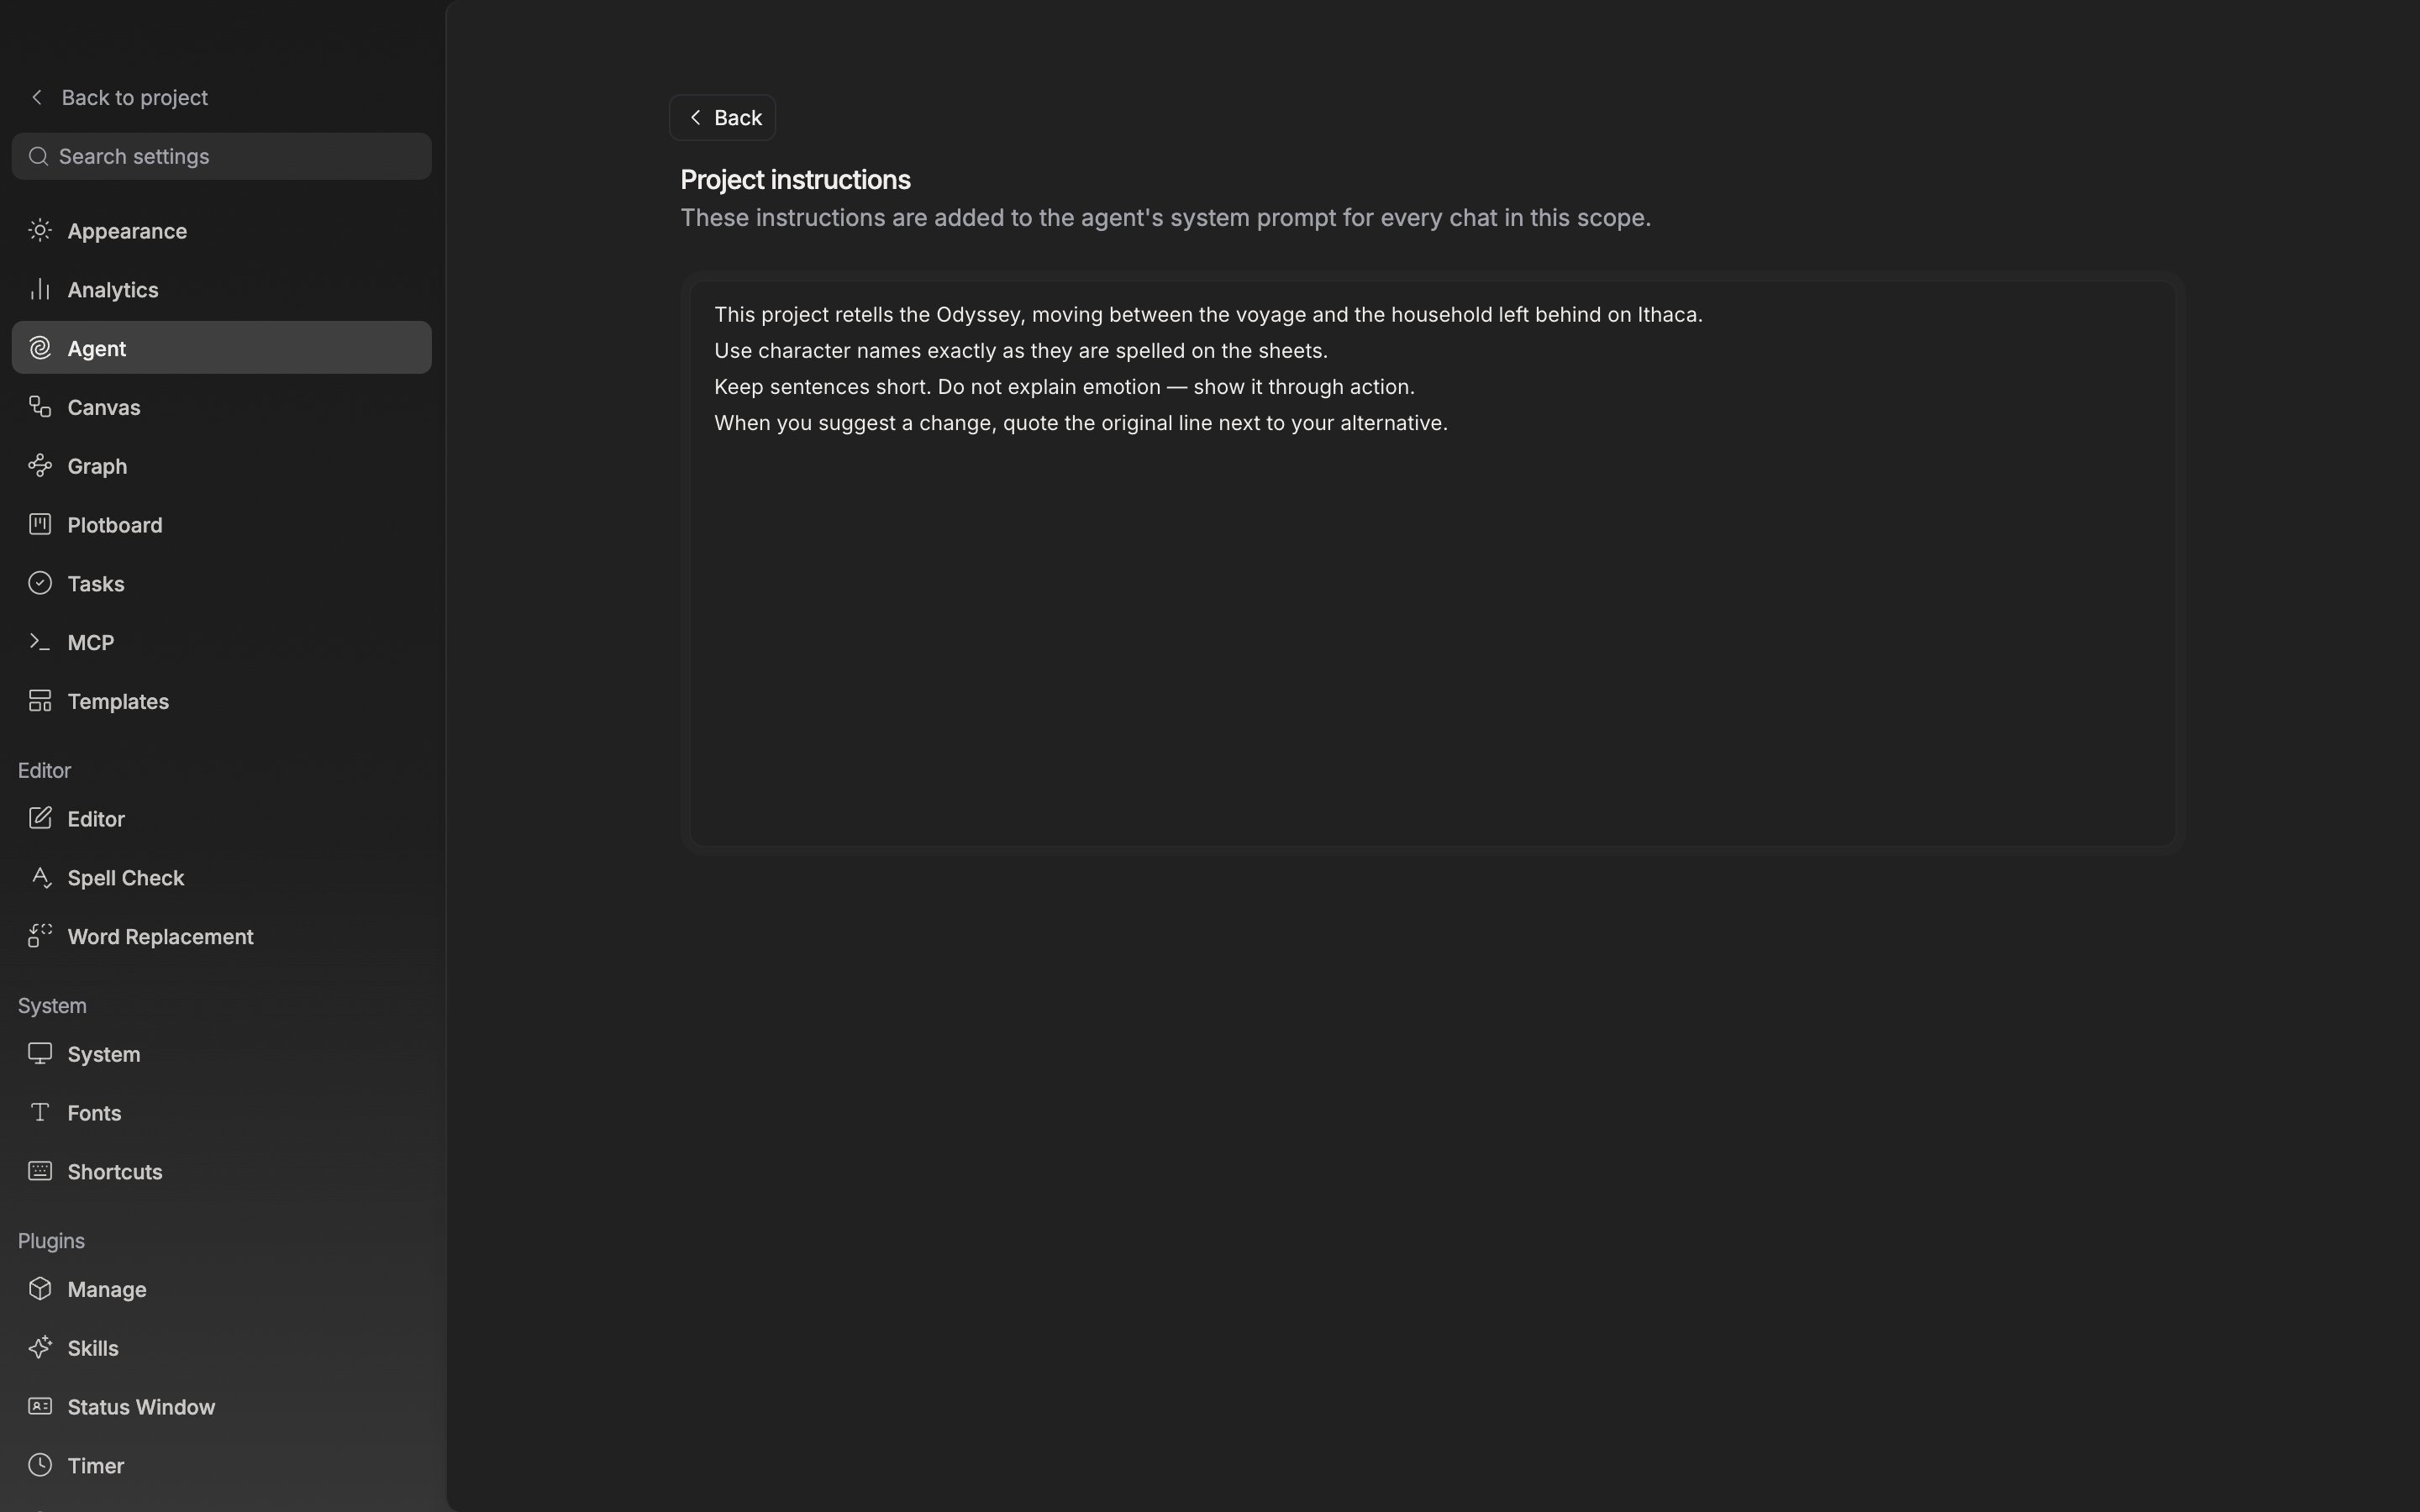
The project instructions edit screen. What you write here is attached to every conversation in this project.
## Who can change it
Only project owners and admins can change it. Without the permission, the button turns into **View** and "Only project owners and admins can change these." is attached below the card. Reading the contents is still allowed.
The workspace instructions mentioned in the section description cannot be edited separately in the current settings screen. The one scope you can write for yourself is the project.