

Save as template
You can turn documents, sheets, plotboards, canvases, and folders into templates. Pick Save as template from the More menu at the far right of the file header, or right-click the file in the sidebar and go to Save as template under Template. If you have several items selected, the same entry appears in the bulk menus on the folder screen and in the sidebar. What you picked is bundled into one template. Even if you pick a folder together with the files inside it, they are tidied into a single folder. When the dialog opens, type a template name and press Save template. If the name is empty, the save button cannot be pressed. The Include child files switch appears only when the file you picked has children under it, and it is on from the start. Turn it off and only the file you picked is captured.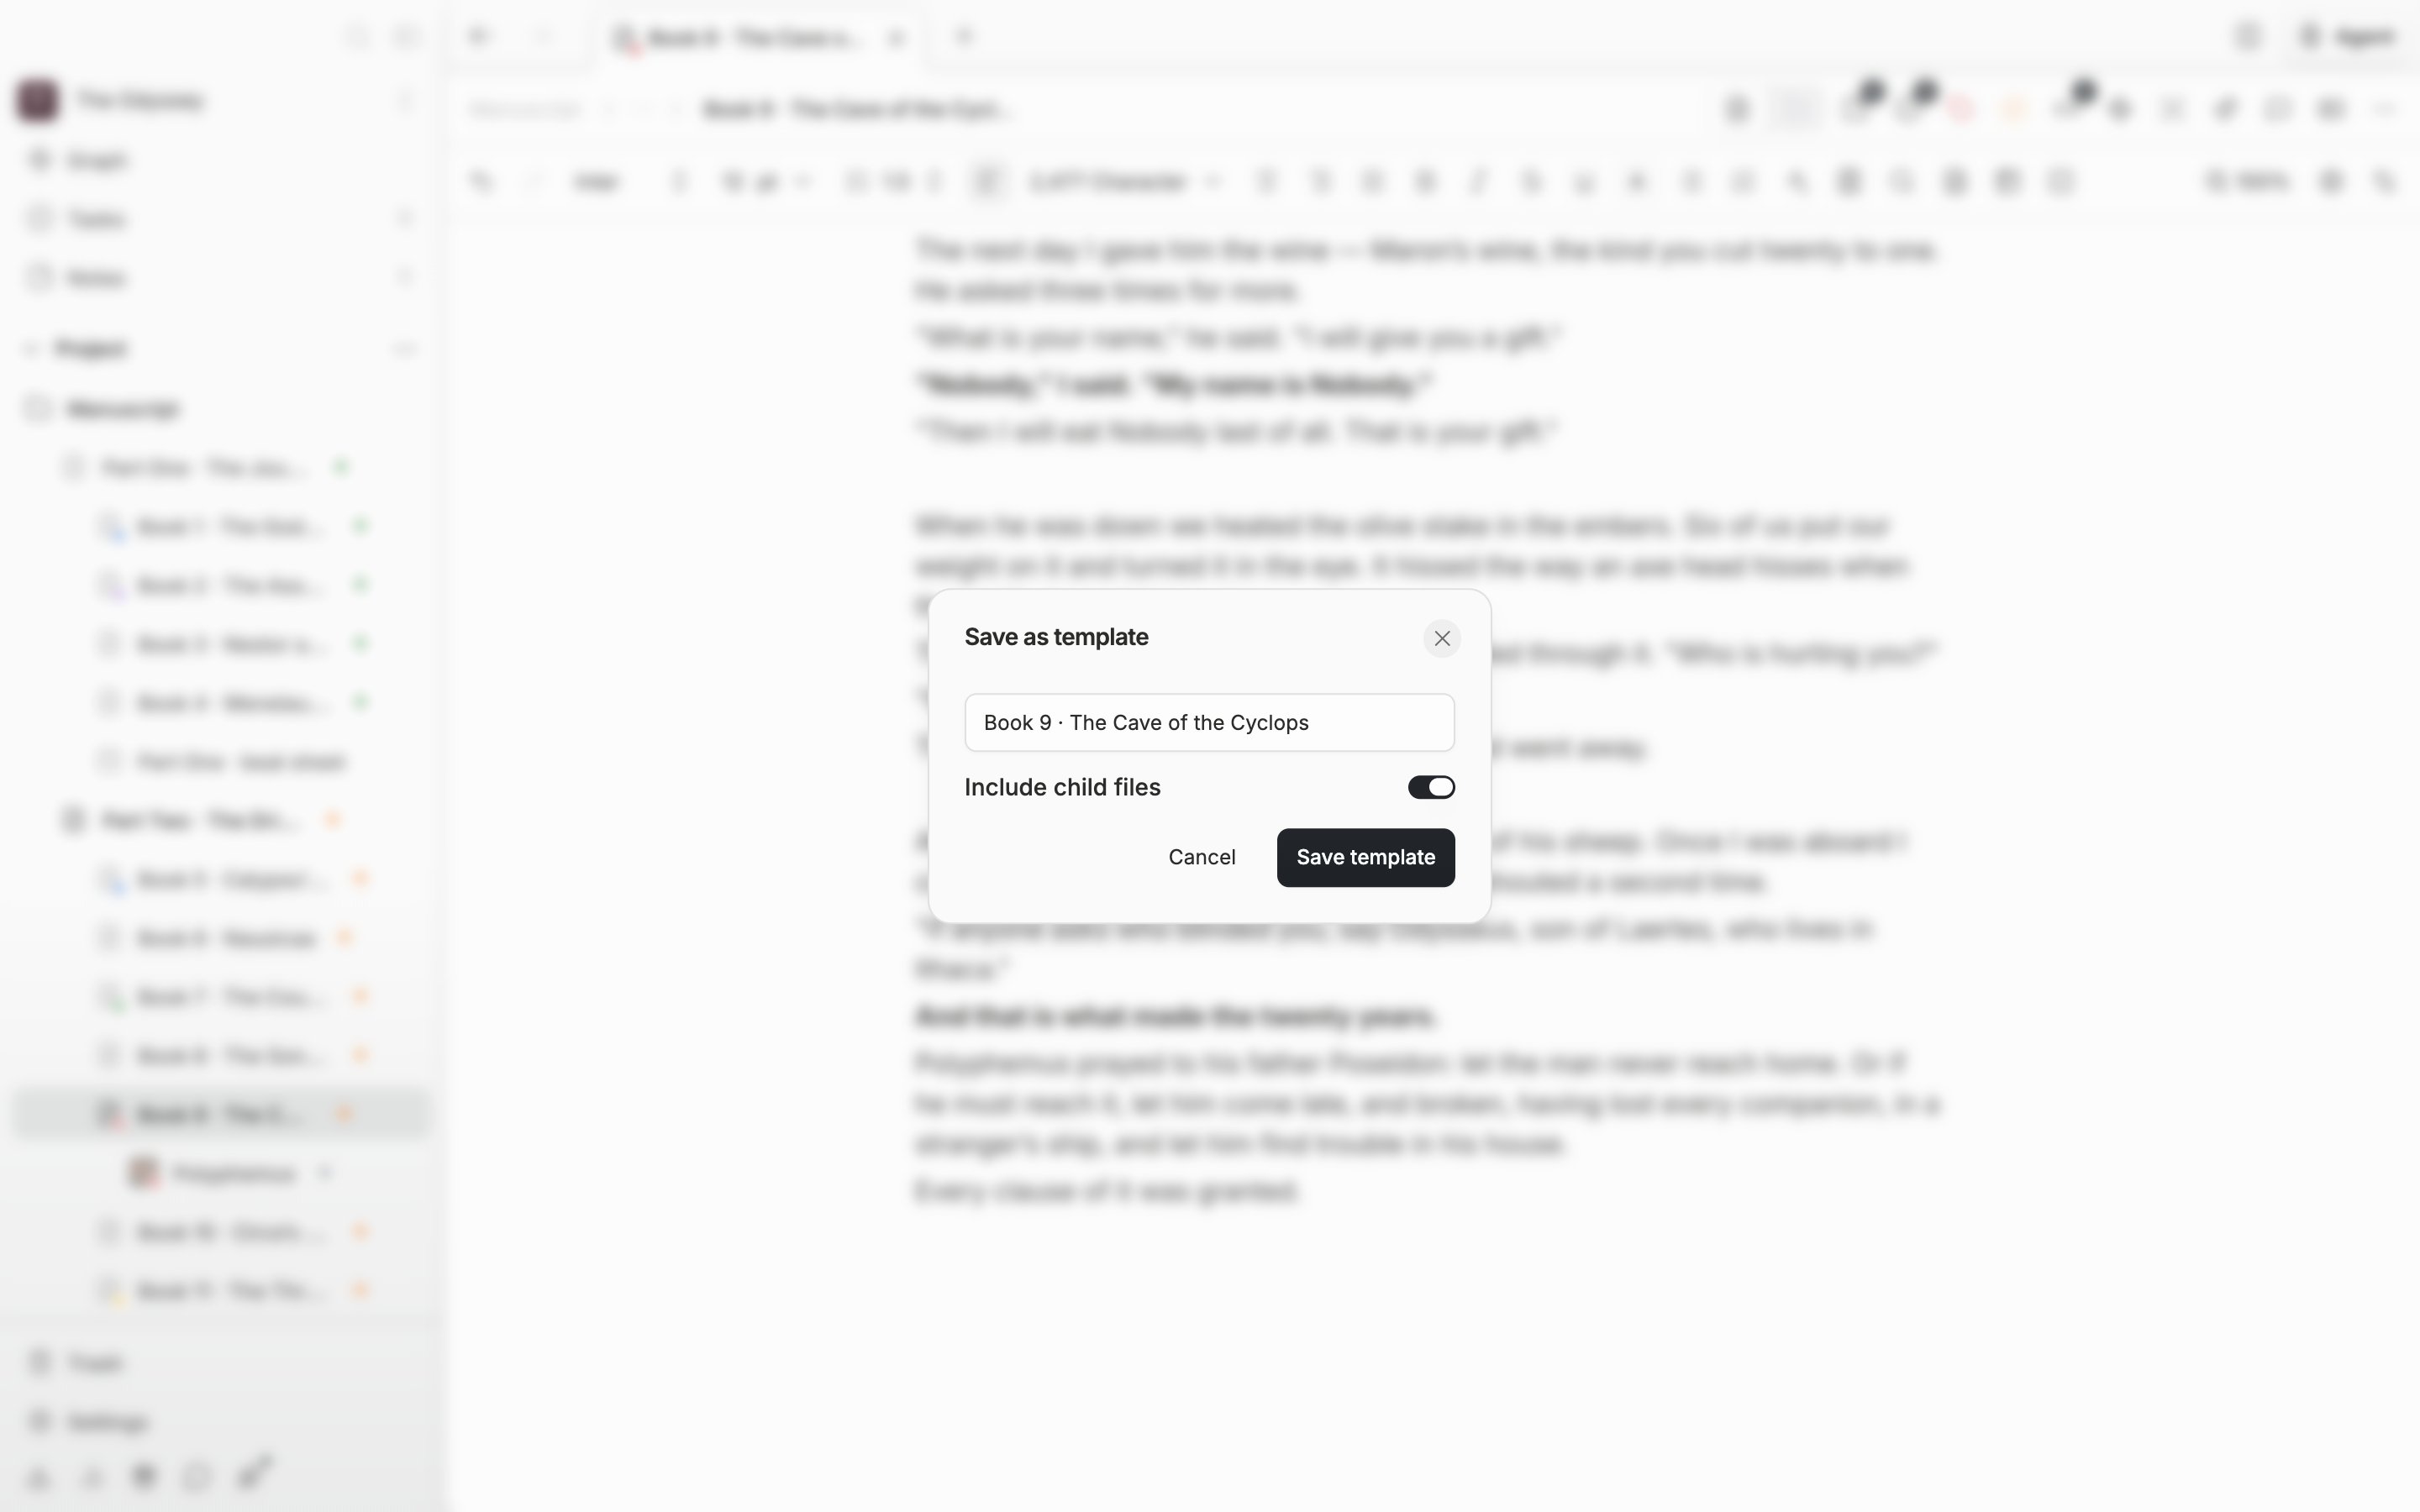
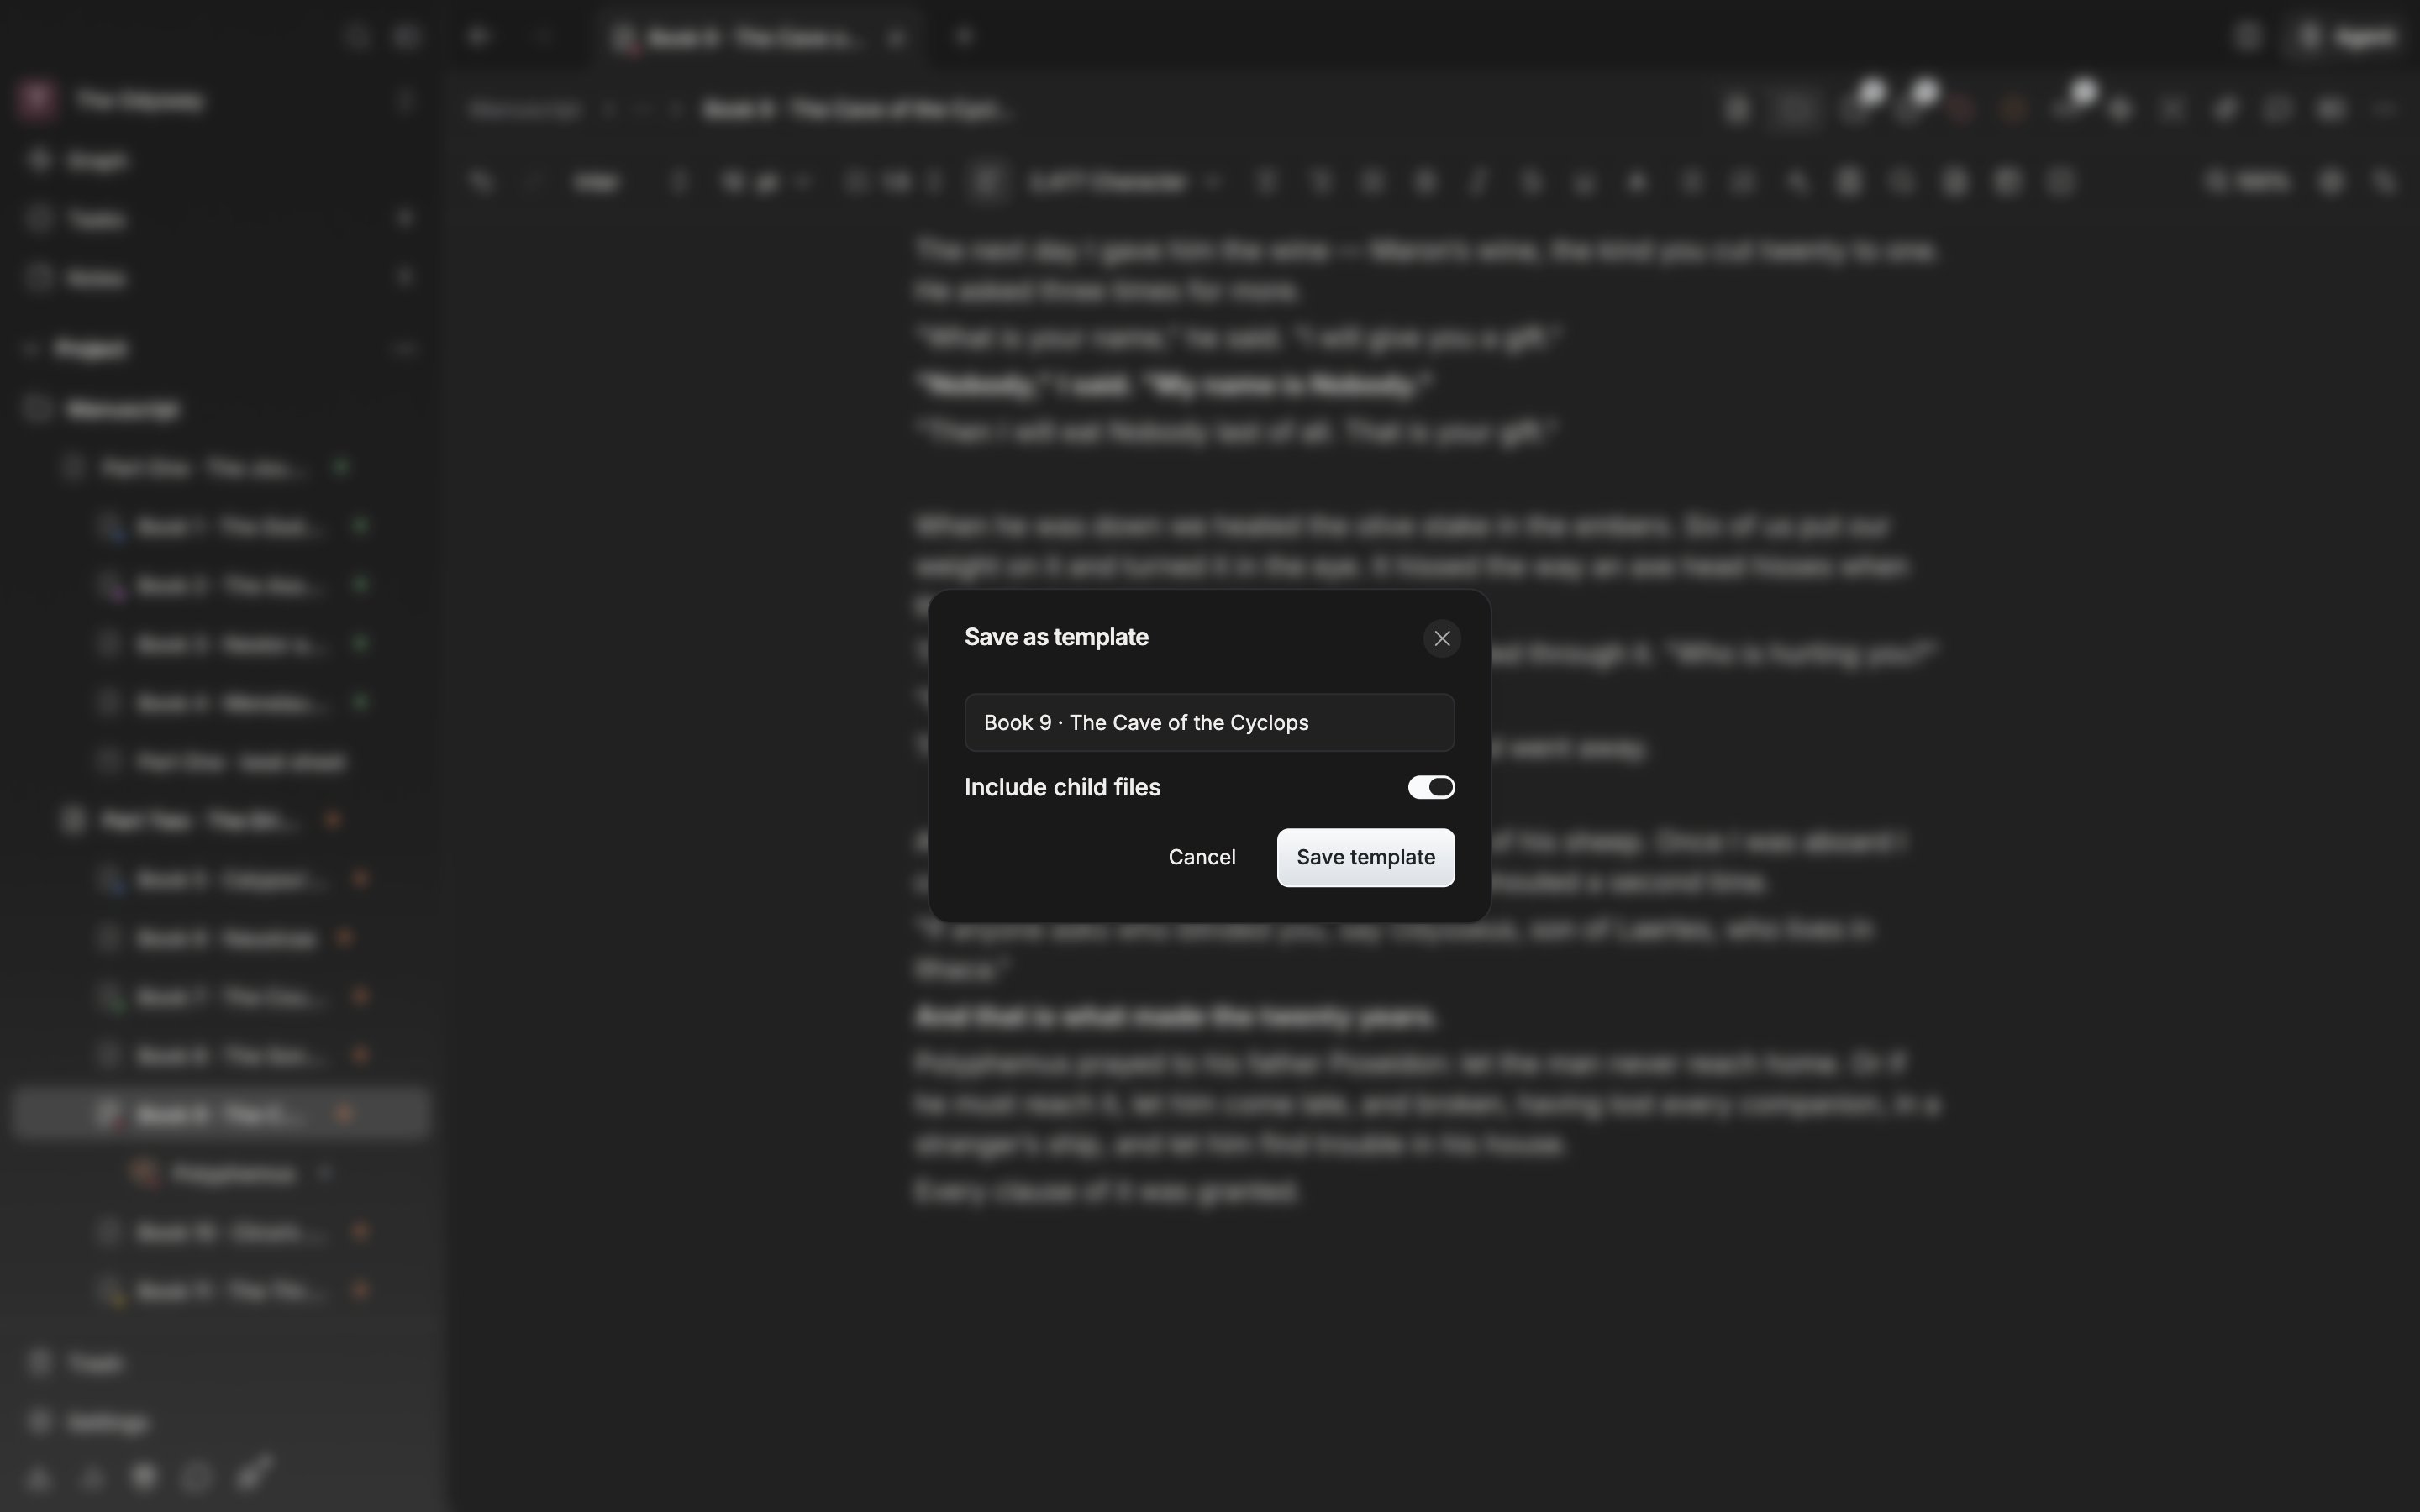
Picking Save as template from the More menu in the file header opens a dialog asking for a name.
What gets captured
The whole body goes in, and the icon, the description, and the file’s notes go with it. For a document, its current file settings (values such as font, spacing, and page view, plus any preset applied to it) come along too, so a document made from the template opens looking the same. Sheets carry their property values, canvases their shapes and connectors, and plotboards their columns and the cards inside them in the order they appeared. Comments are left out. If the file sat at the top of the project, the section it belonged to is remembered too.Managing saved templates
Saved templates gather on the Templates screen in settings. A new one goes on top, and you change the order by dragging the handle on the left. Expand a row and the files inside that template show as a tree. The menu on the right has Rename template, Export to file, and Delete template. An exported file goes back in through Import template at the top of the same screen.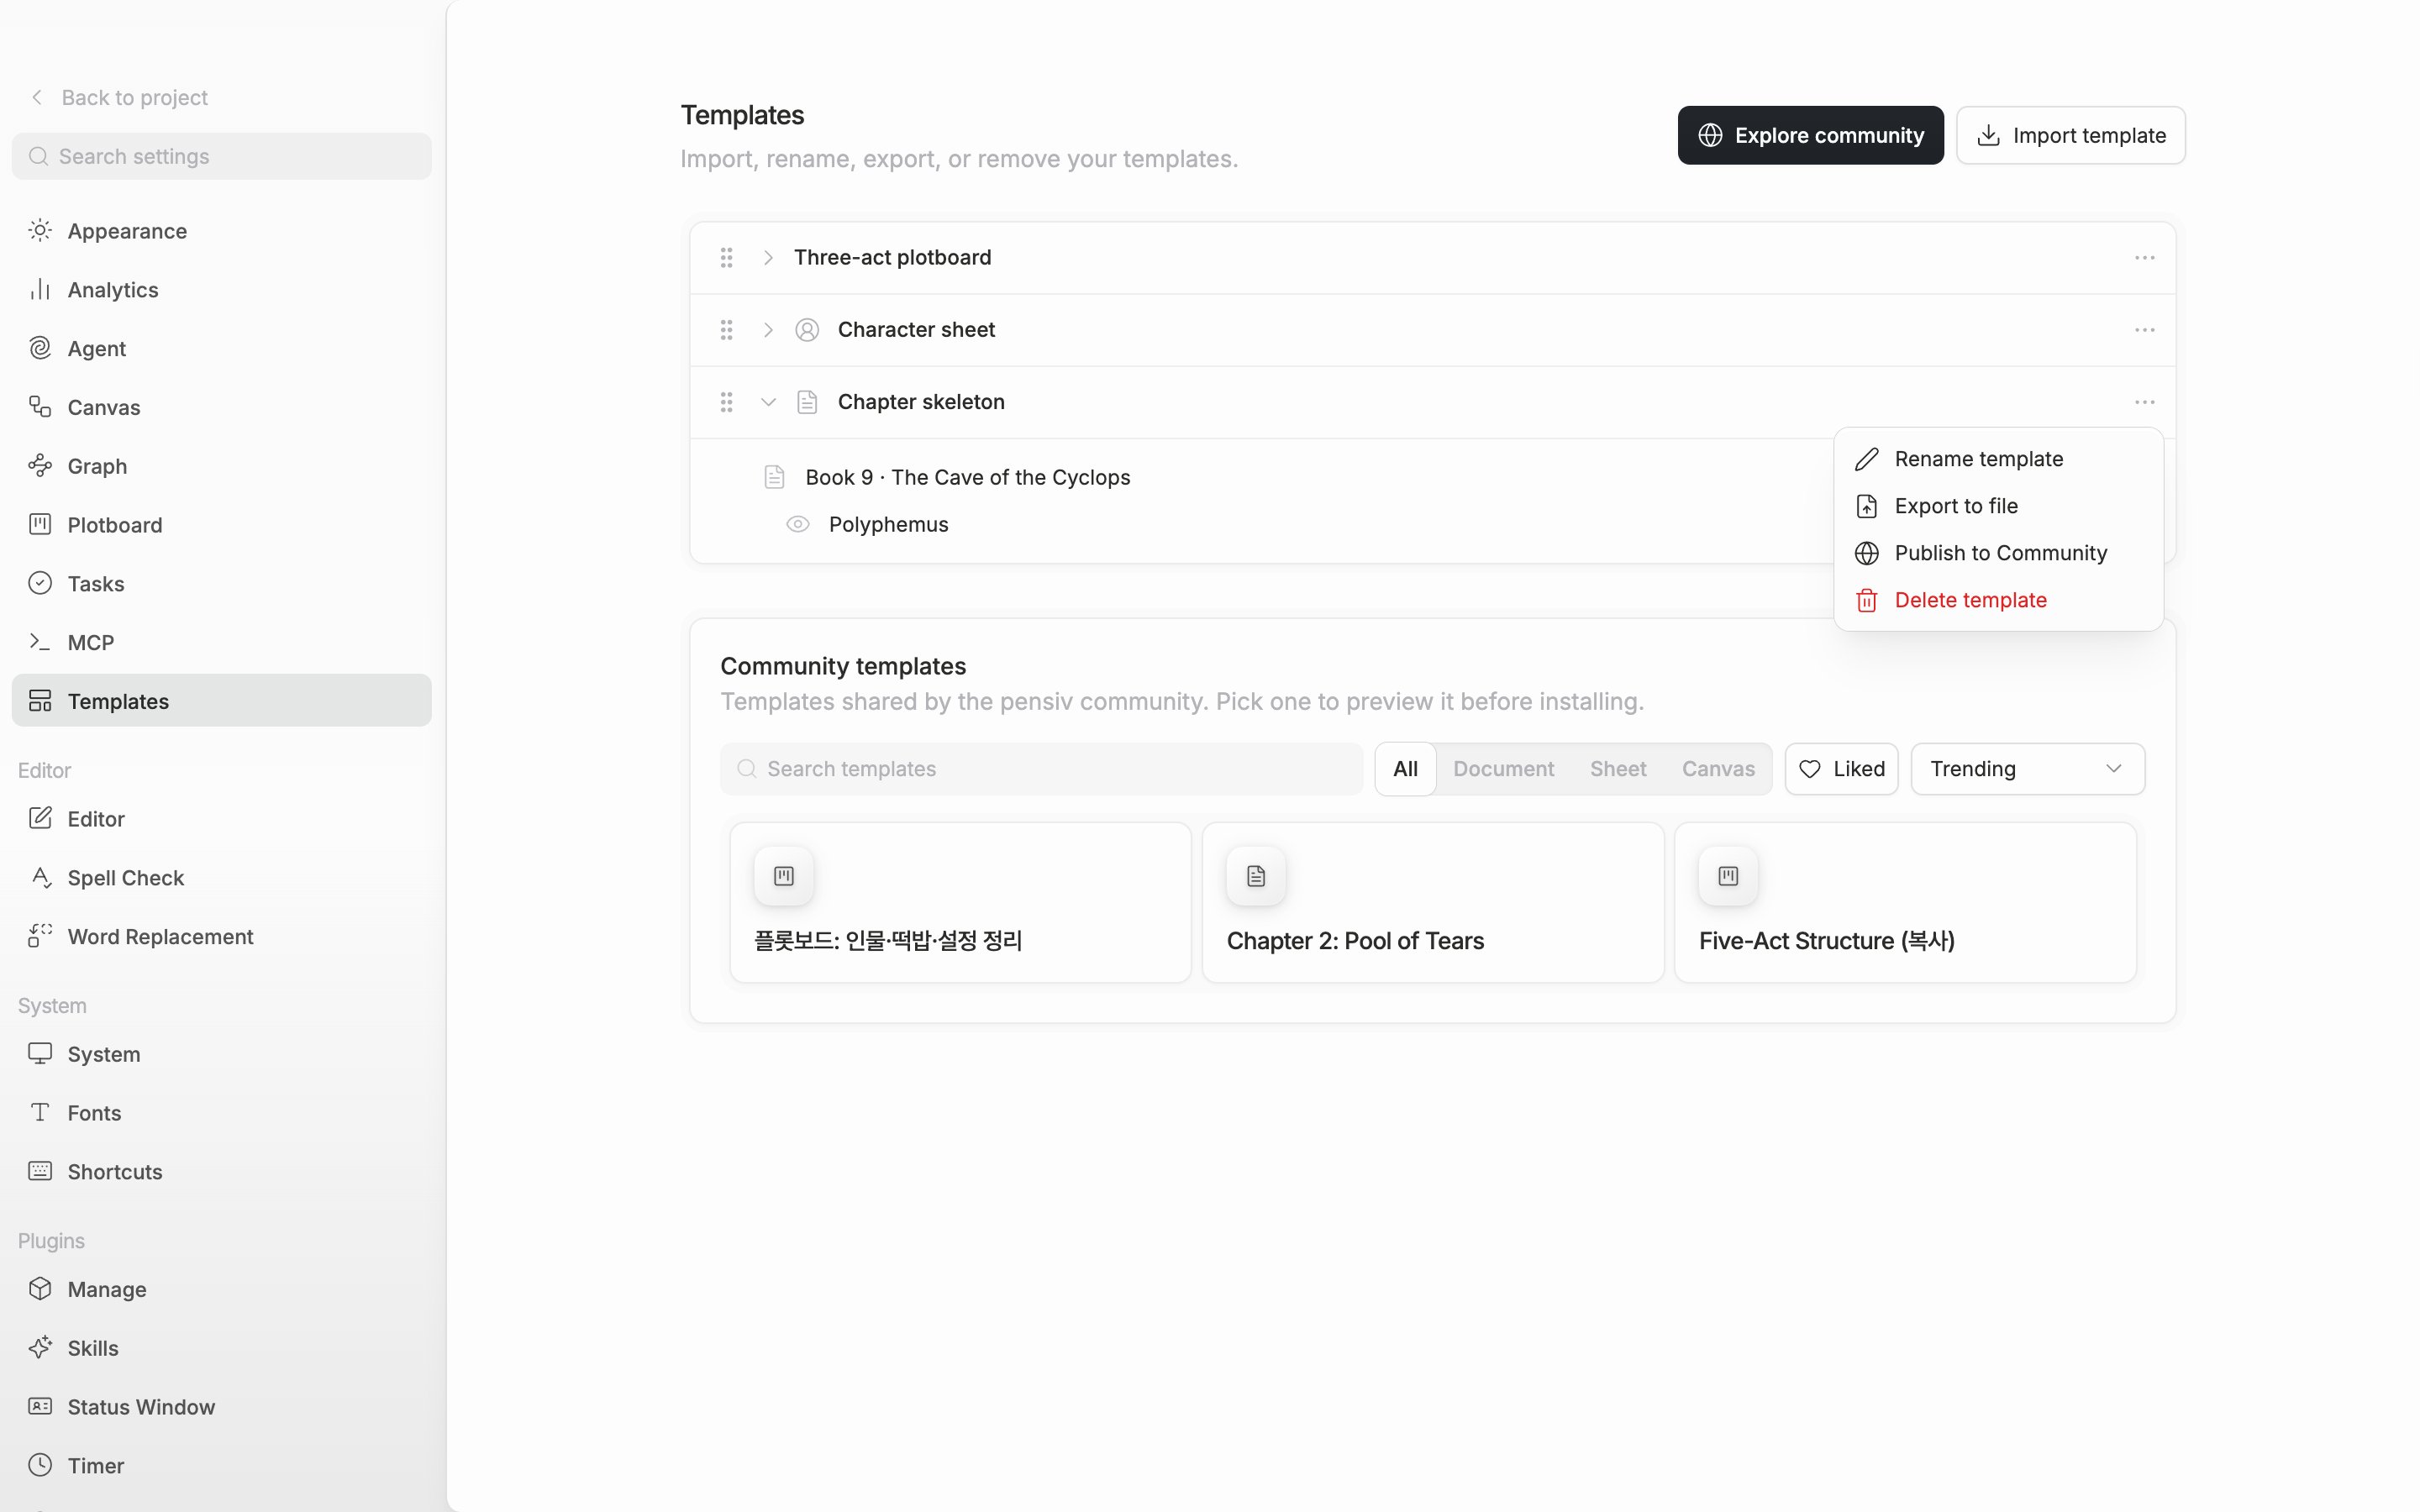
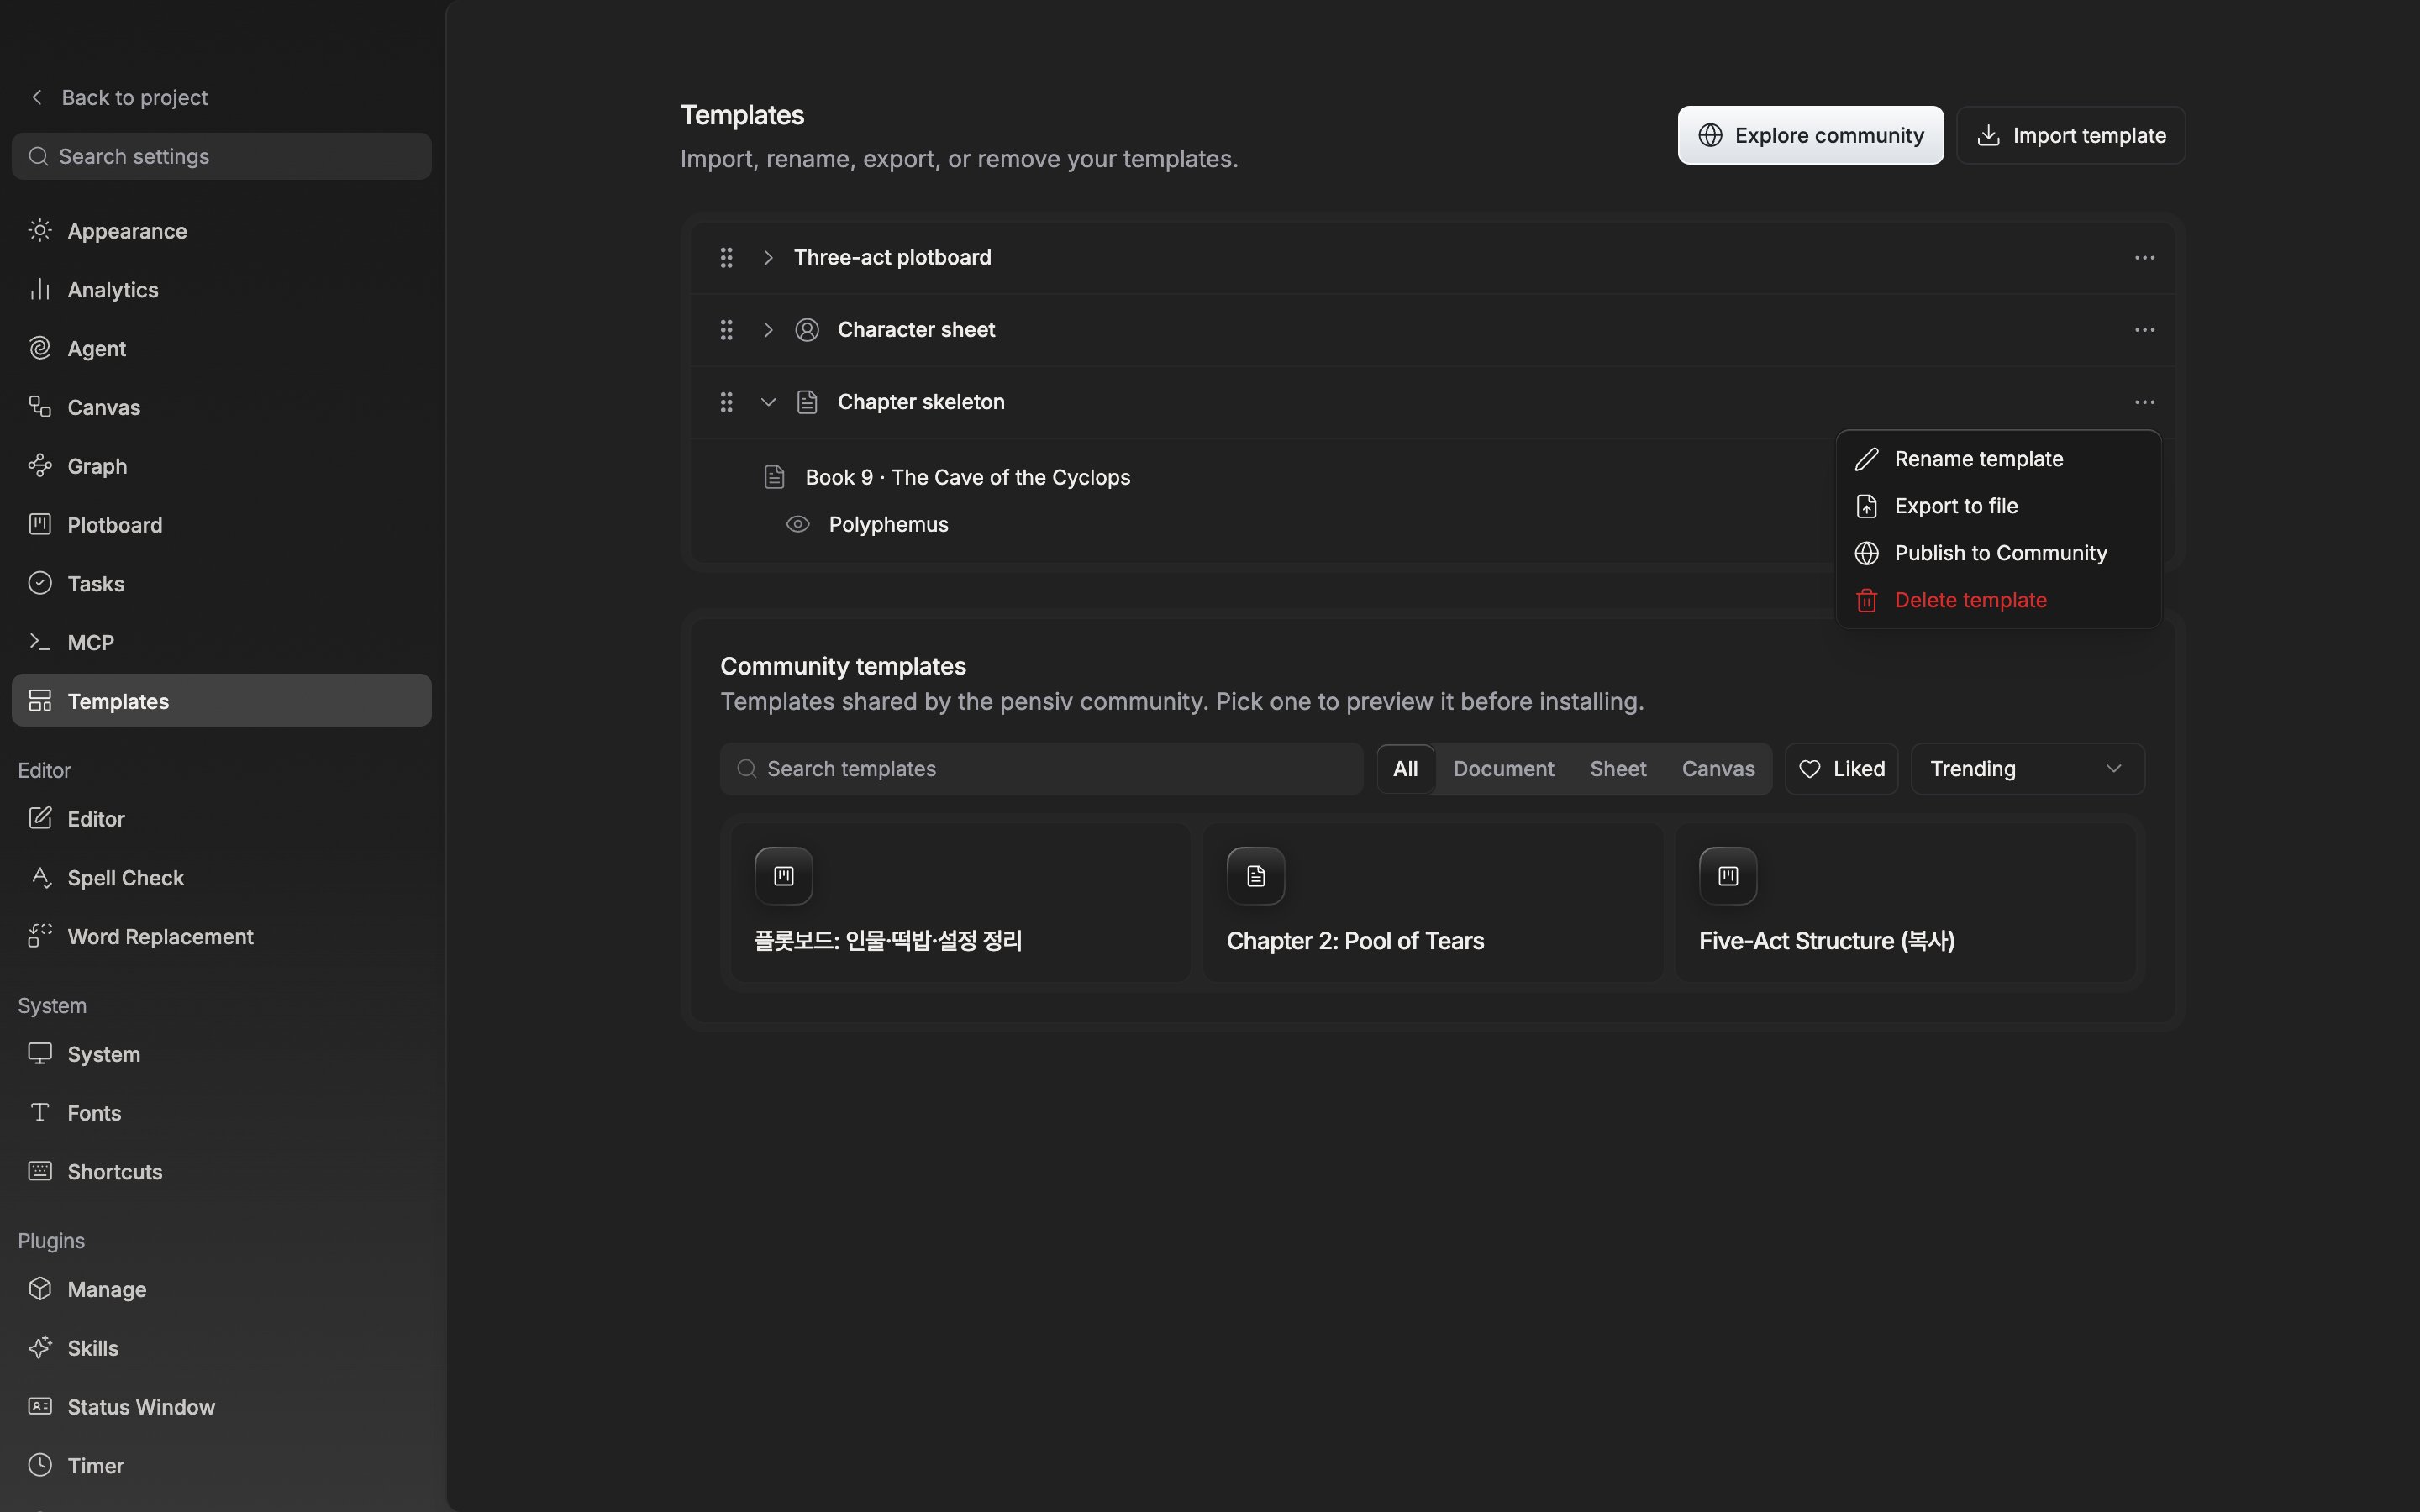
Rename, export, publish, and delete from the Templates screen in settings.