

Making a folder
Press the three-dot button at the right end of a section title and the create menu opens. New Document, New Sheet, New Plotboard, New Canvas, and New Folder come in that order, and New Folder carries the ⌘⇧G shortcut (Ctrl⇧G on Windows). Right-clicking empty space in the tree brings up the same menu; in that case the top of the menu tells you where it will be made first, as “New in ⟨name⟩”. A folder you have just made has no name, so it shows as (Untitled). Press F2 on that row and you can rename it in place; on macOS Enter does the same thing. You can put folders inside folders, and dragging nests them up to 10 levels deep.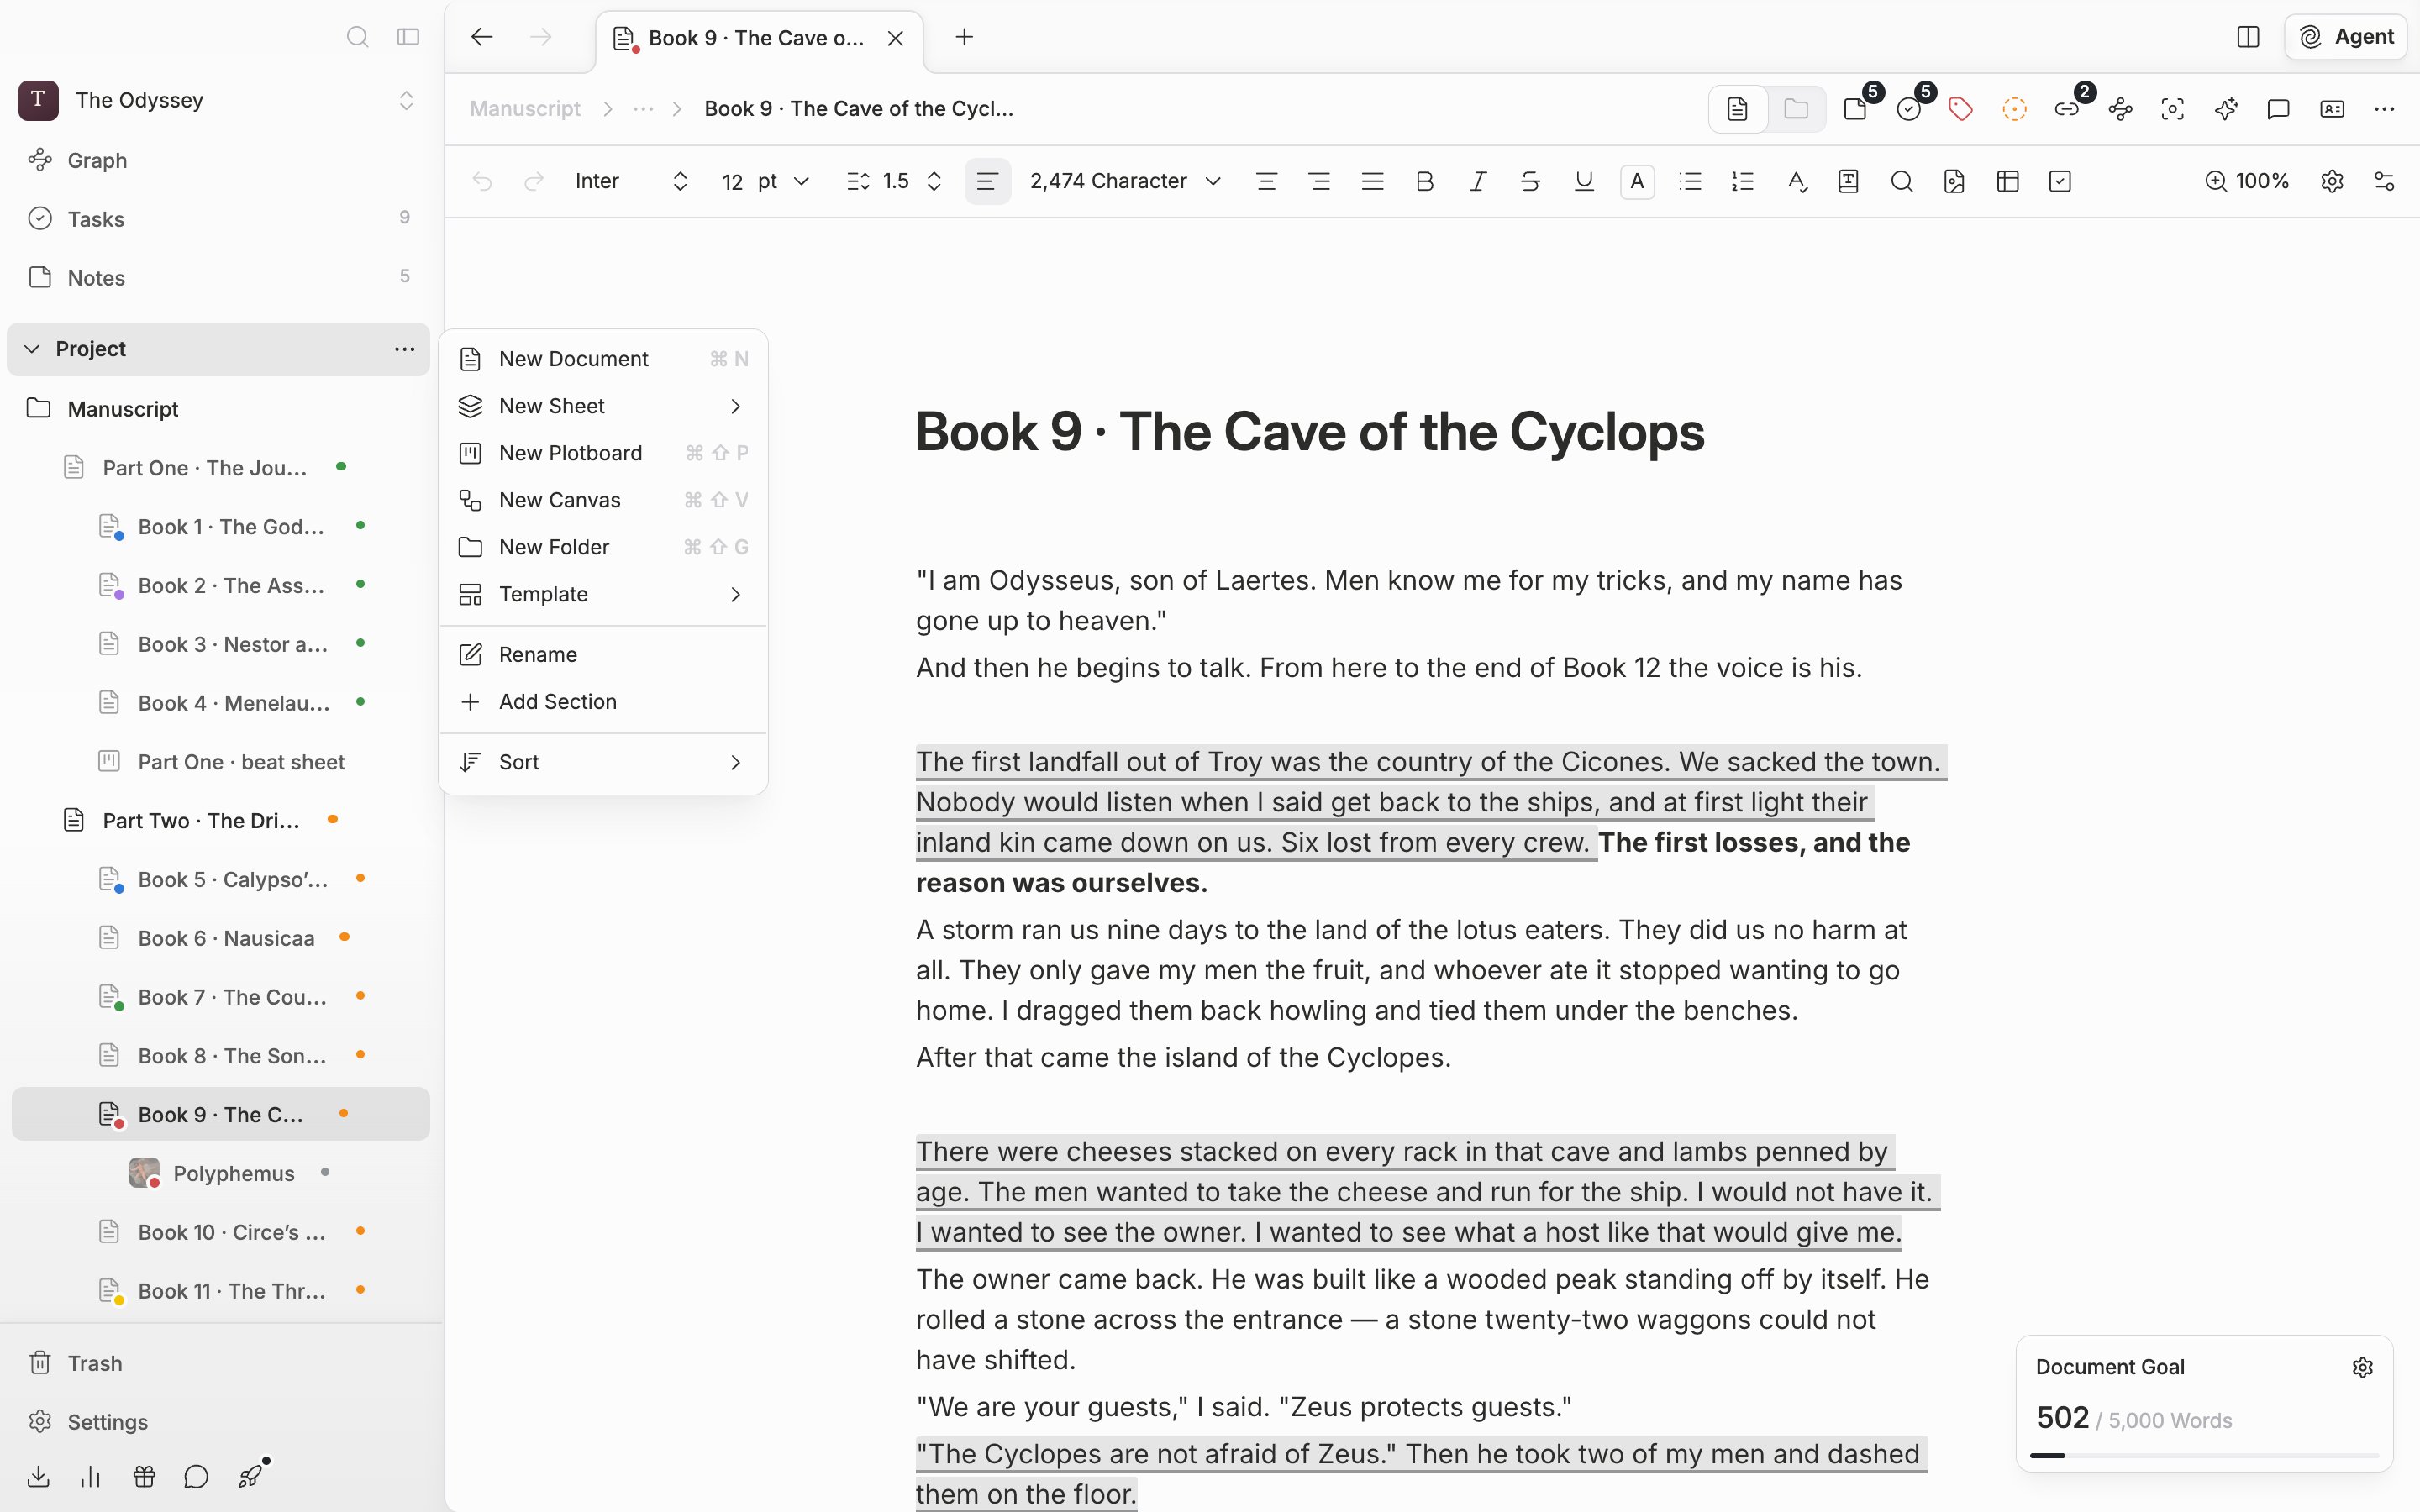
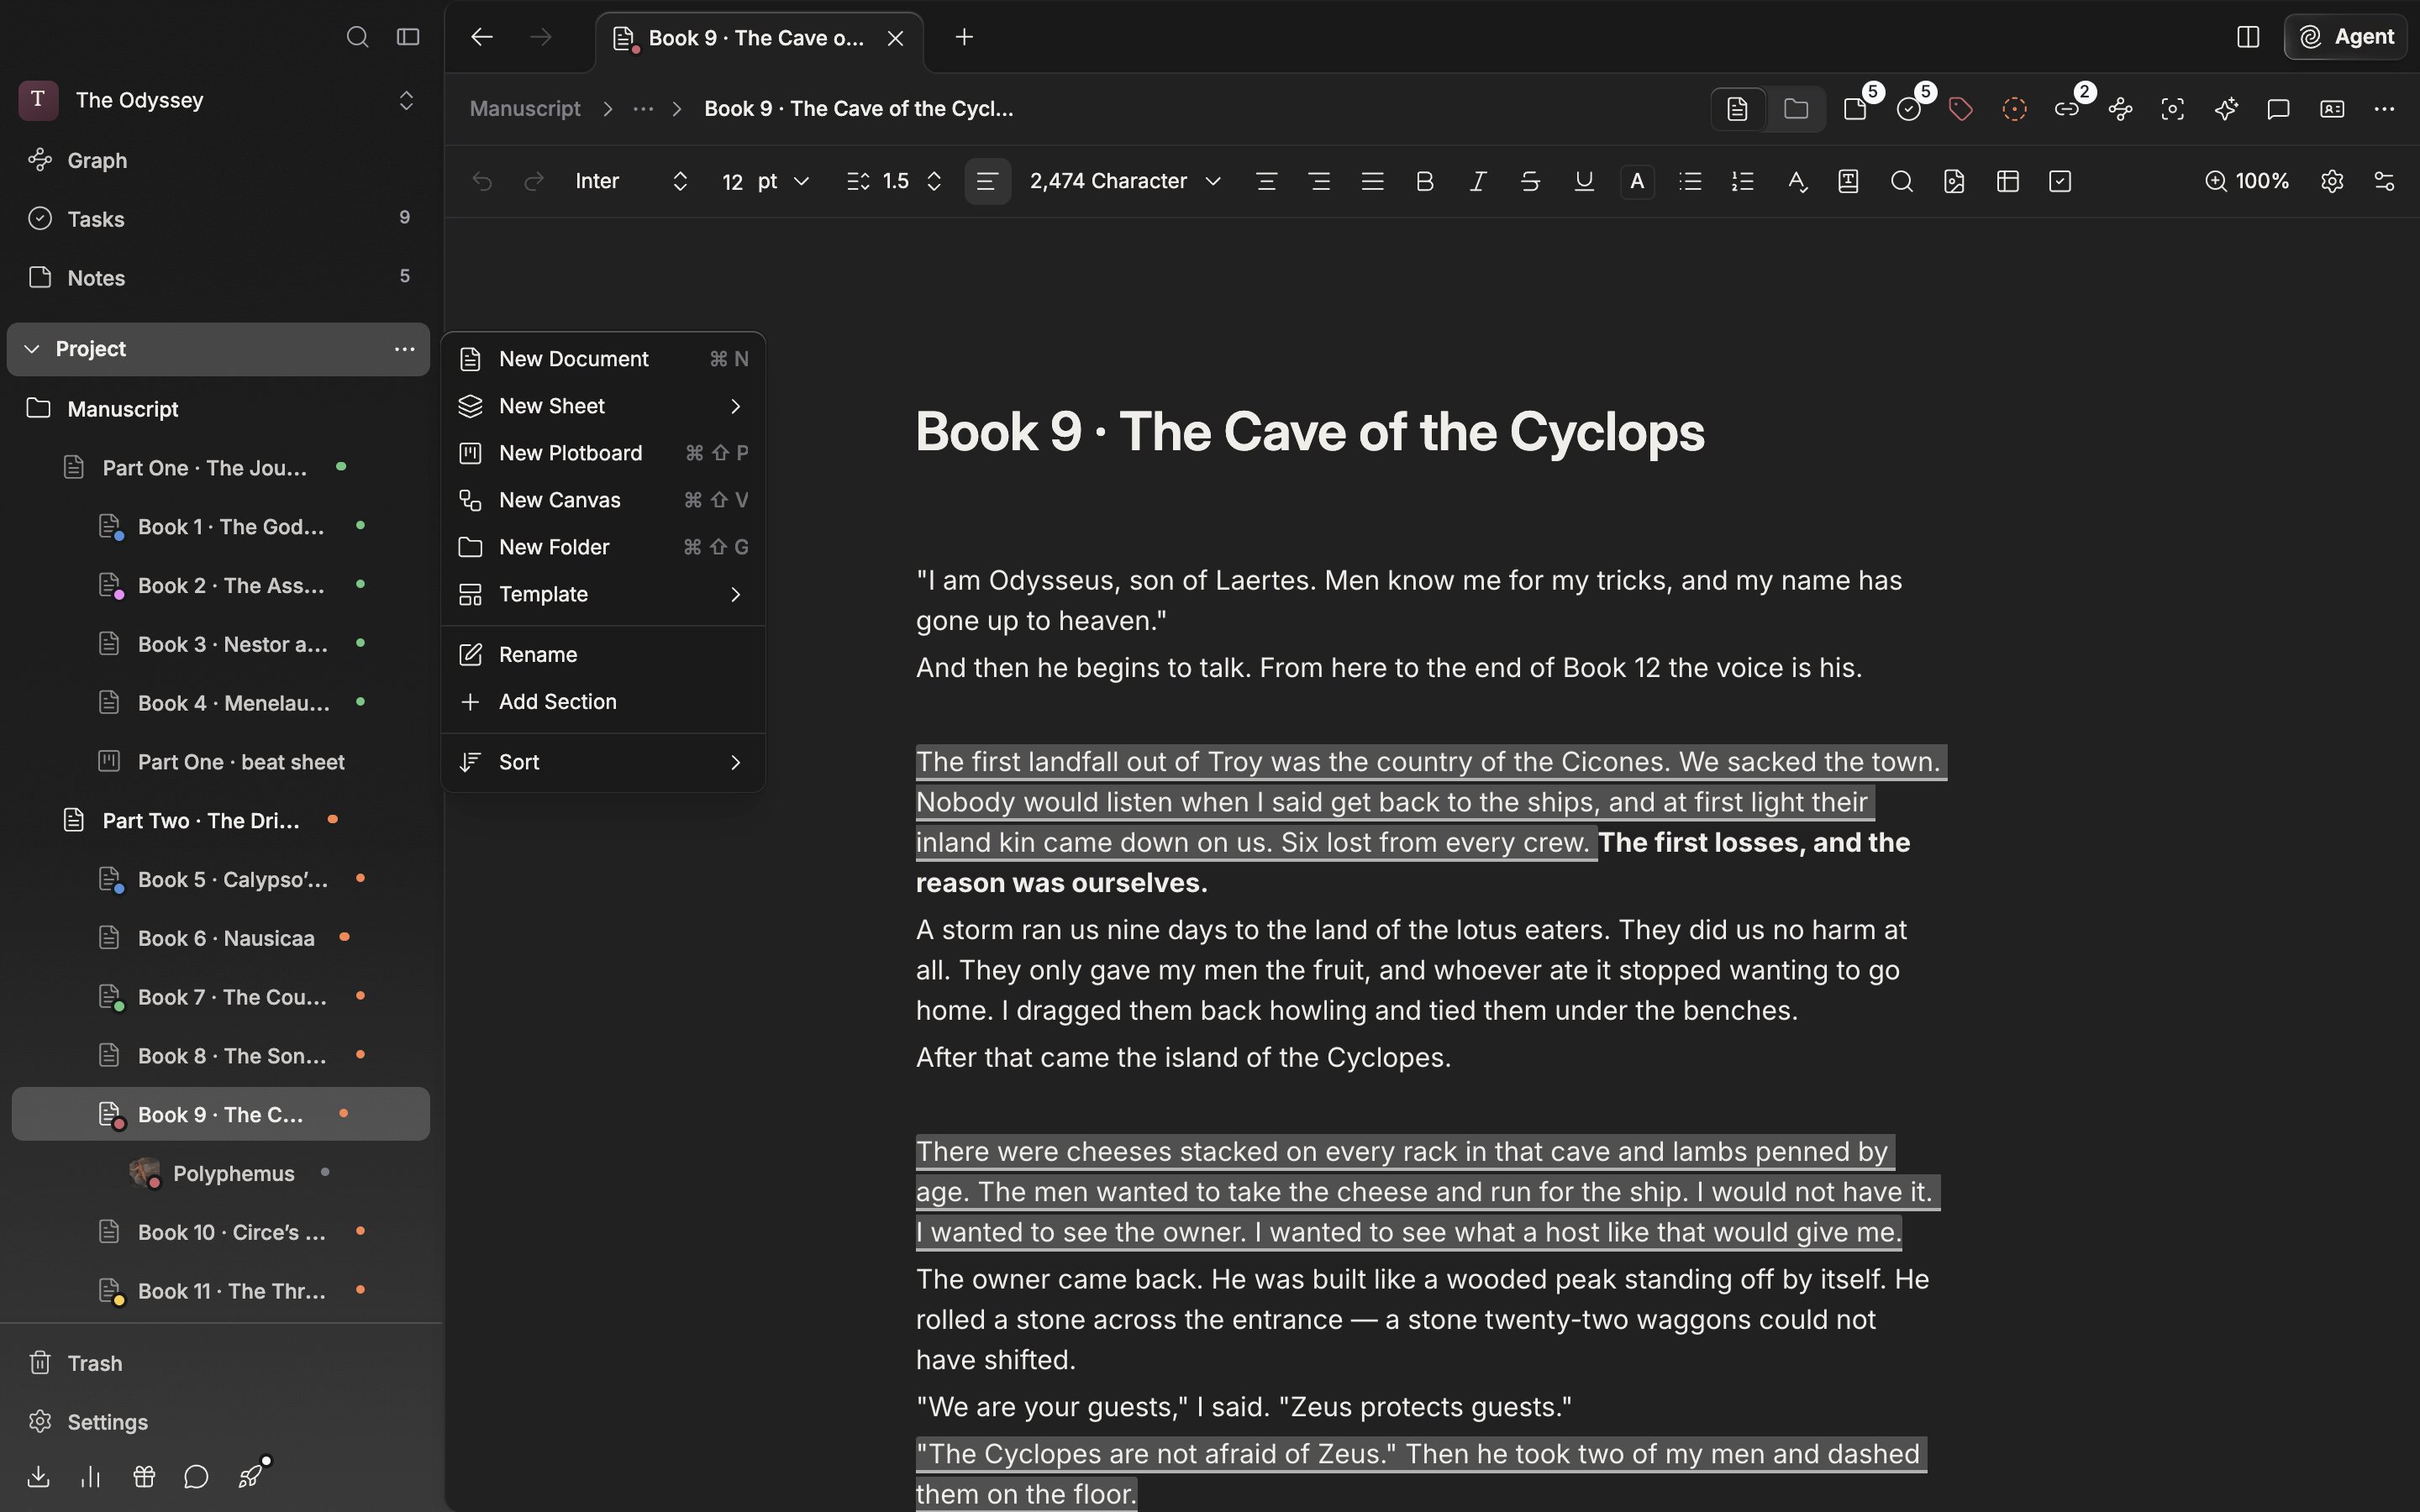
The create menu on the section header. This is where you make a new folder.
Moving files
Dragging and dropping in the tree is the basic way. Drop onto a folder and the file goes inside; drop between two rows and it slots in at that spot. You can select several and move them together. While a filter is applied to the sidebar, drag and drop stops working, so clear the filter first. To move by menu, run Move To… from the command palette. Type a folder name into the location search field and pick it, or pick the project name at the top of the list to bring the file out to the outermost level, outside any folder.Dividing with sections
The tree collapses and expands by section. A newly made project has two: Bookmarks and Project. Project is the default section, so every file you have not put in a section gathers here. You can rename it but you cannot delete it. To have more sections, pick Add Section from the same menu. Put a title into the Create Section dialog and press create, and the new section attaches to the top of the tree. Drag a file onto a section title and it moves into that section, and hover over a collapsed section for a moment and it expands on its own. When dragging is awkward, right-click the file or press the three-dot button at the end of its row and pick Move to Section. The Project section and the sections you made are listed, with a check next to the one the file is in now. Move a file from inside a folder and it comes out of the folder and lands at the end of that section. If you haven’t made any sections of your own, this menu doesn’t appear.Deleting a section does not delete the files inside it. They are only moved to the Project section.