

Inserting
Press Insert Image in the toolbar’s Tools group and a file picker opens. It accepts JPG, PNG, and WebP. You can also drag an image file into the body, or copy and paste it, and it goes in at the cursor. While it uploads, a spinner shows over the picture. The size limit for a single image depends on your plan. See the Image upload size row in the plan comparison. Click a picture once and a border with dots at its four corners appears. Drag a dot to set the width.Placing side by side
Drag one picture onto the left or right half of another and a vertical line appears at that edge. Drop it there and the two stand side by side in one row. You can add more to a row that is already side by side, up to ten pictures in a row.- Drag the boundary between two pictures left or right to divide the width between them.
- Hover over a picture and a row of buttons appears at the top center. Drag the handle to change the order within the row.
- To take a picture out of the row, press the ungroup-shaped icon in the button row, or drag the picture a little above or below the row and drop it where a horizontal line appears. When only one picture is left, the row comes apart and it goes back to being an ordinary picture; a single undo brings the row back.
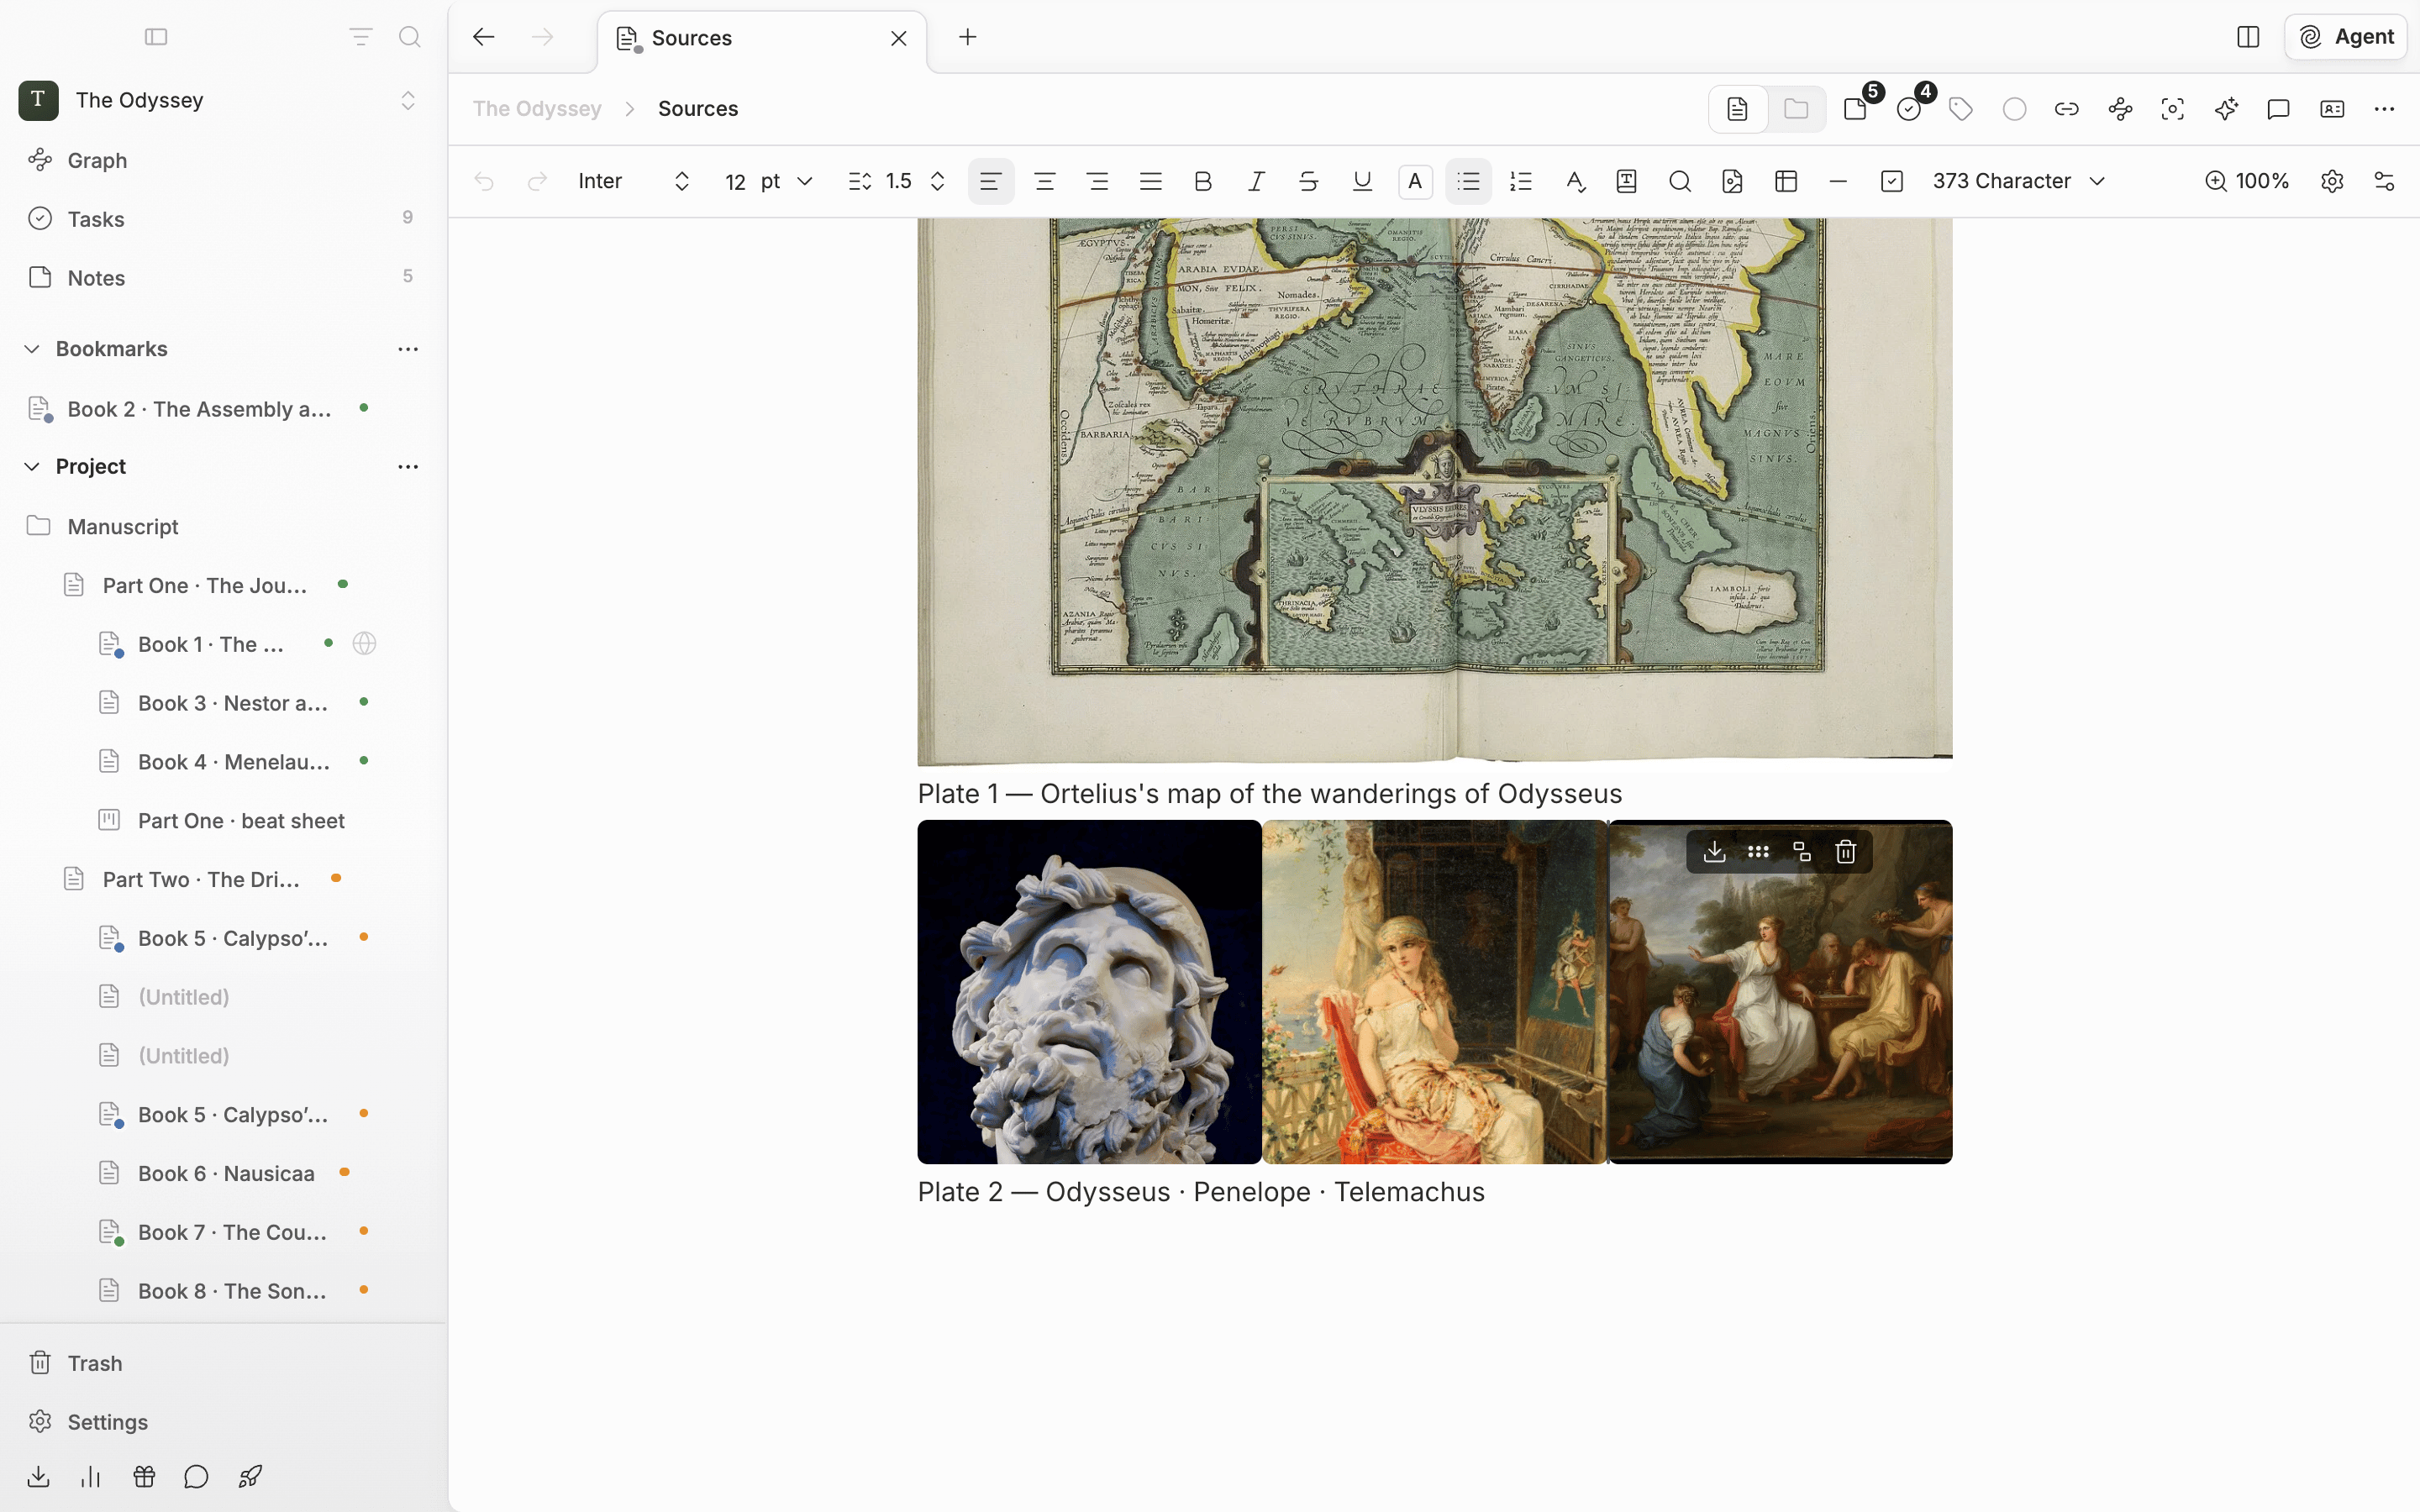
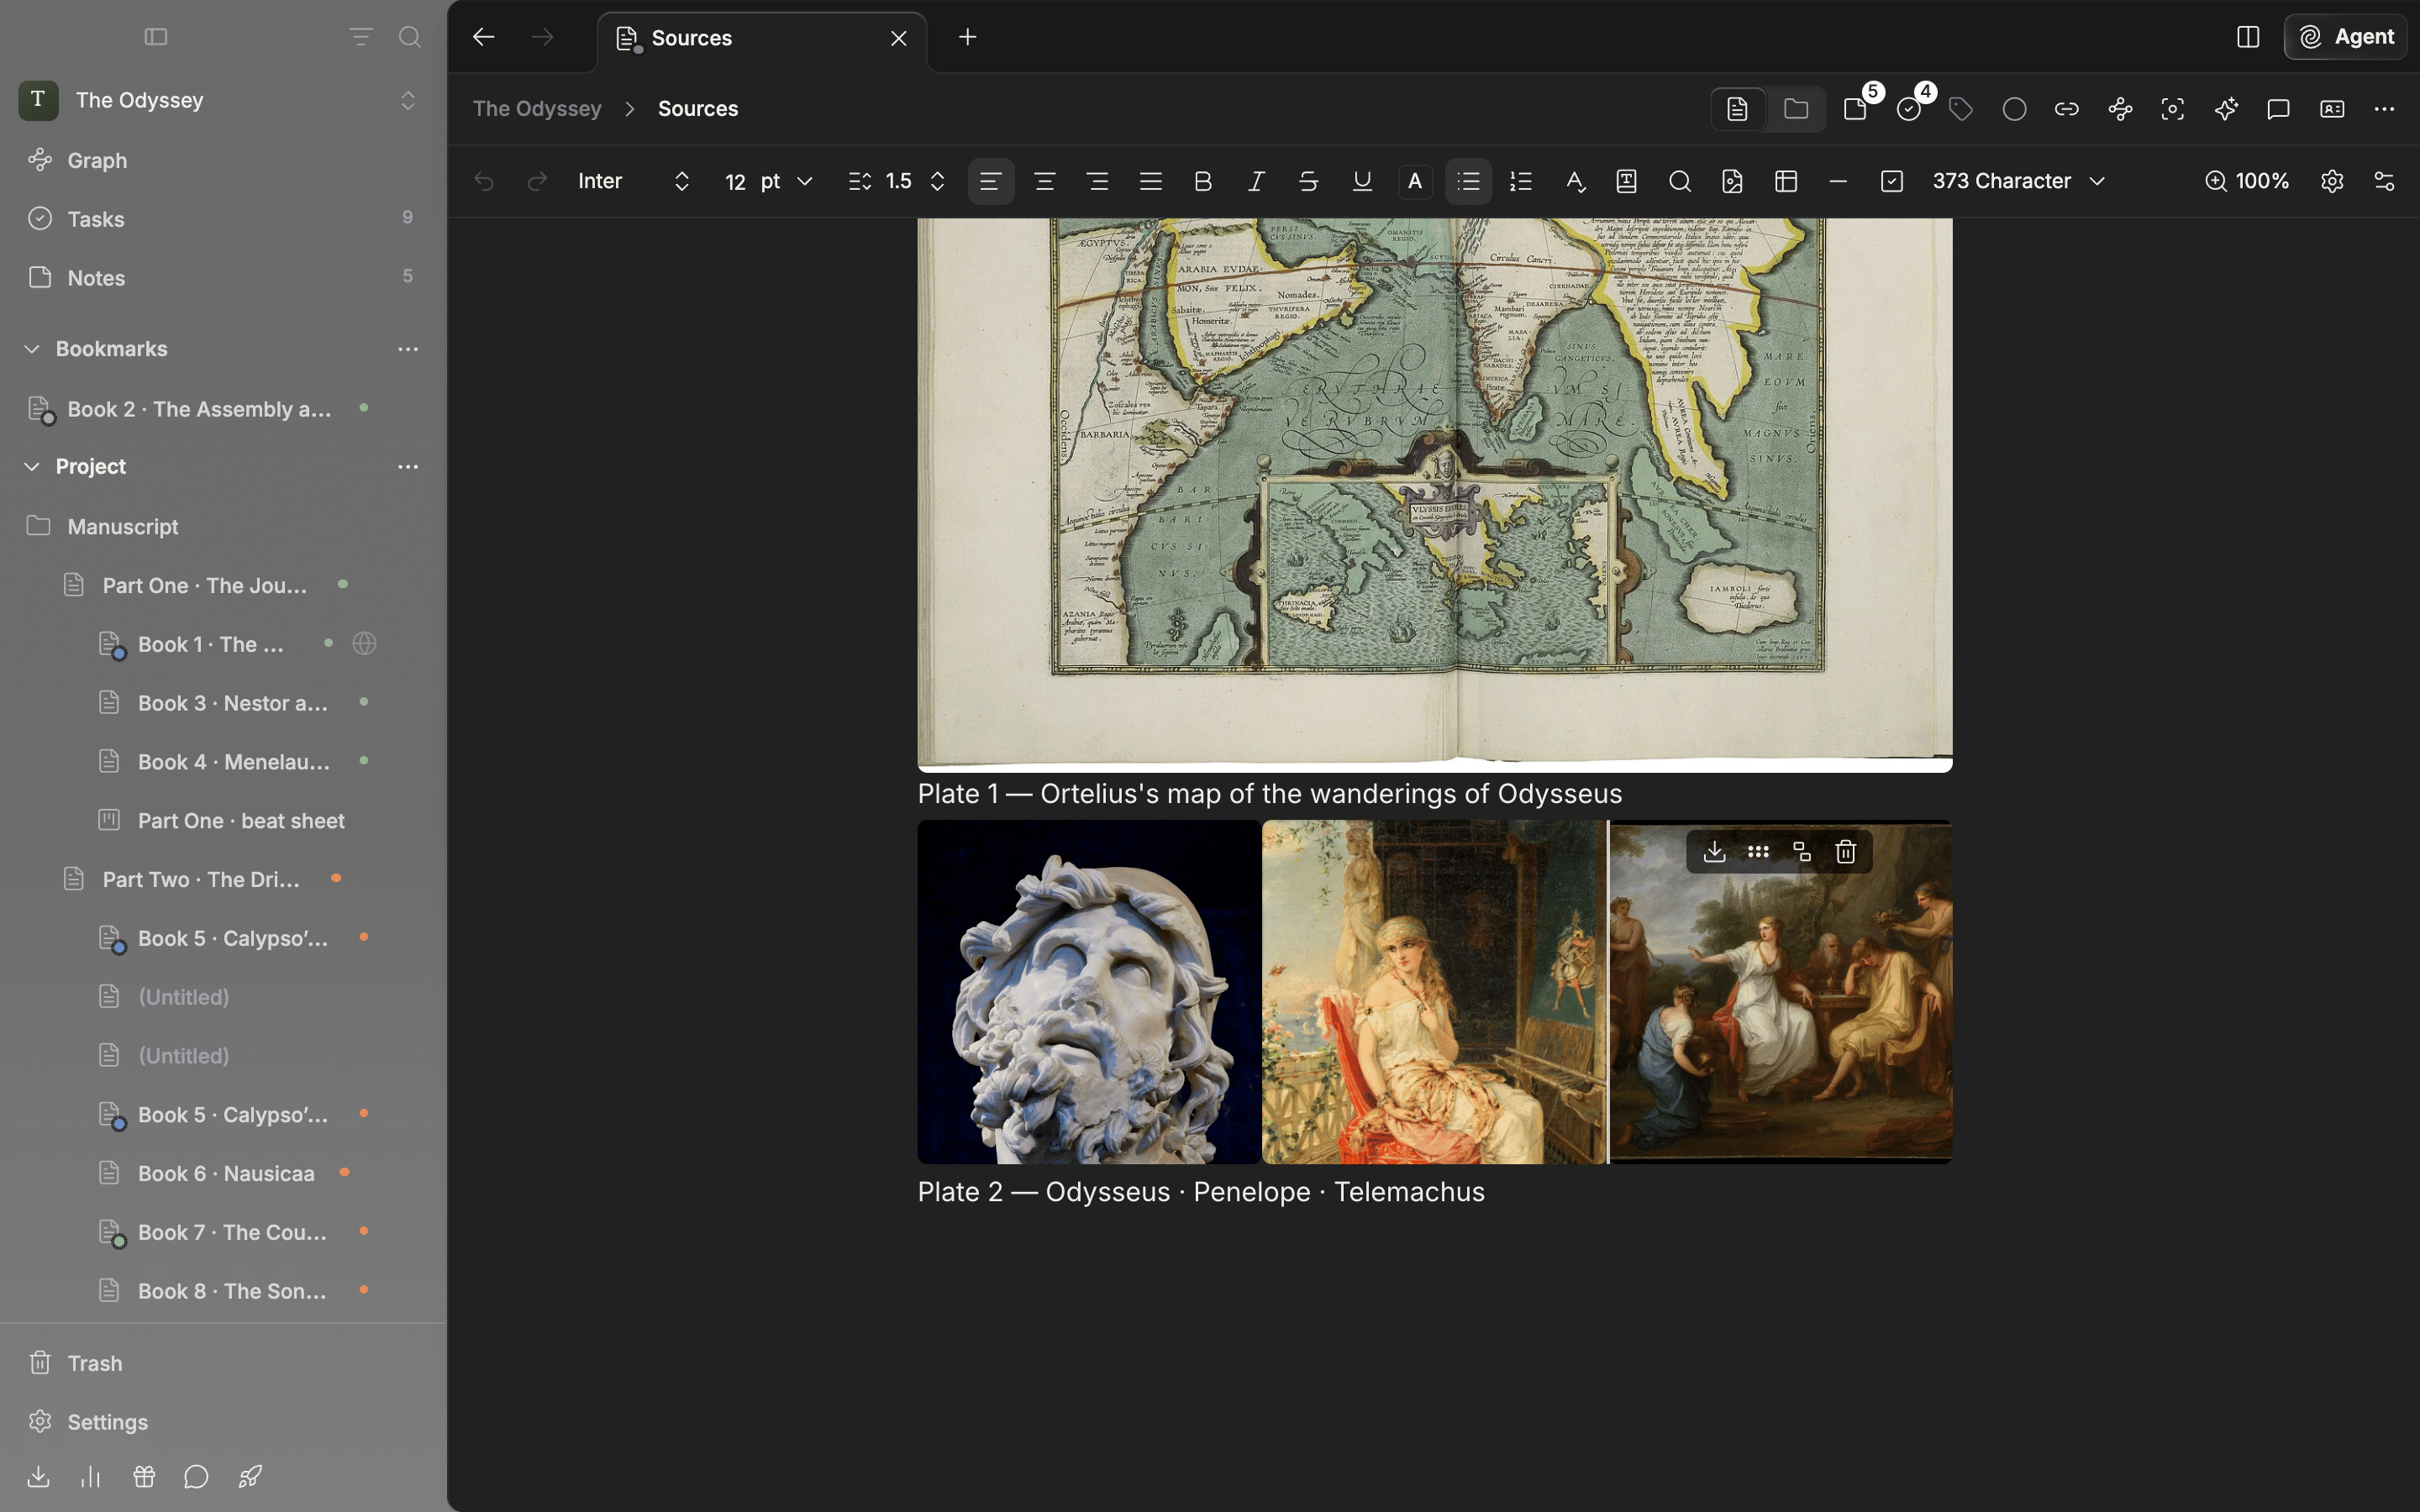
Images side by side. Hover over one and a row of buttons appears.
Replacing, removing, and downloading
The button row over a picture, and the menu you get by right-clicking it, hold Download image, Replace image, and Remove image. Press Download image and a save dialog appears withimage-date-time pre-filled as the file name. The extension follows the picture’s original format, and nothing is recompressed, so you get the file exactly as it was uploaded. The dialog opens in the folder you last exported to. When it is done, “Download complete” appears.
Downloading works even on screens where you can’t edit, such as a locked document. There, only the download button is left in the button row.
Image cards on a canvas work the same way. There is a download chip beside the replace chip at the top right of the card, and right-clicking the card also offers Download image. You can download from a locked canvas too.