

Opening the dialog
Select several documents in the sidebar or on a folder screen and an export button appears in the row above. To take a whole folder out, press the more button in the folder screen header and pick Export documents. Not only the documents directly inside but also those inside its subfolders, however many levels down, go in, in file tree order. If you hang chapters under a document, it doesn’t have to be a folder. Switch a document, sheet, canvas, or plotboard to folder view and open the more button in the header, and you’ll find Export documents inside. It takes every document hanging under that file out through the same dialog. Export handles documents only. Even if sheets or canvases are mixed into what you picked, only documents go in. If there is not a single document, the button does not appear at all; on the folder side it tells you “No documents in this folder to export”, and from Export documents inside it tells you “No documents inside this file to export”.Format and mode
Under “Export Format” in the “Export Documents” dialog, pick one of HWP, DOCX, EPUB, TXT, and Markdown. “Export Mode” below it has two settings. Combine joins the documents you picked end to end into a single file. Separate makes one file per document and packages them into a ZIP.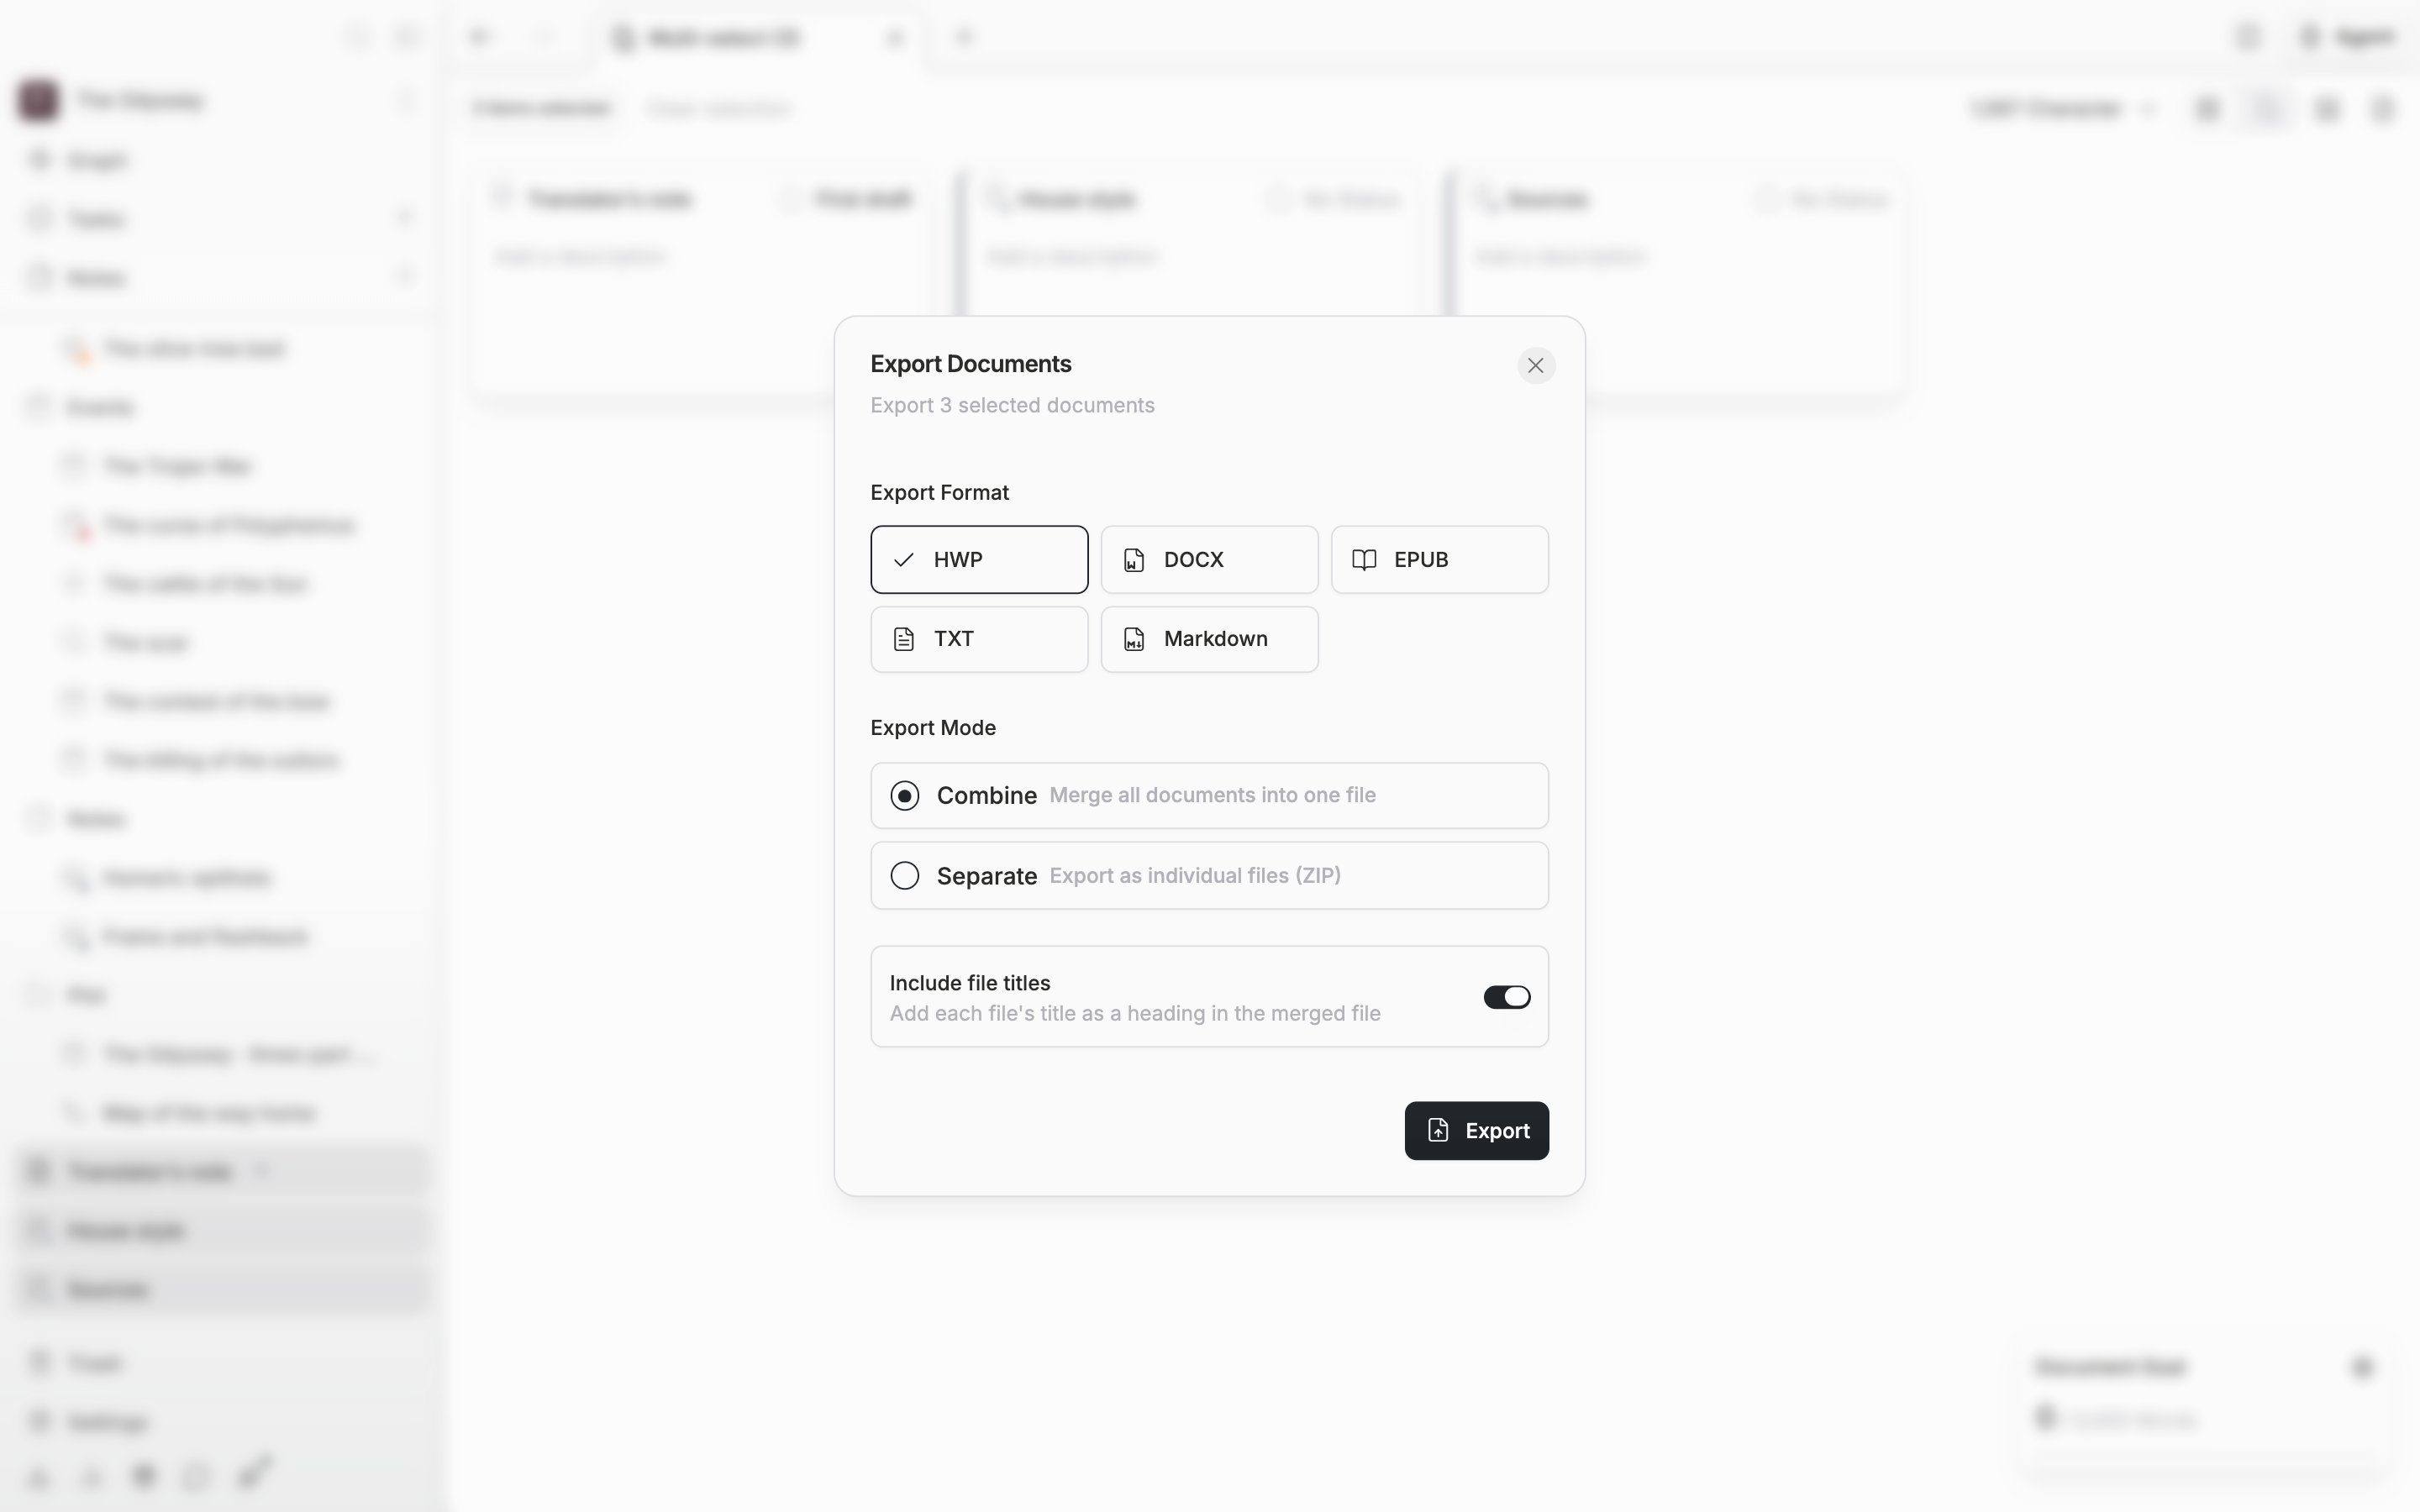
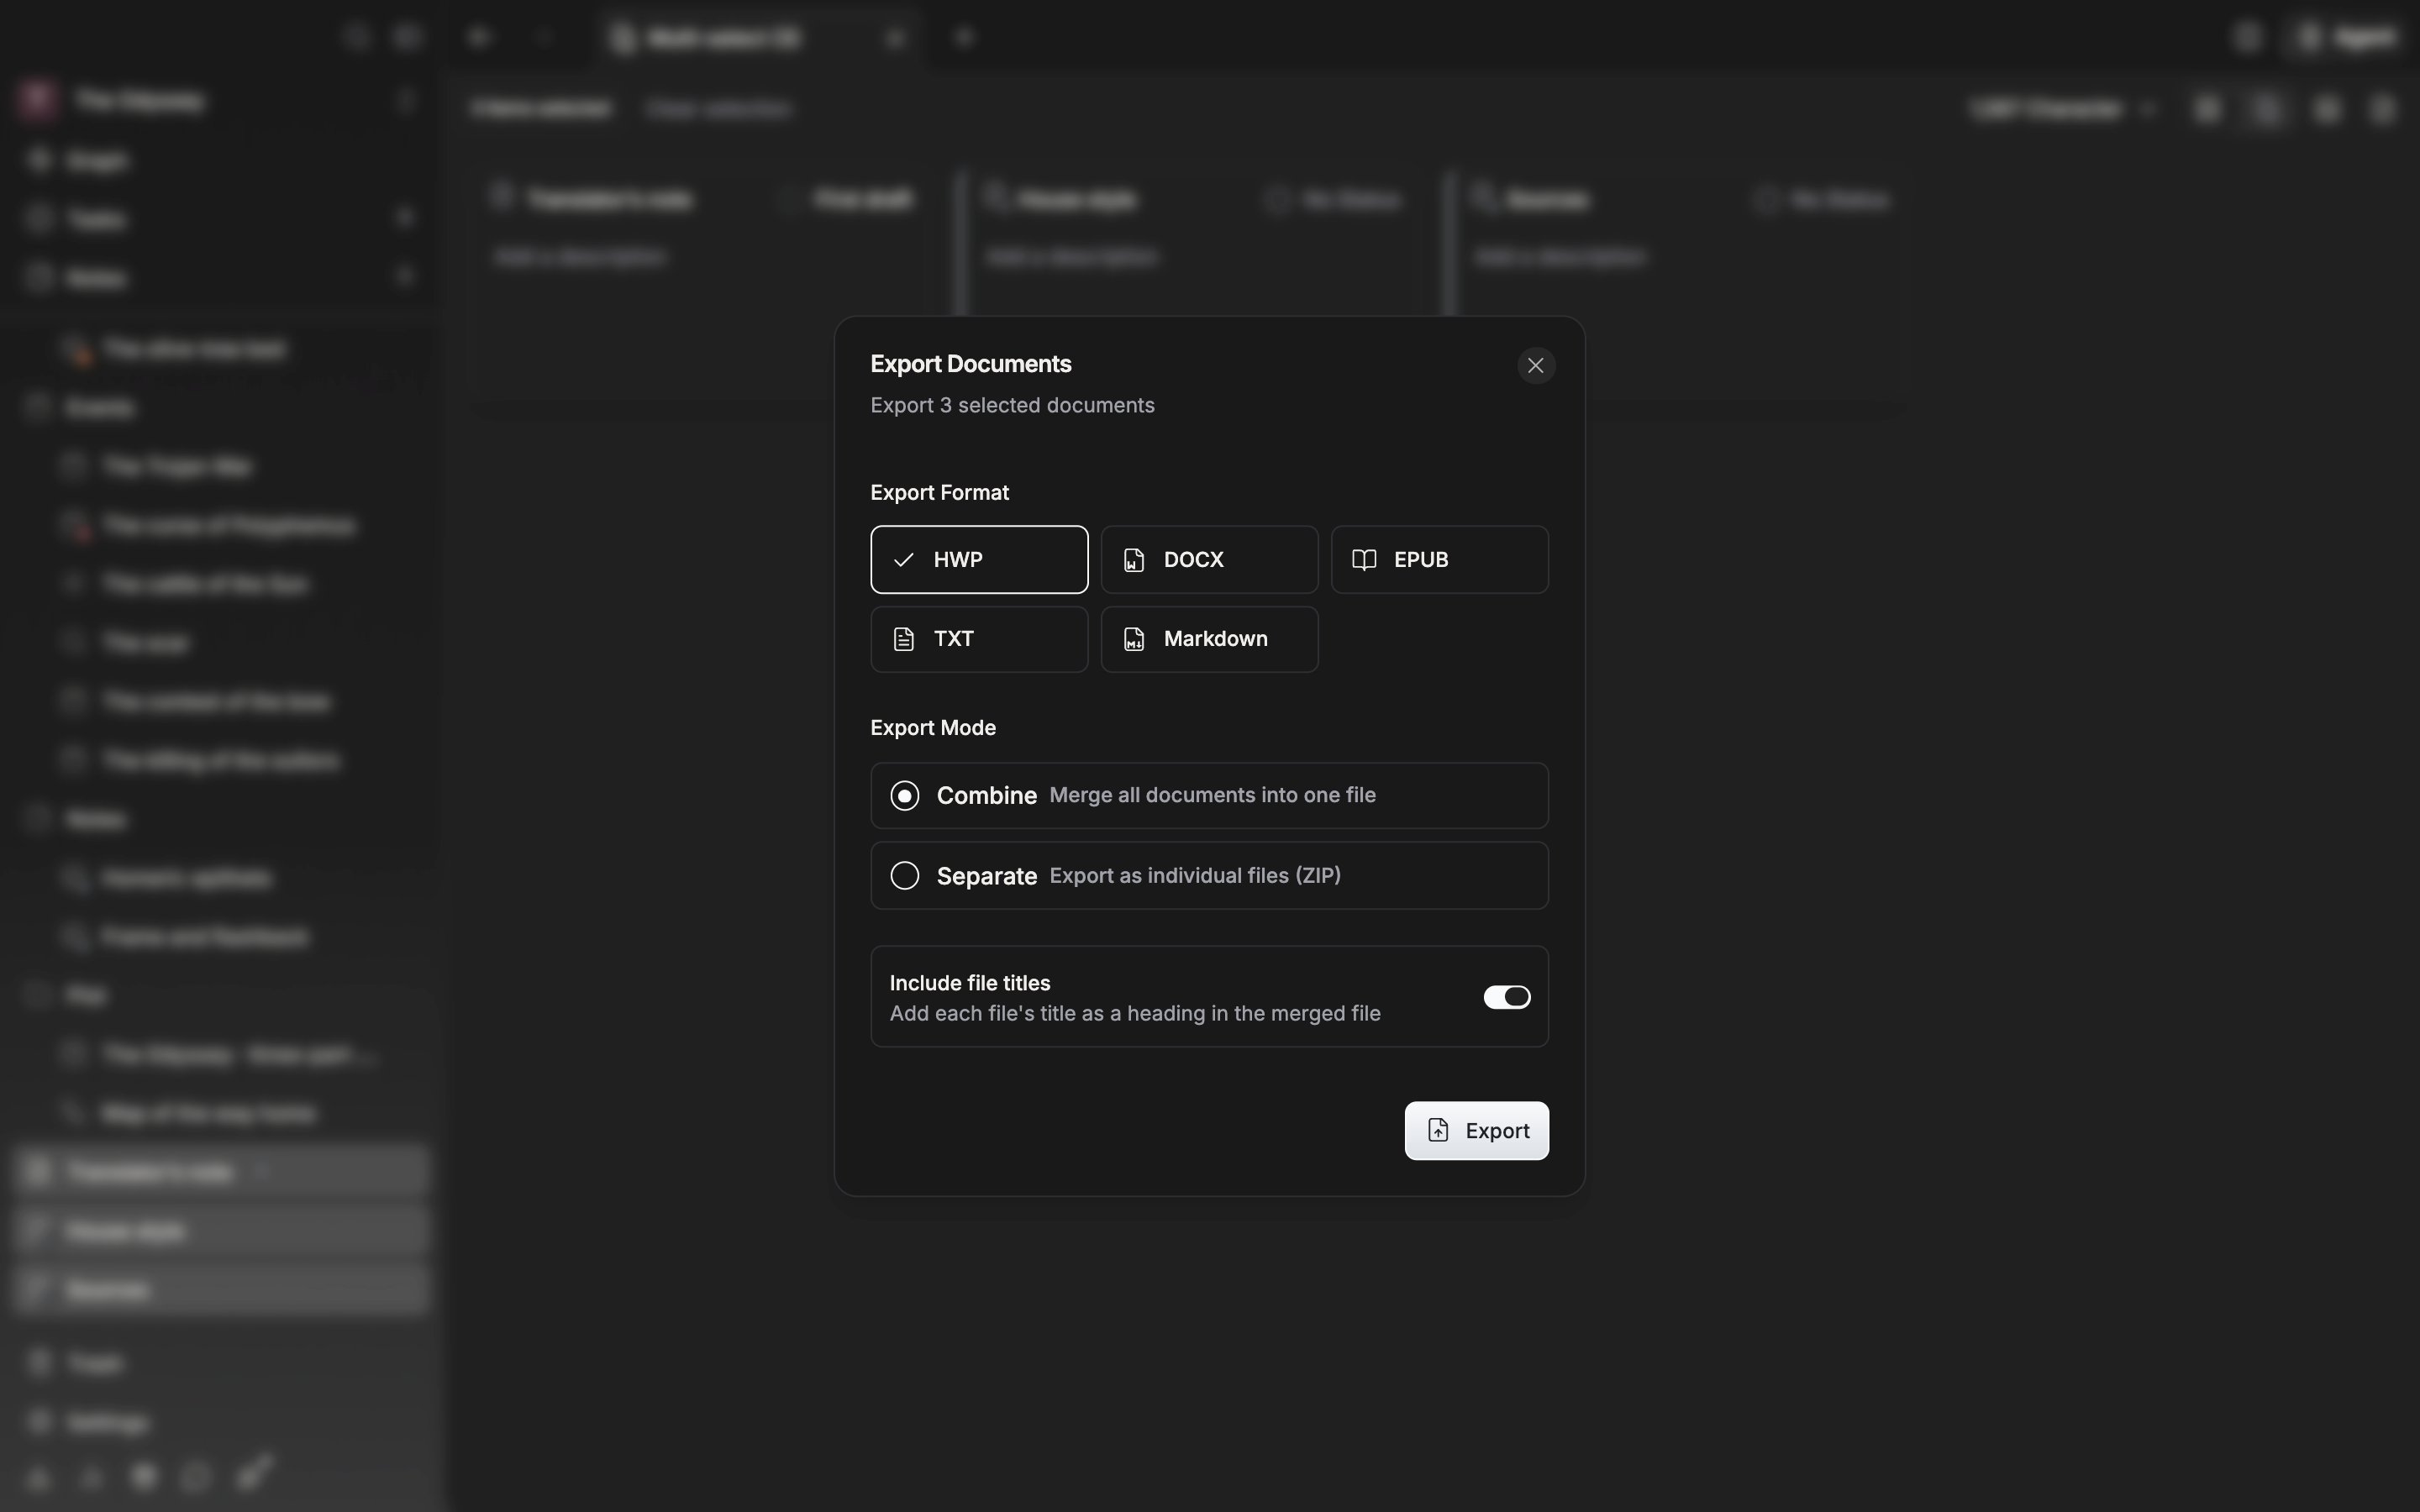
The dialog where you pick the format and the mode.
Putting titles in
Pick Combine and the “Include file titles” switch appears. Leave it on and each document’s title goes in as a heading paragraph above the body. It is on by default. If some of the documents you picked sit inside a parent item, “Include folder titles” appears alongside it. Turn that on and the folder title attaches above the documents inside it as a heading one level up. Neither switch is visible in the Separate mode. Press the export button at the bottom and a dialog asking where to save comes up first (see below). Once you pick a location, “Exporting documents…” spins, and when everything is written the dialog closes with “Export completed successfully”. You can’t close the dialog while it is spinning.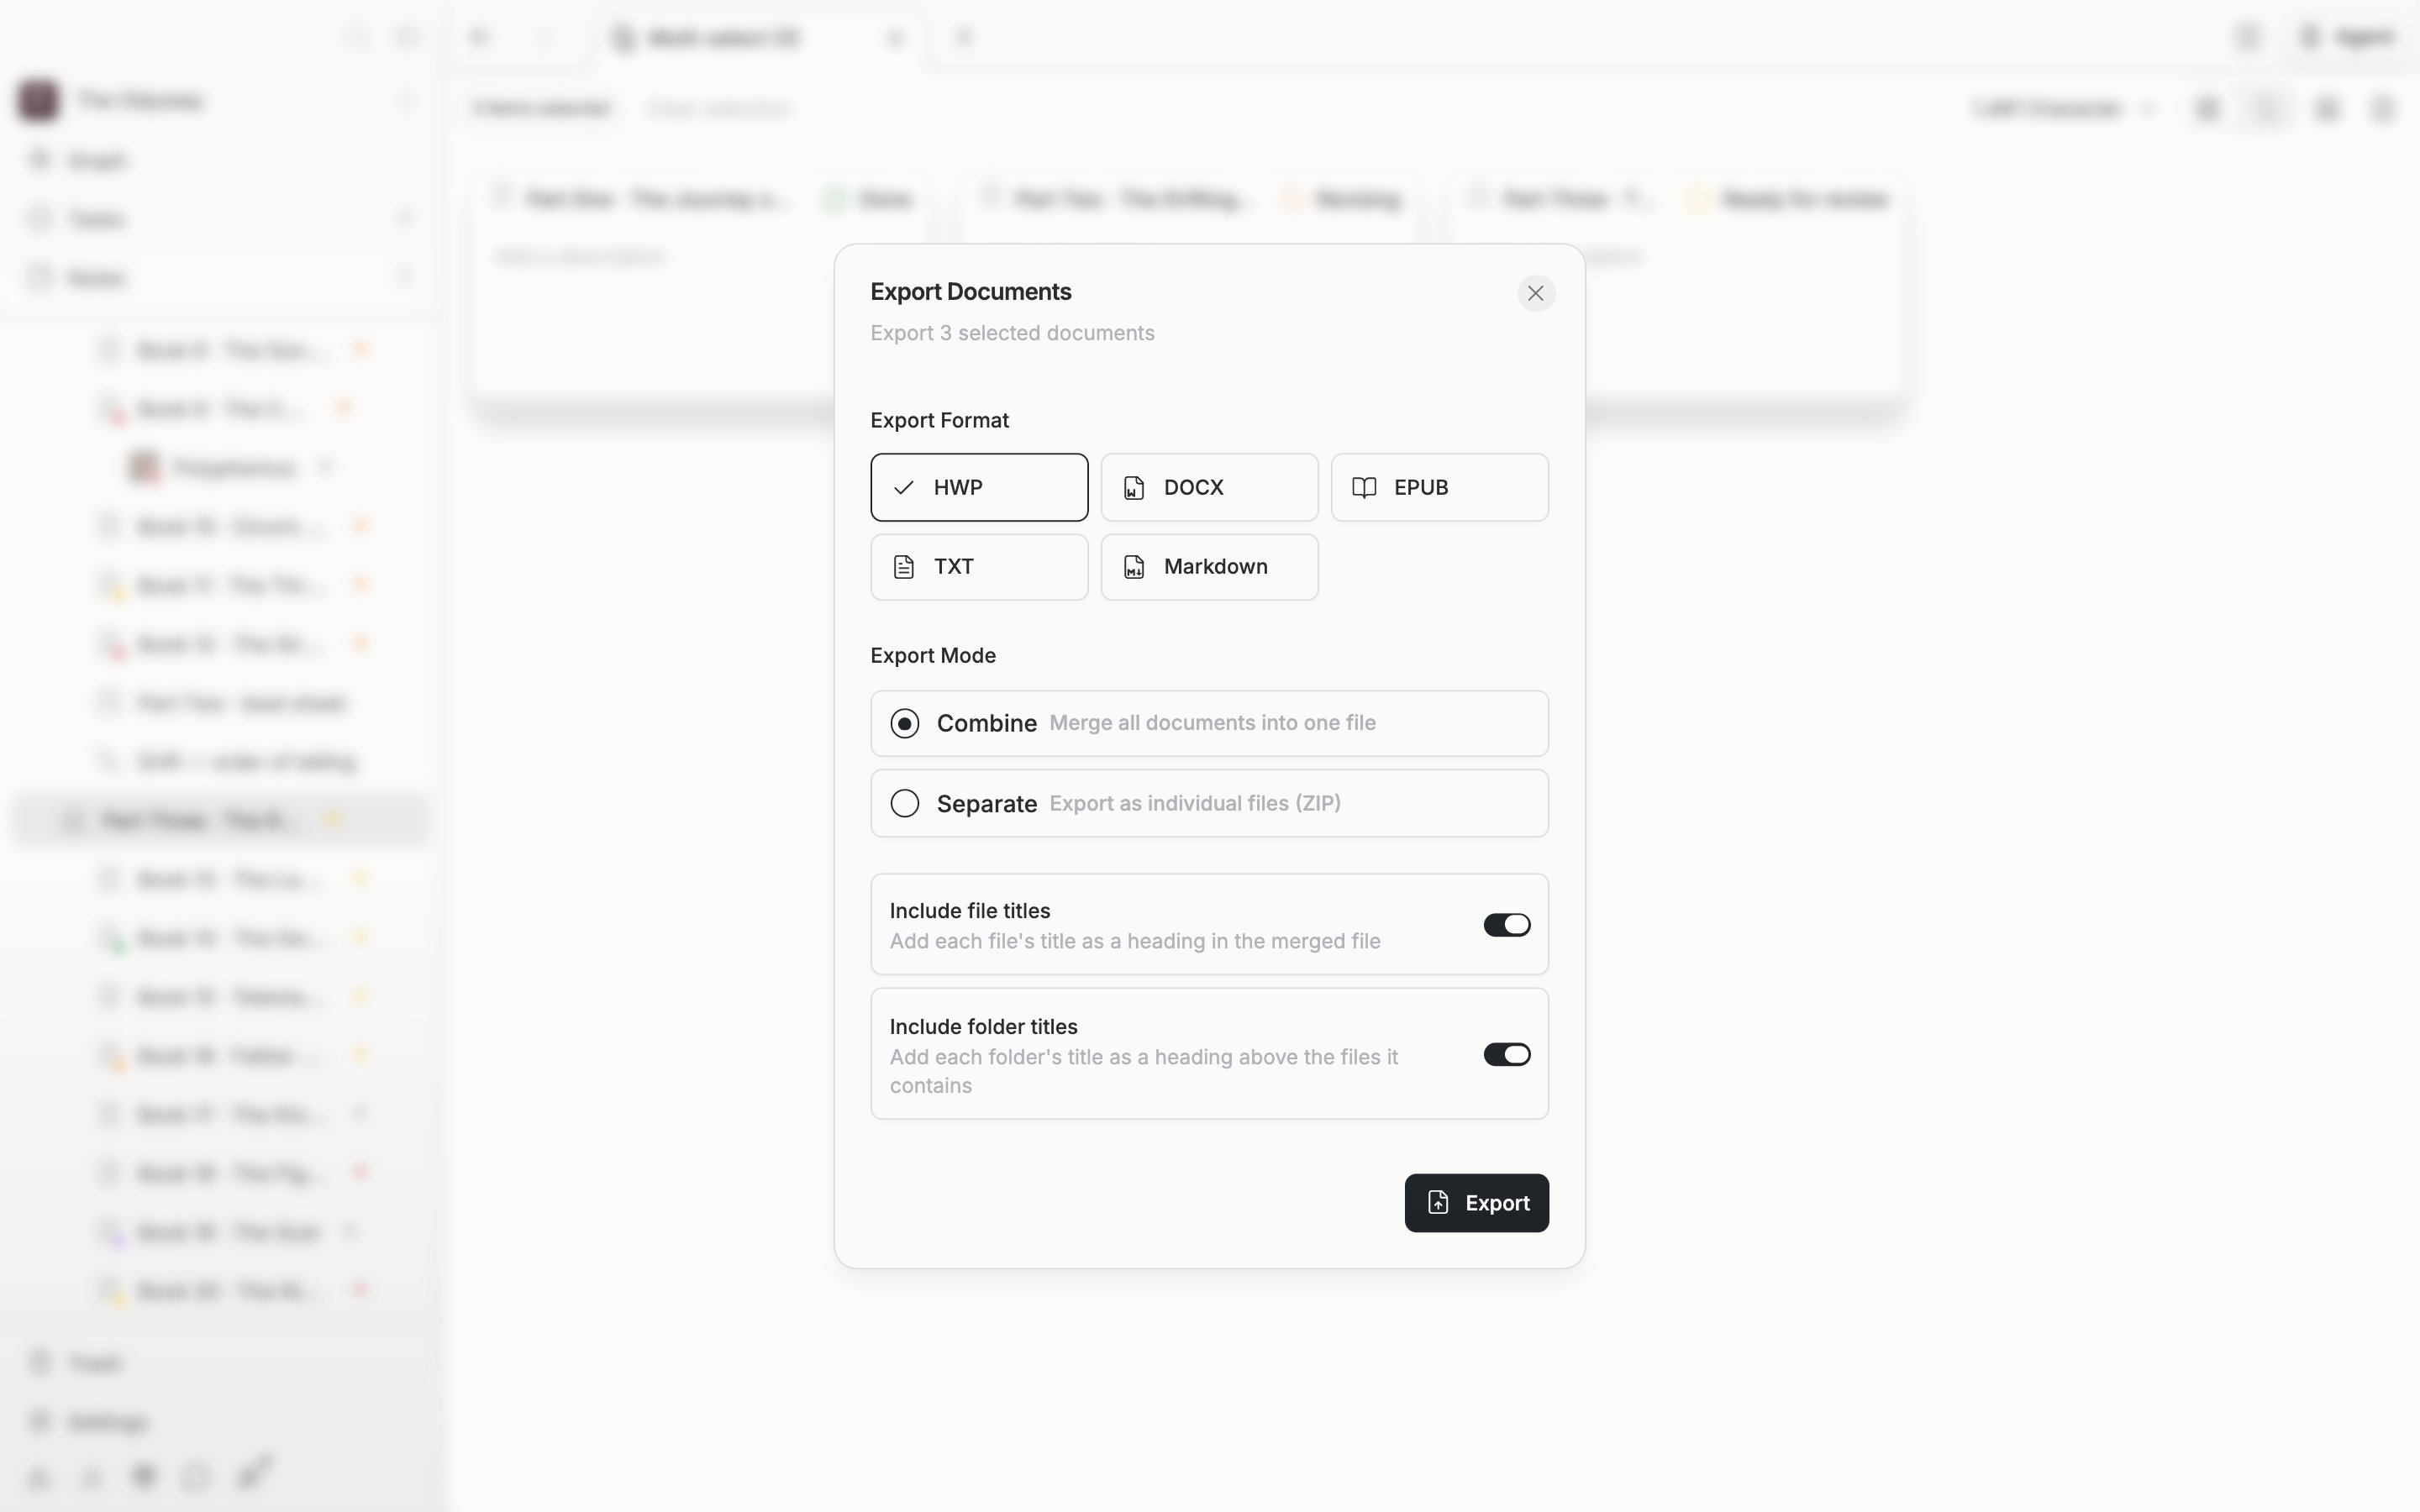
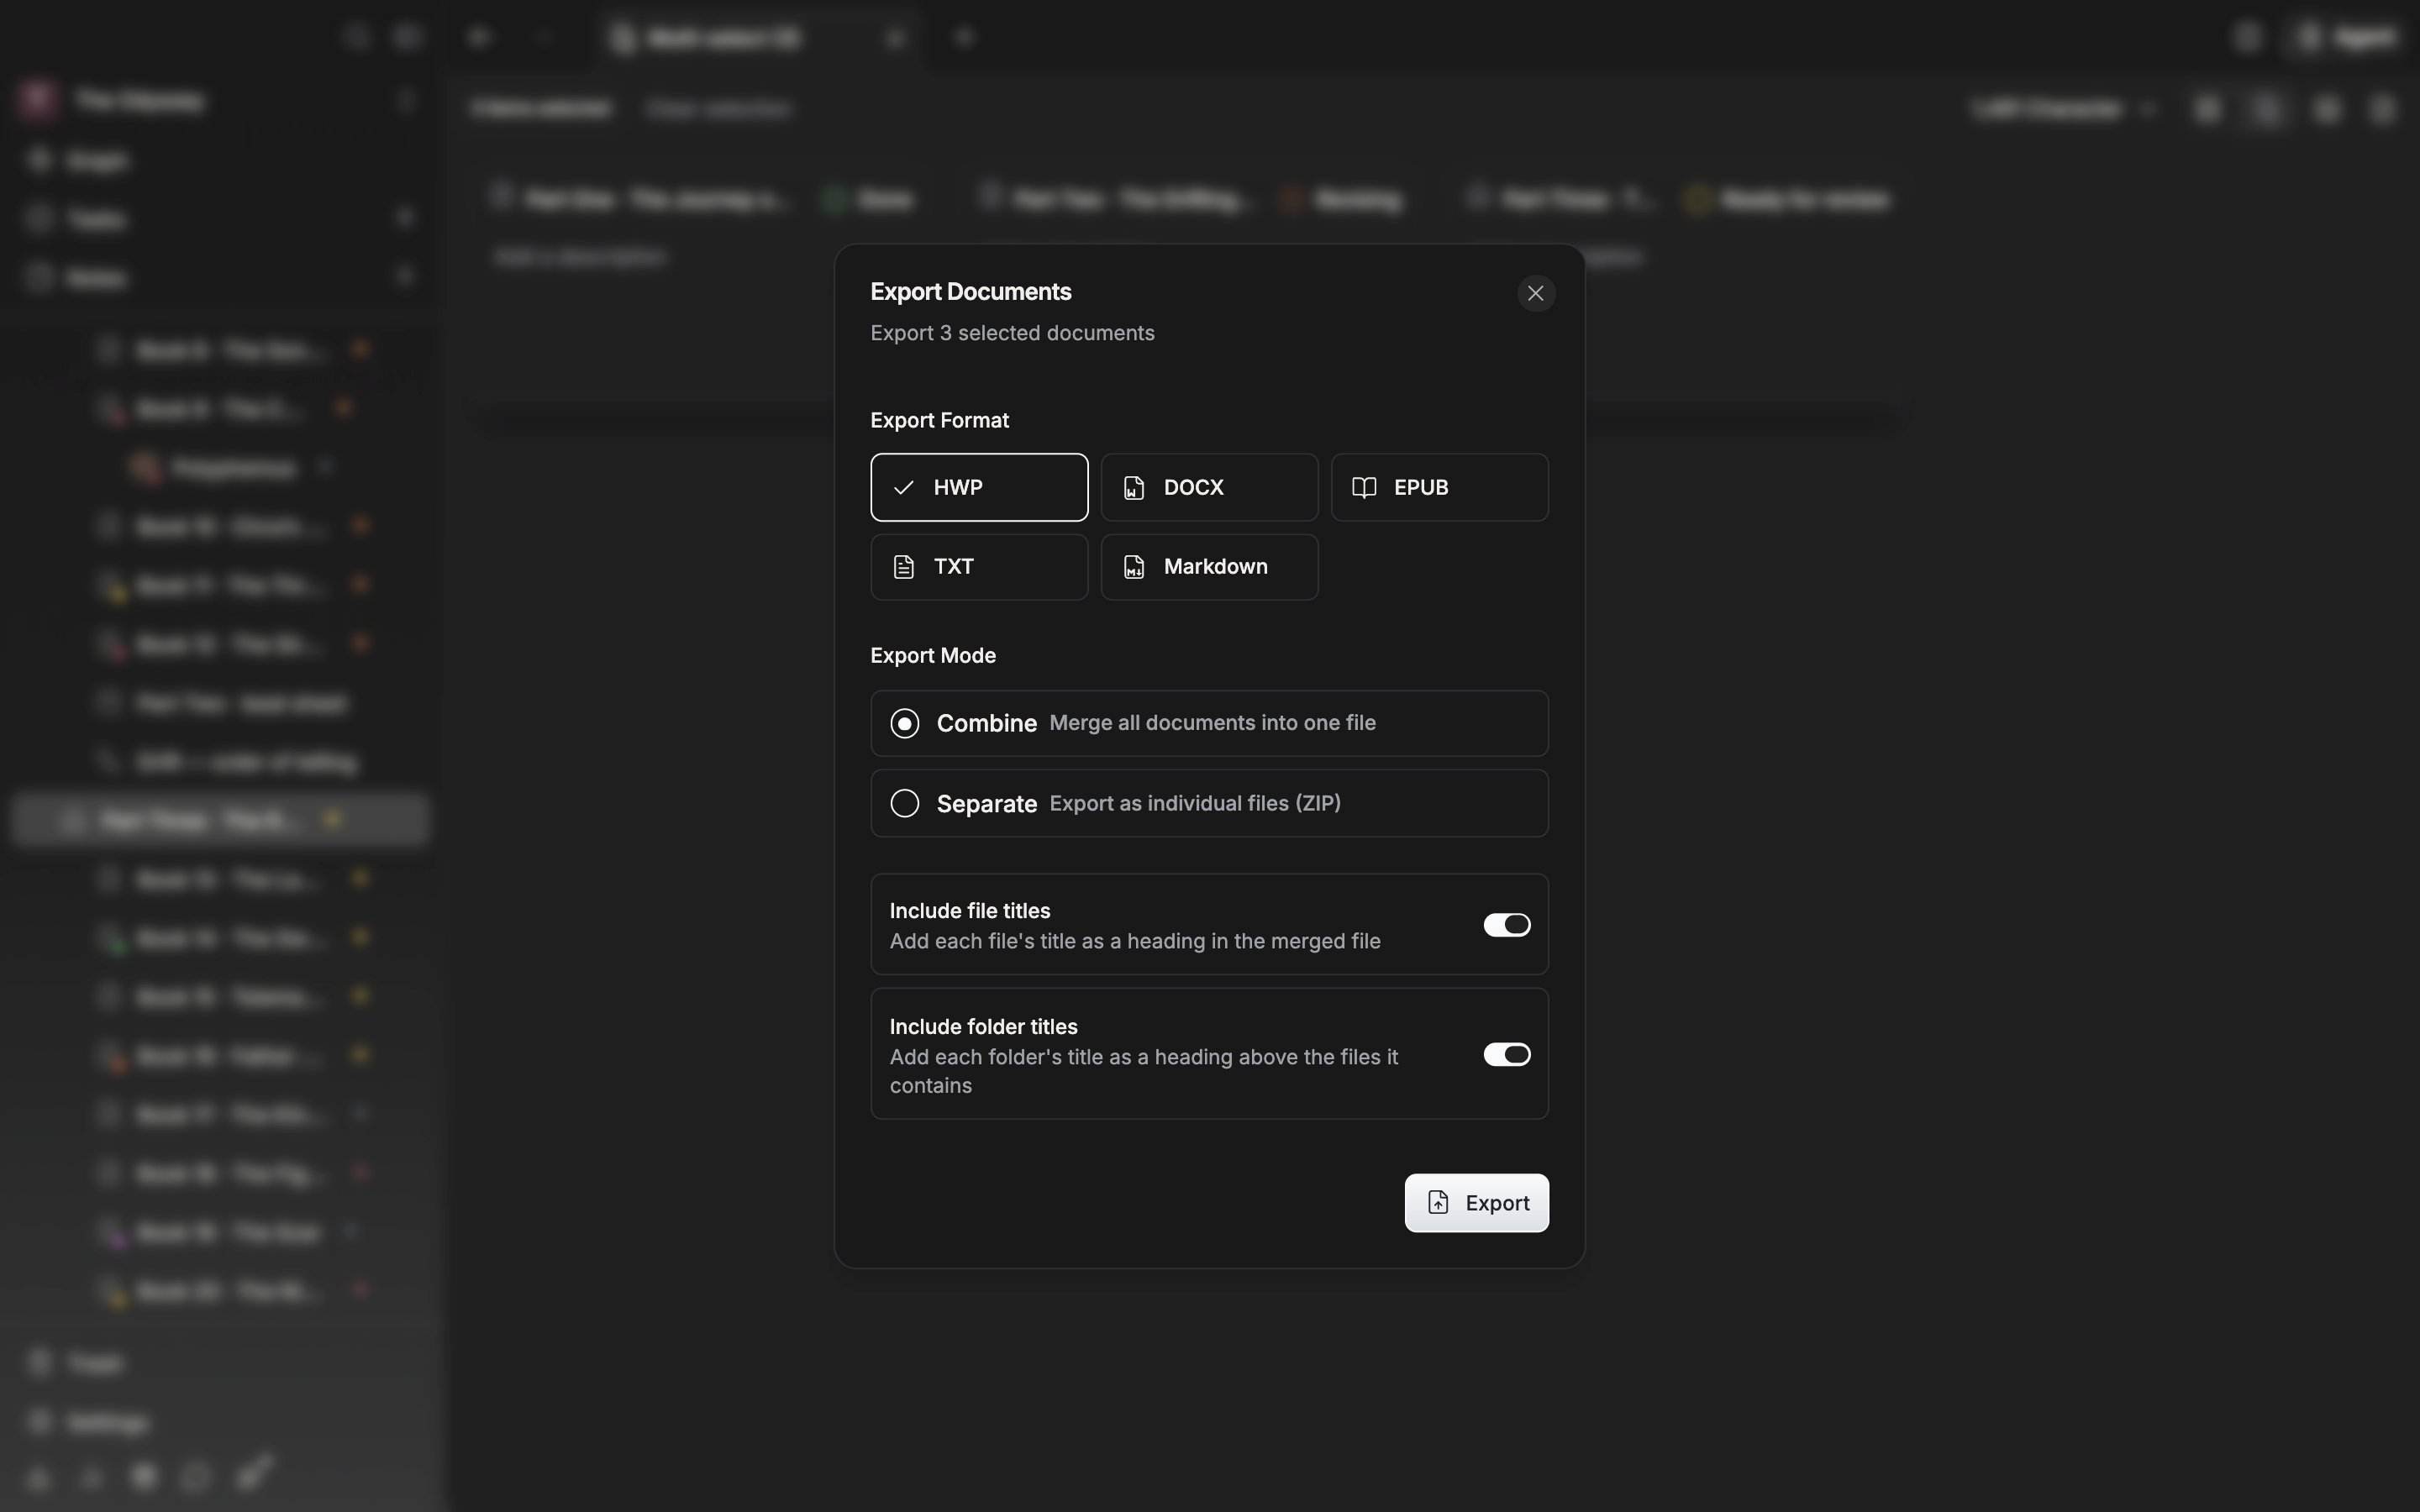
The title switches appear only when you combine.
Choosing where to save
Press export and your operating system’s save dialog comes up before the conversion starts. You set the folder and the file name here. The dialog opens in the folder you last exported to. The suggested name works like this. For a single document, it is the document title as it is. For several, it is the titles of the first five documents joined with-, followed by the format’s extension for Combine or .zip for Separate. When the joined name grows long, the project name is used instead. Files inside the ZIP are named after each document’s title.
Cancel the save dialog and nothing is created; you go back to the export dialog. Taking a single document out as DOCX, EPUB, Markdown, TXT, or HWP through More → Export in the document header goes through the same save dialog. Only Export as PDF uses the print dialog.
The order things are merged in follows the order shown in the file tree, not the order you picked them. To change it, drag the documents in the sidebar.