

Editing the lists
Open settings with Cmd(Ctrl)+, and the “Project” group holds the “Labels” and “Status” tabs. Press “Add Label” at the top right and an empty row appears at the top of the list. Write a name and press Enter to make it. Leave it empty and step away and nothing is made. Press the name to edit it, and press the icon on the left to pick a color. For a status you pick a circle shape out of five as well as a color. The order you set by dragging rows is the order they come in when you attach them to a file.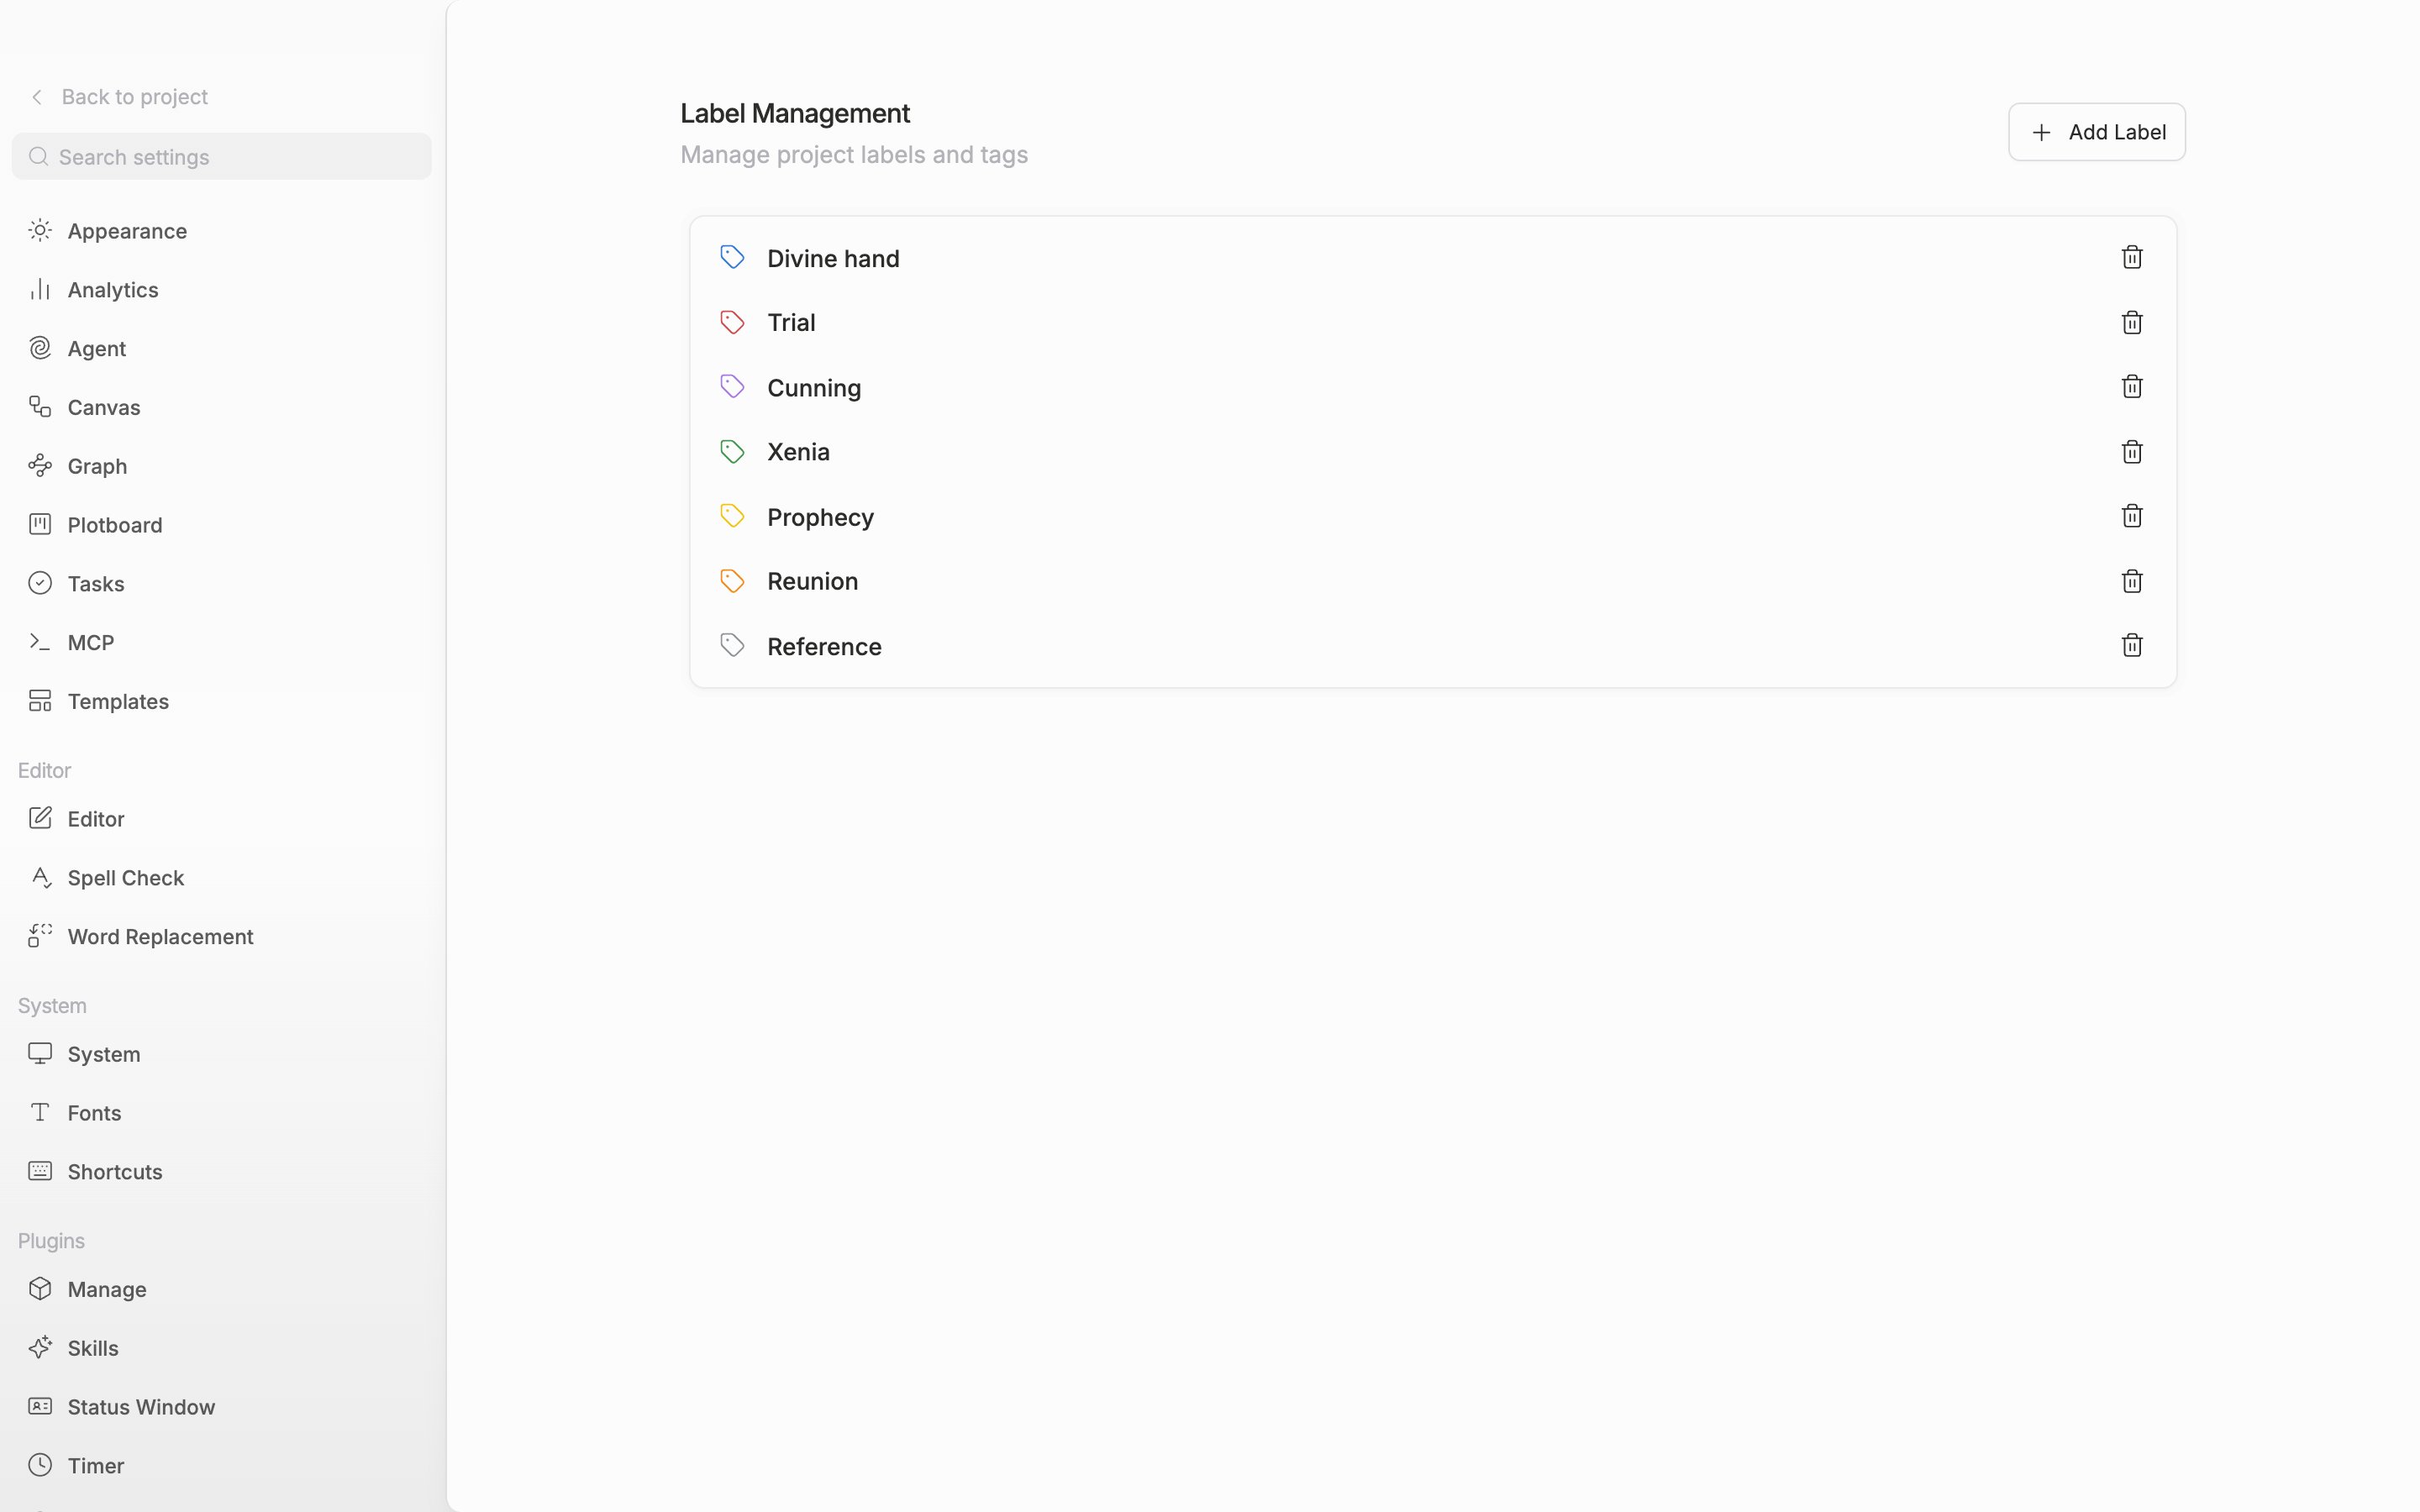
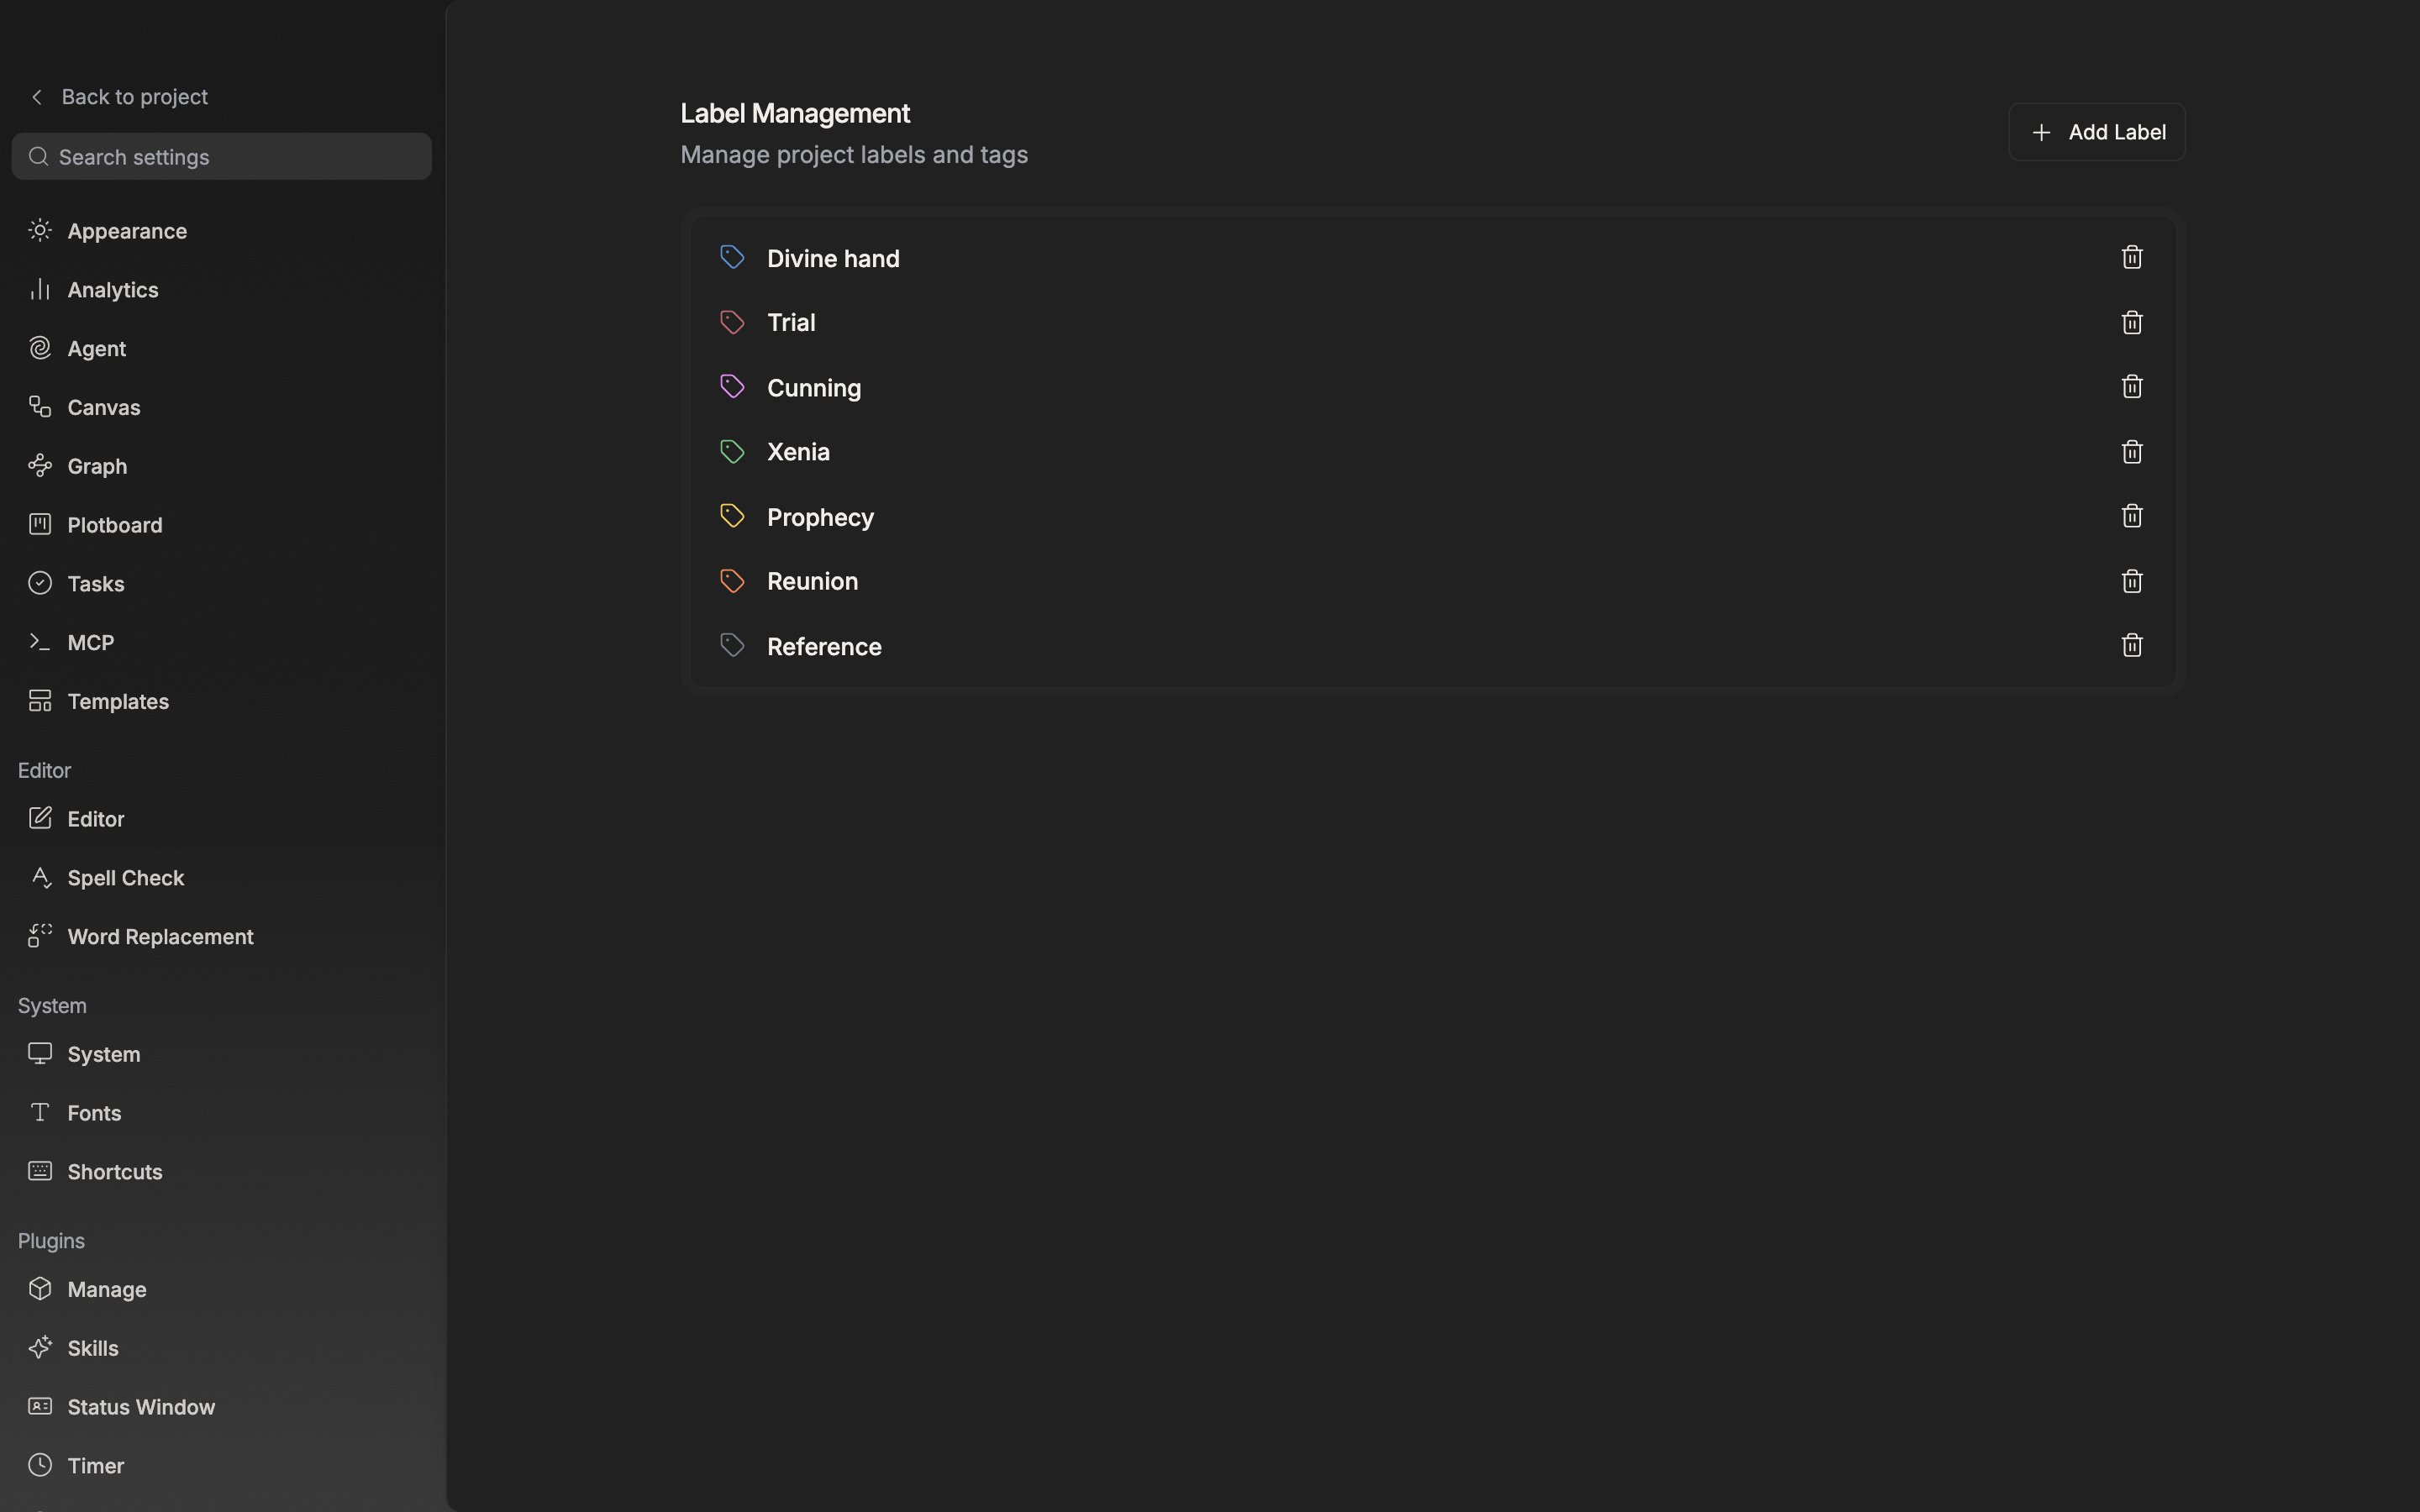
In the Labels tab you edit names and colors and drag rows to set the order.
Attaching them to files
Document, sheet, plotboard, canvas, and folder headers carry the label (tag shape) and status (circle shape) buttons from the start. You can also right-click a file in the sidebar and go to the “Label” and “Status” submenus. Right-click with several files selected and it attaches to all of them at once. To take one off, pick “No Label” or “No Status”. The command palette hasSet Label for "<file name>" and Set Status for "<file name>", carrying the name of the file you have open. Here, typing a name that is not on the list brings up Create "<name>" label, which attaches to that file the moment it is made. Neither of these two commands comes up for folders.
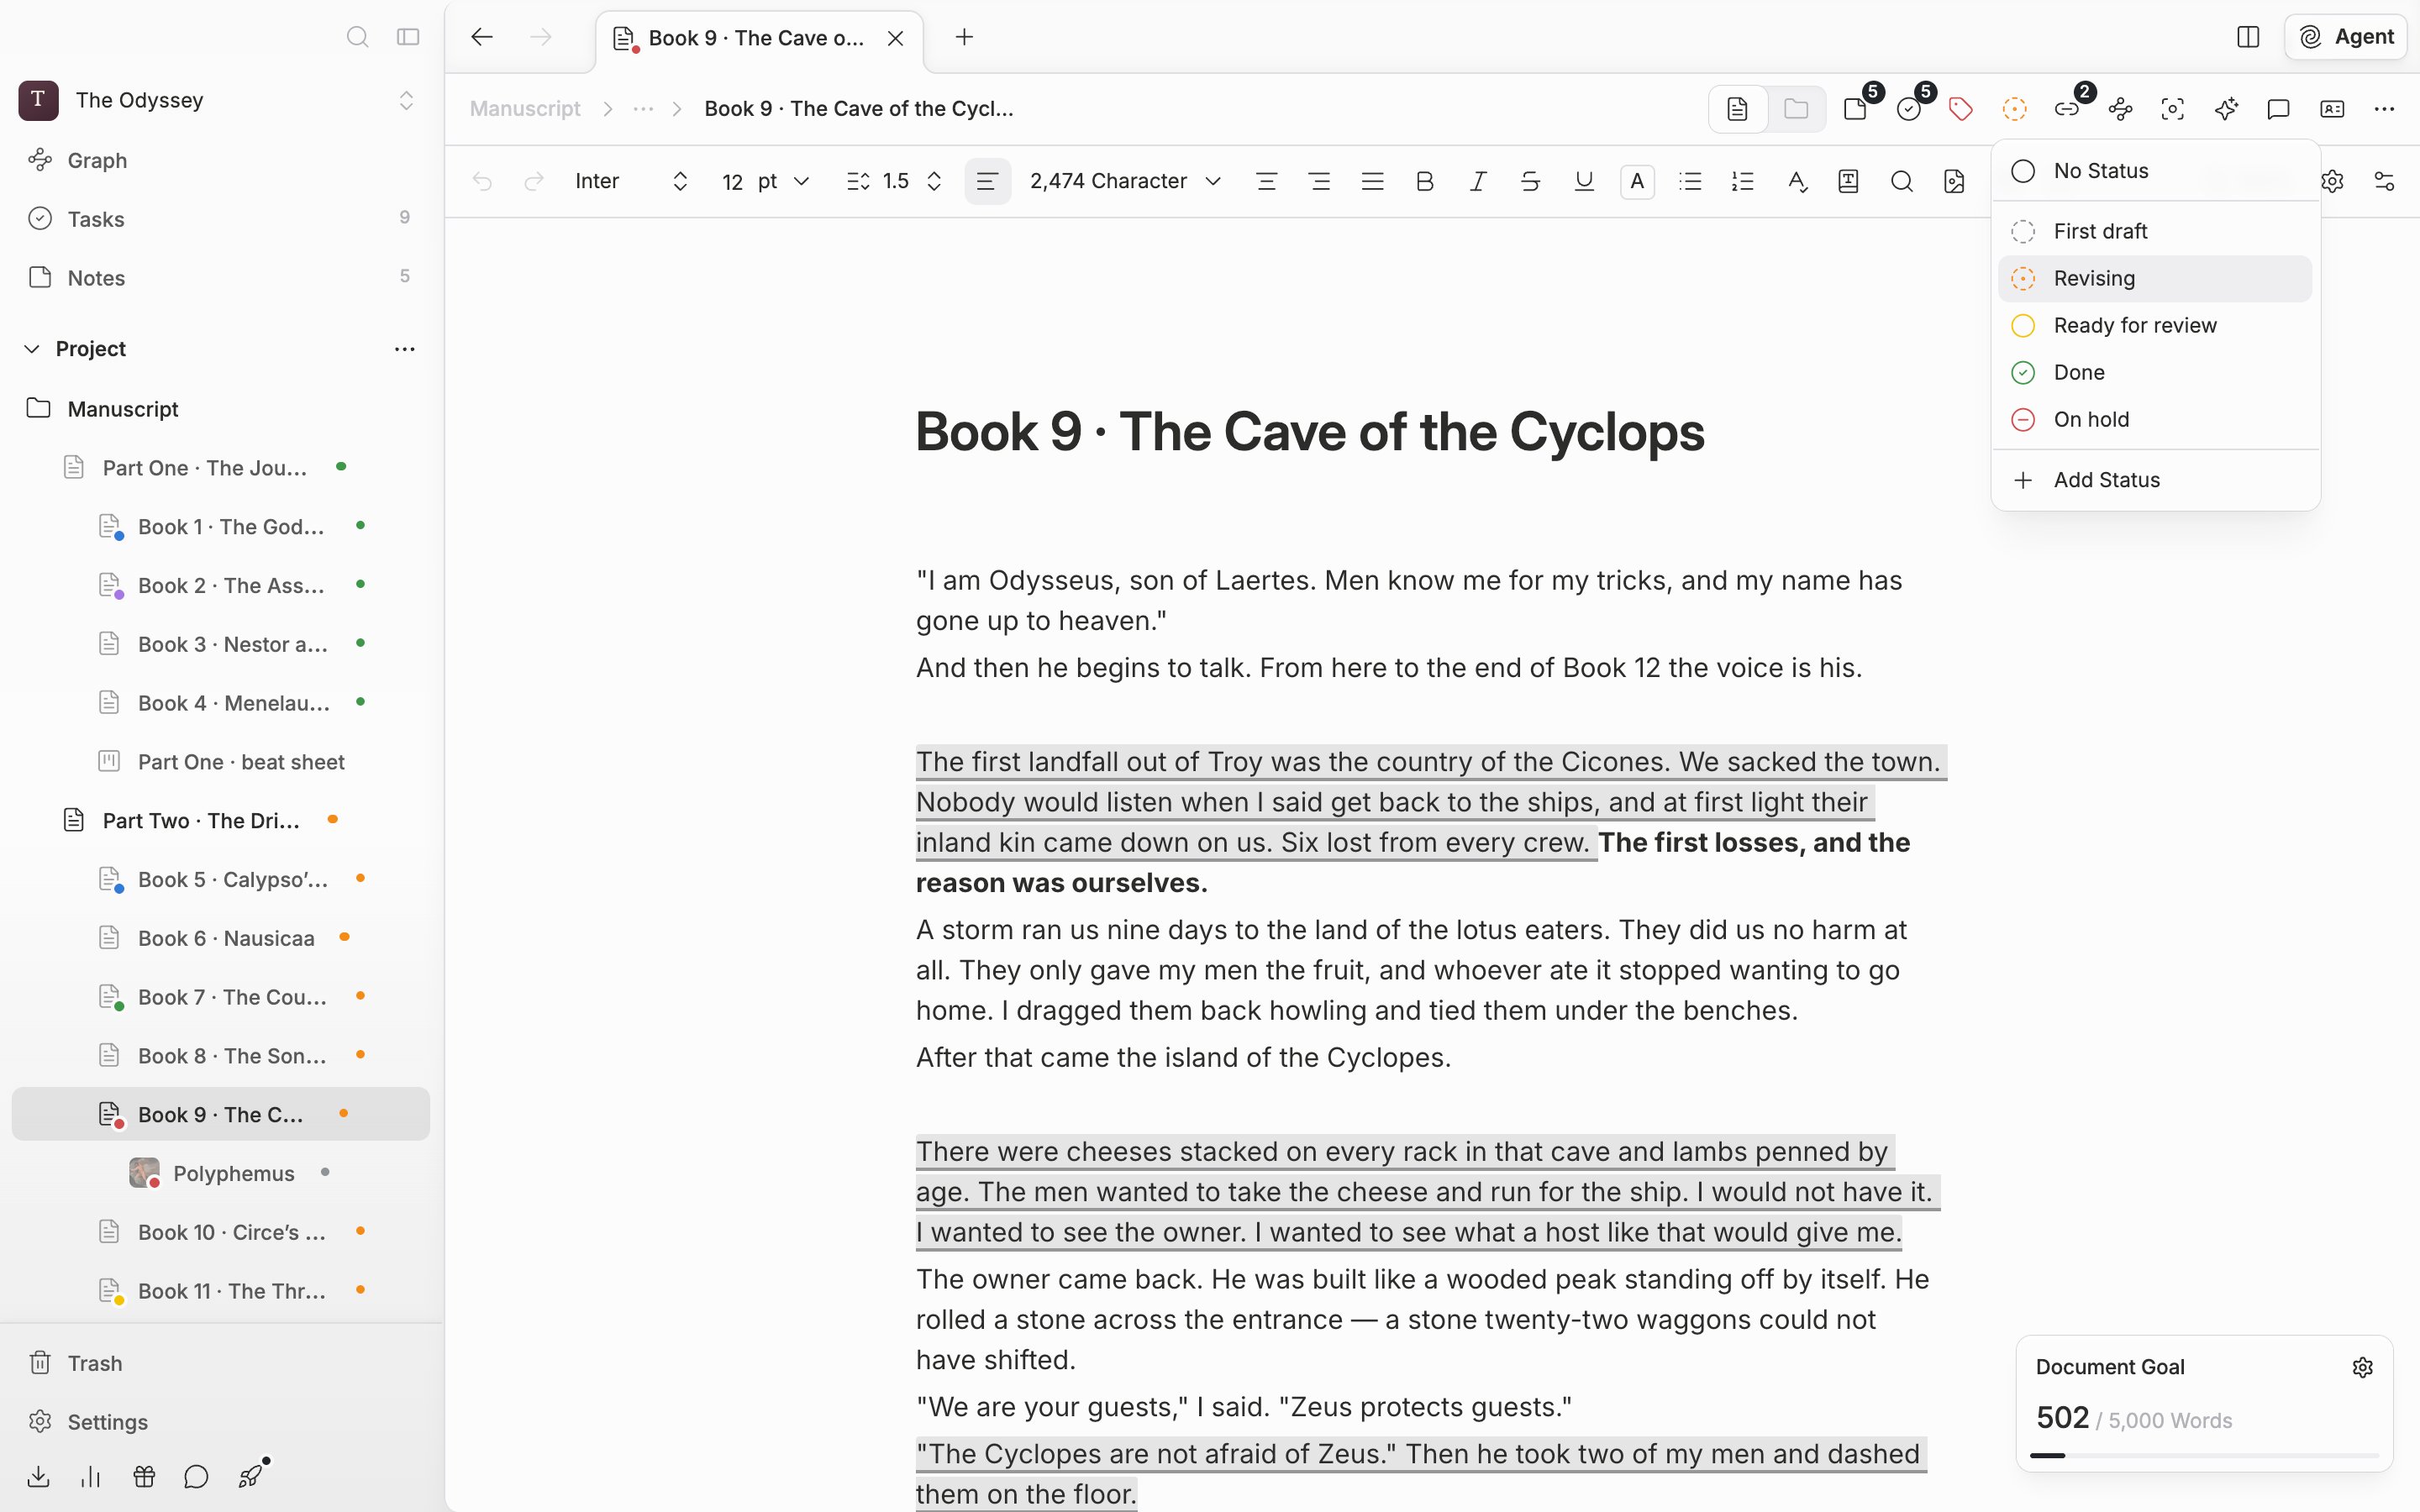
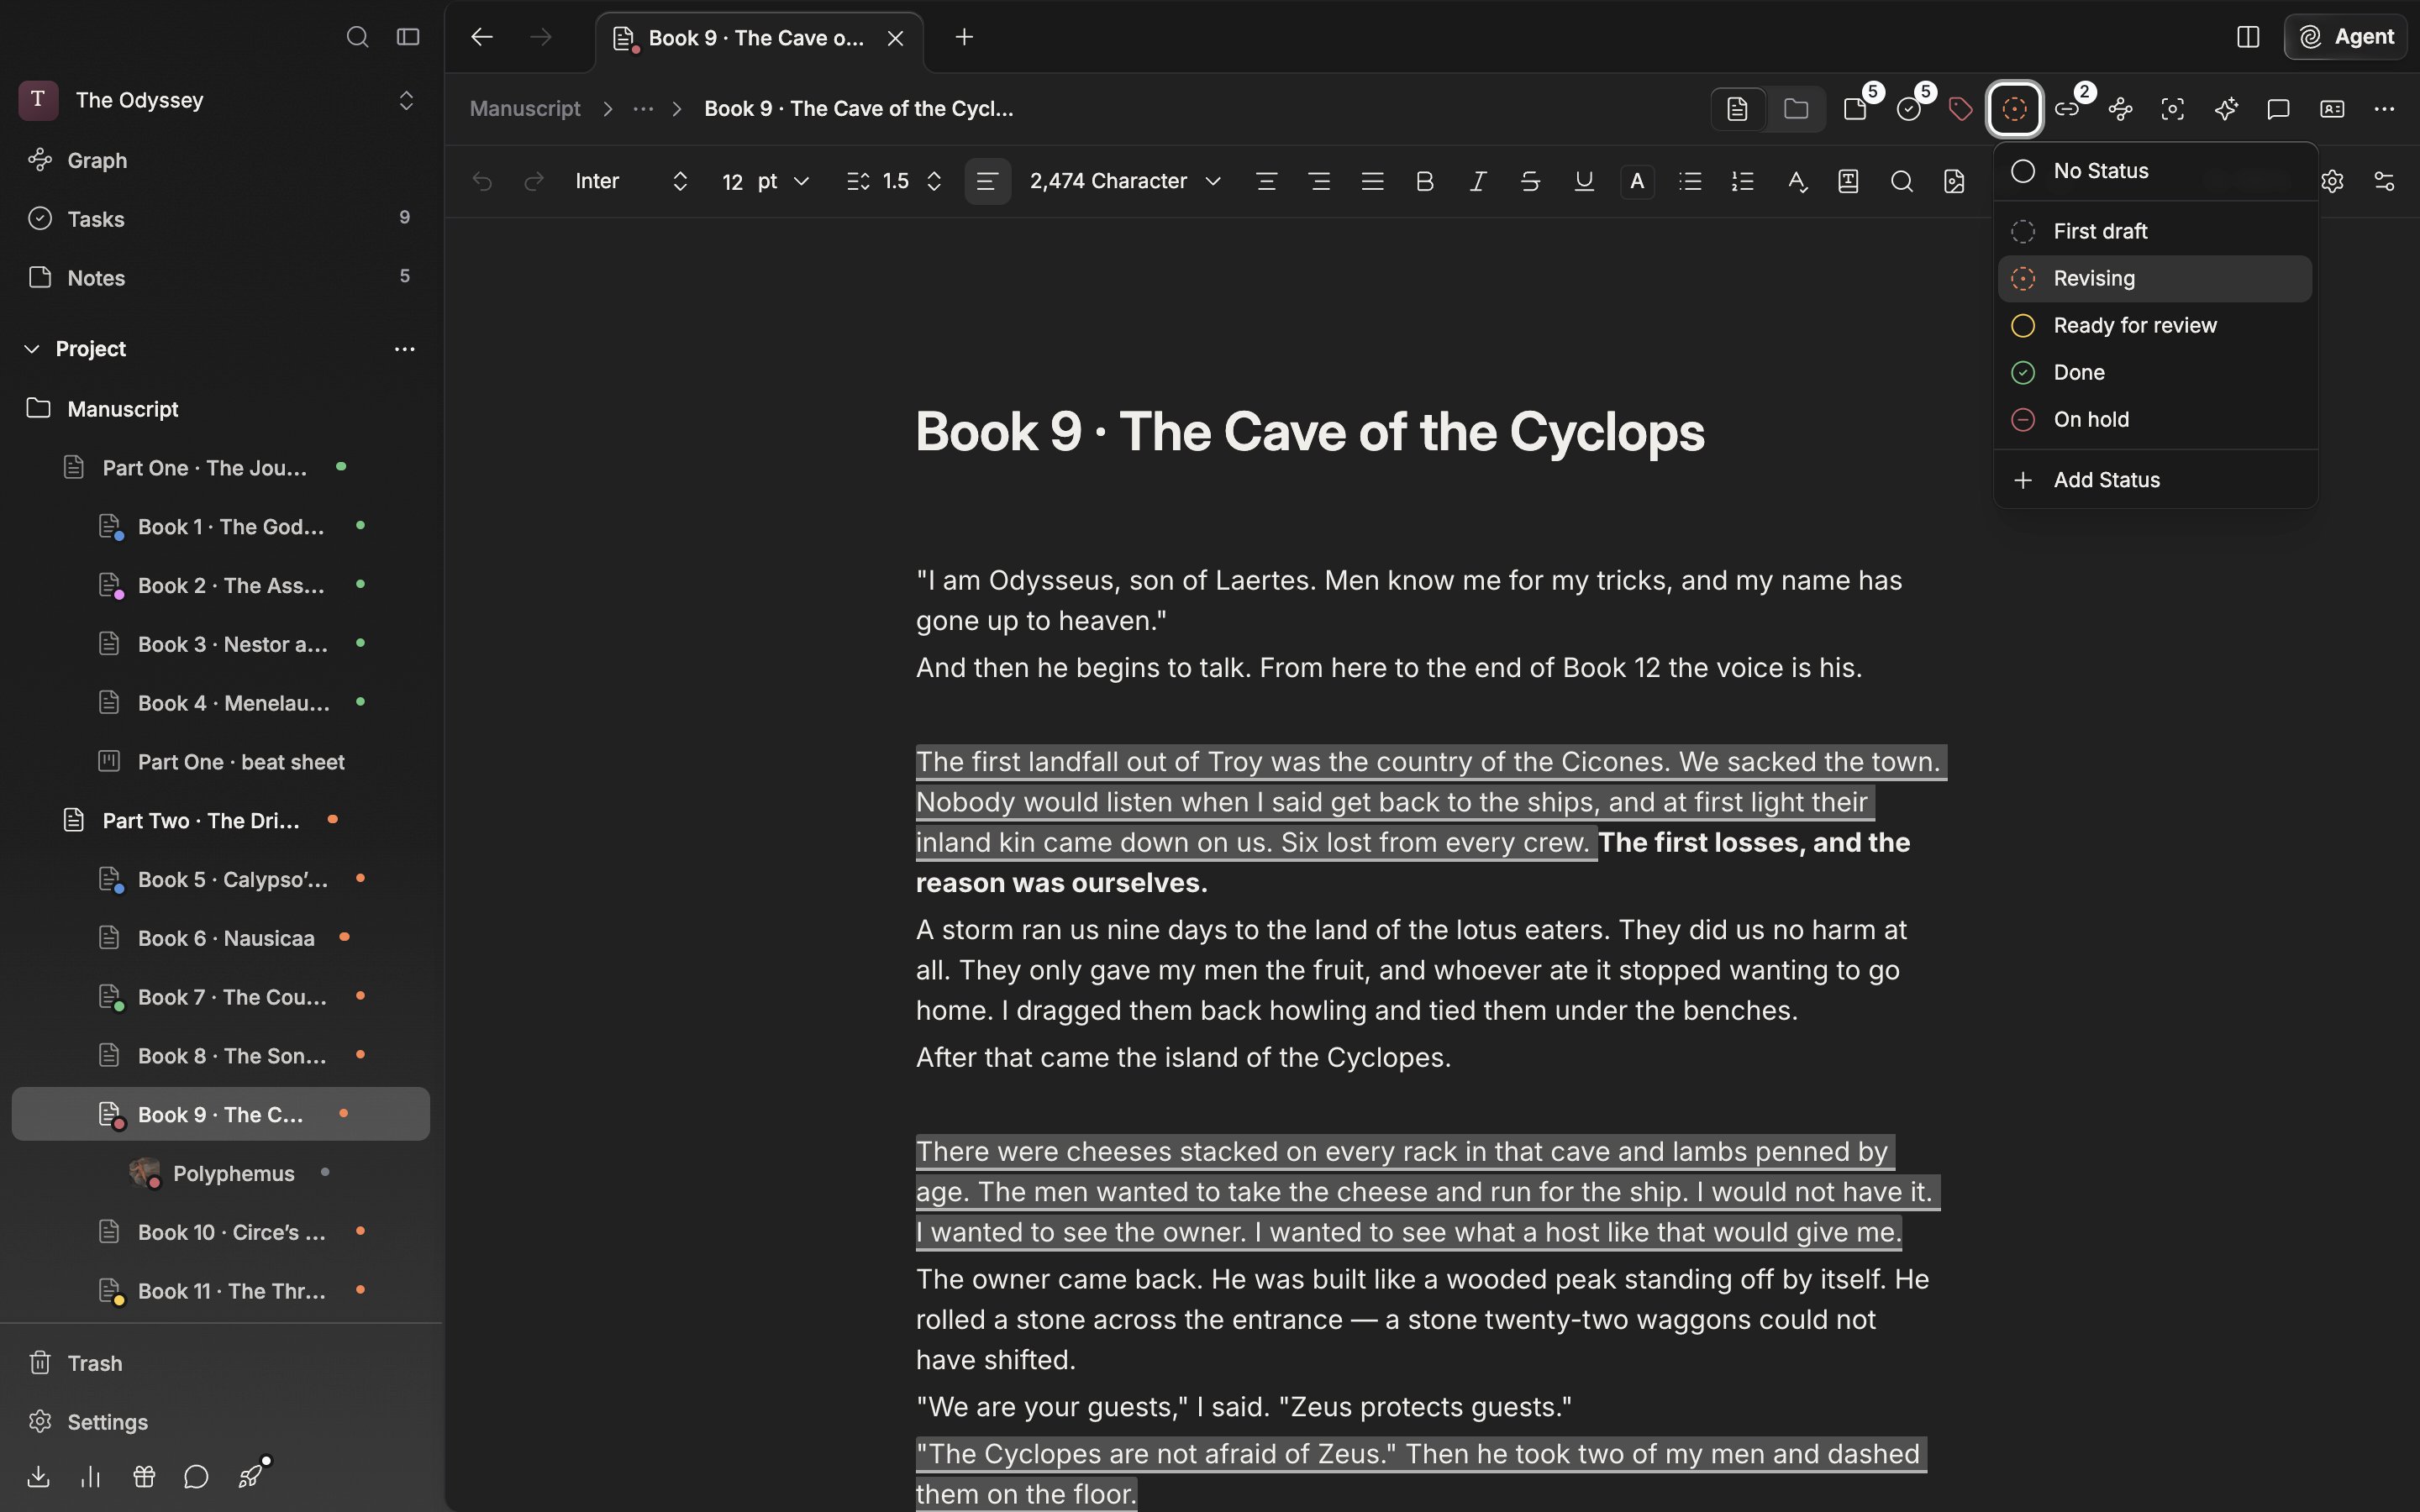
The circle button in the header changes the status. The label button is in the same place.