

Hand over the whole .scriv folder
In Settings, open Import in the Project group. Drag the whole.scriv into the drop zone under Import Documents.
Hand over only the .scrivx file and pensiv sends it back, saying “A .scrivx file only holds the outline”. The text is scattered in the Files folder beside it, so the outline file alone gives you nothing but titles.
On macOS a .scriv is a package, so Select Files catches it too, but on Windows it is just a folder, so you have to use Select Folder.
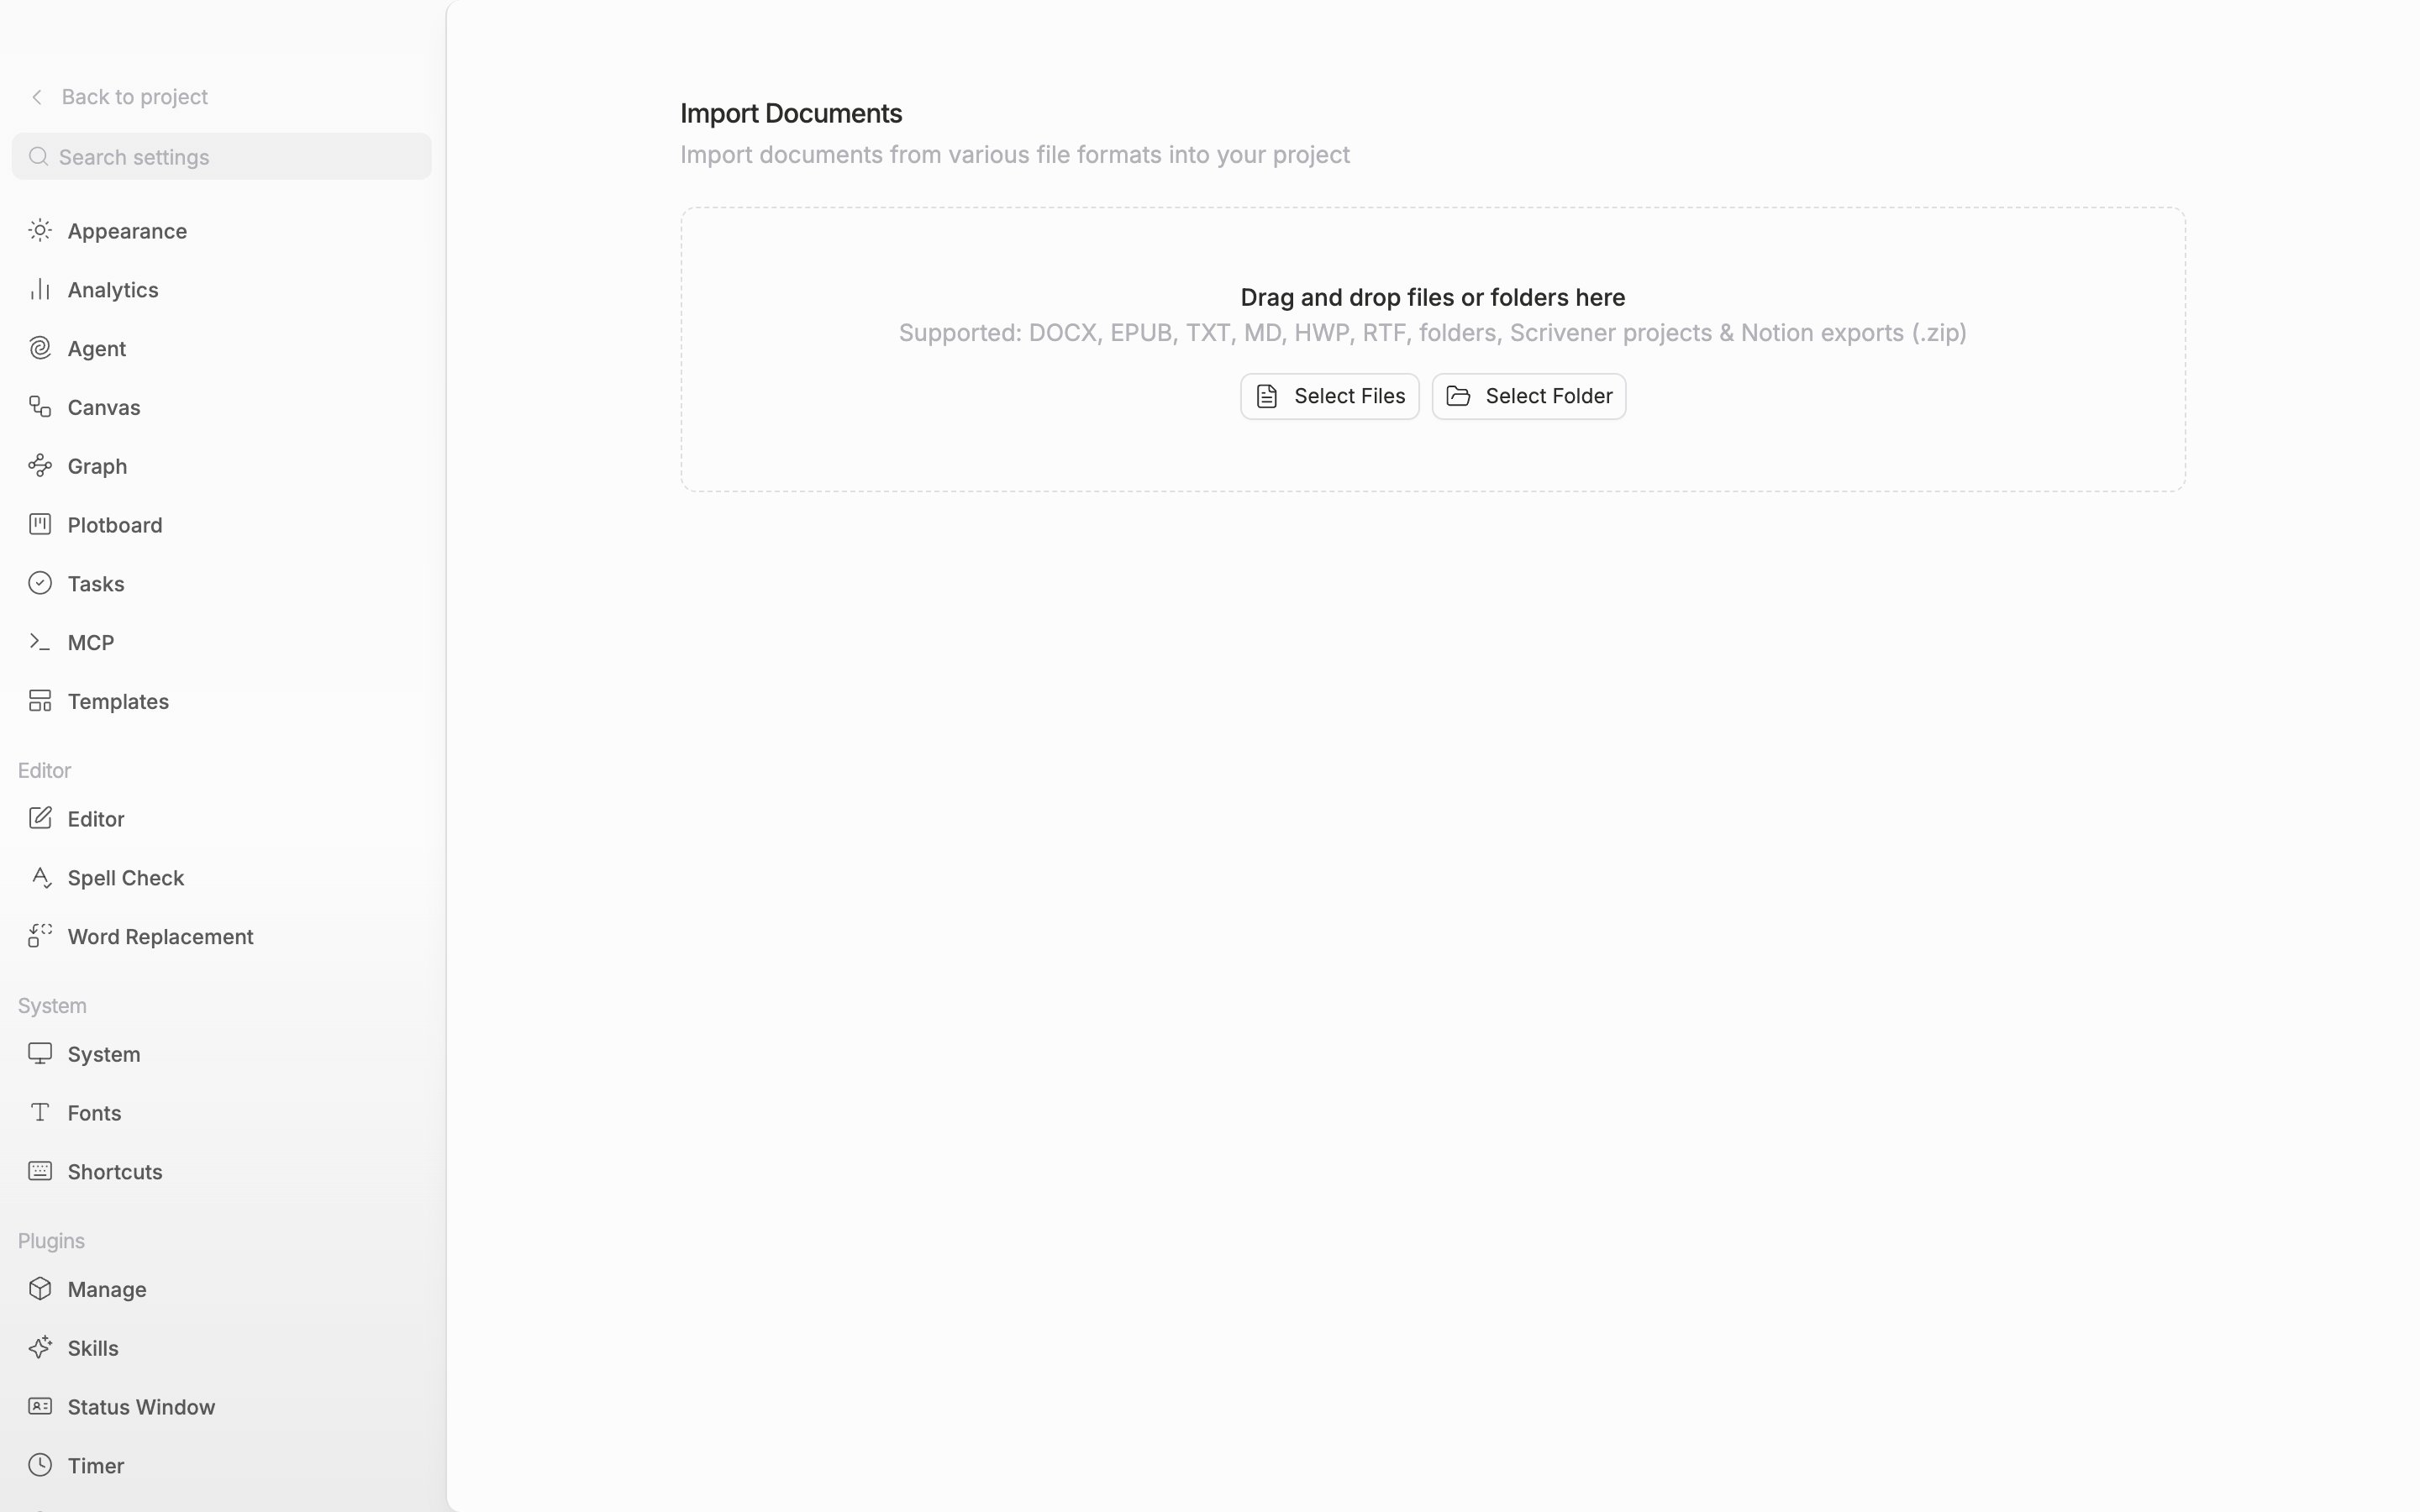
Drag the whole .scriv folder into the Import tab.
What lands where
The Binder’s order and nesting come across as they are. They arrive in the sidebar held in one folder named after the project.- Synopses become the document Description
- Document notes become Notes
- Labels and status become the project’s Labels and Status. If one with the same name exists, that one is used
What your old words are called here
Grab several documents in the sidebar with
Shift or Cmd/Ctrl and switch the view toggle at the top right over to the document side, and the ones you picked run together as one set. From the same place, choose Export → Combine and they become one file in HWP, DOCX, EPUB, TXT, or Markdown.