

First, three places that get confused
There are three places that change the editing environment. Where you change it decides how far it reaches.
Presets are a layer apart from these three. On the Editor screen in settings you save a bundle of values under a name, and once saved you pick it from Current File Settings and swap it into a document.
In one line — defaults in settings, exceptions in the document, repeated exceptions as presets.
Current File Settings
The gear button at the right of the toolbar is Current File Settings. Values changed here reach only the document you have open. Where the values live splits in two. Default Font, Display Size, Indent Size, Paragraph Spacing, Word Break, Page view, Quote Style, and Editor Color are stored on the document, so everyone who opens it sees the same layout. Typewriter mode, Focus mode, Word Count, and Show formatting marks, on the other hand, apply to you alone within this document. Collaborators’ screens stay as they were.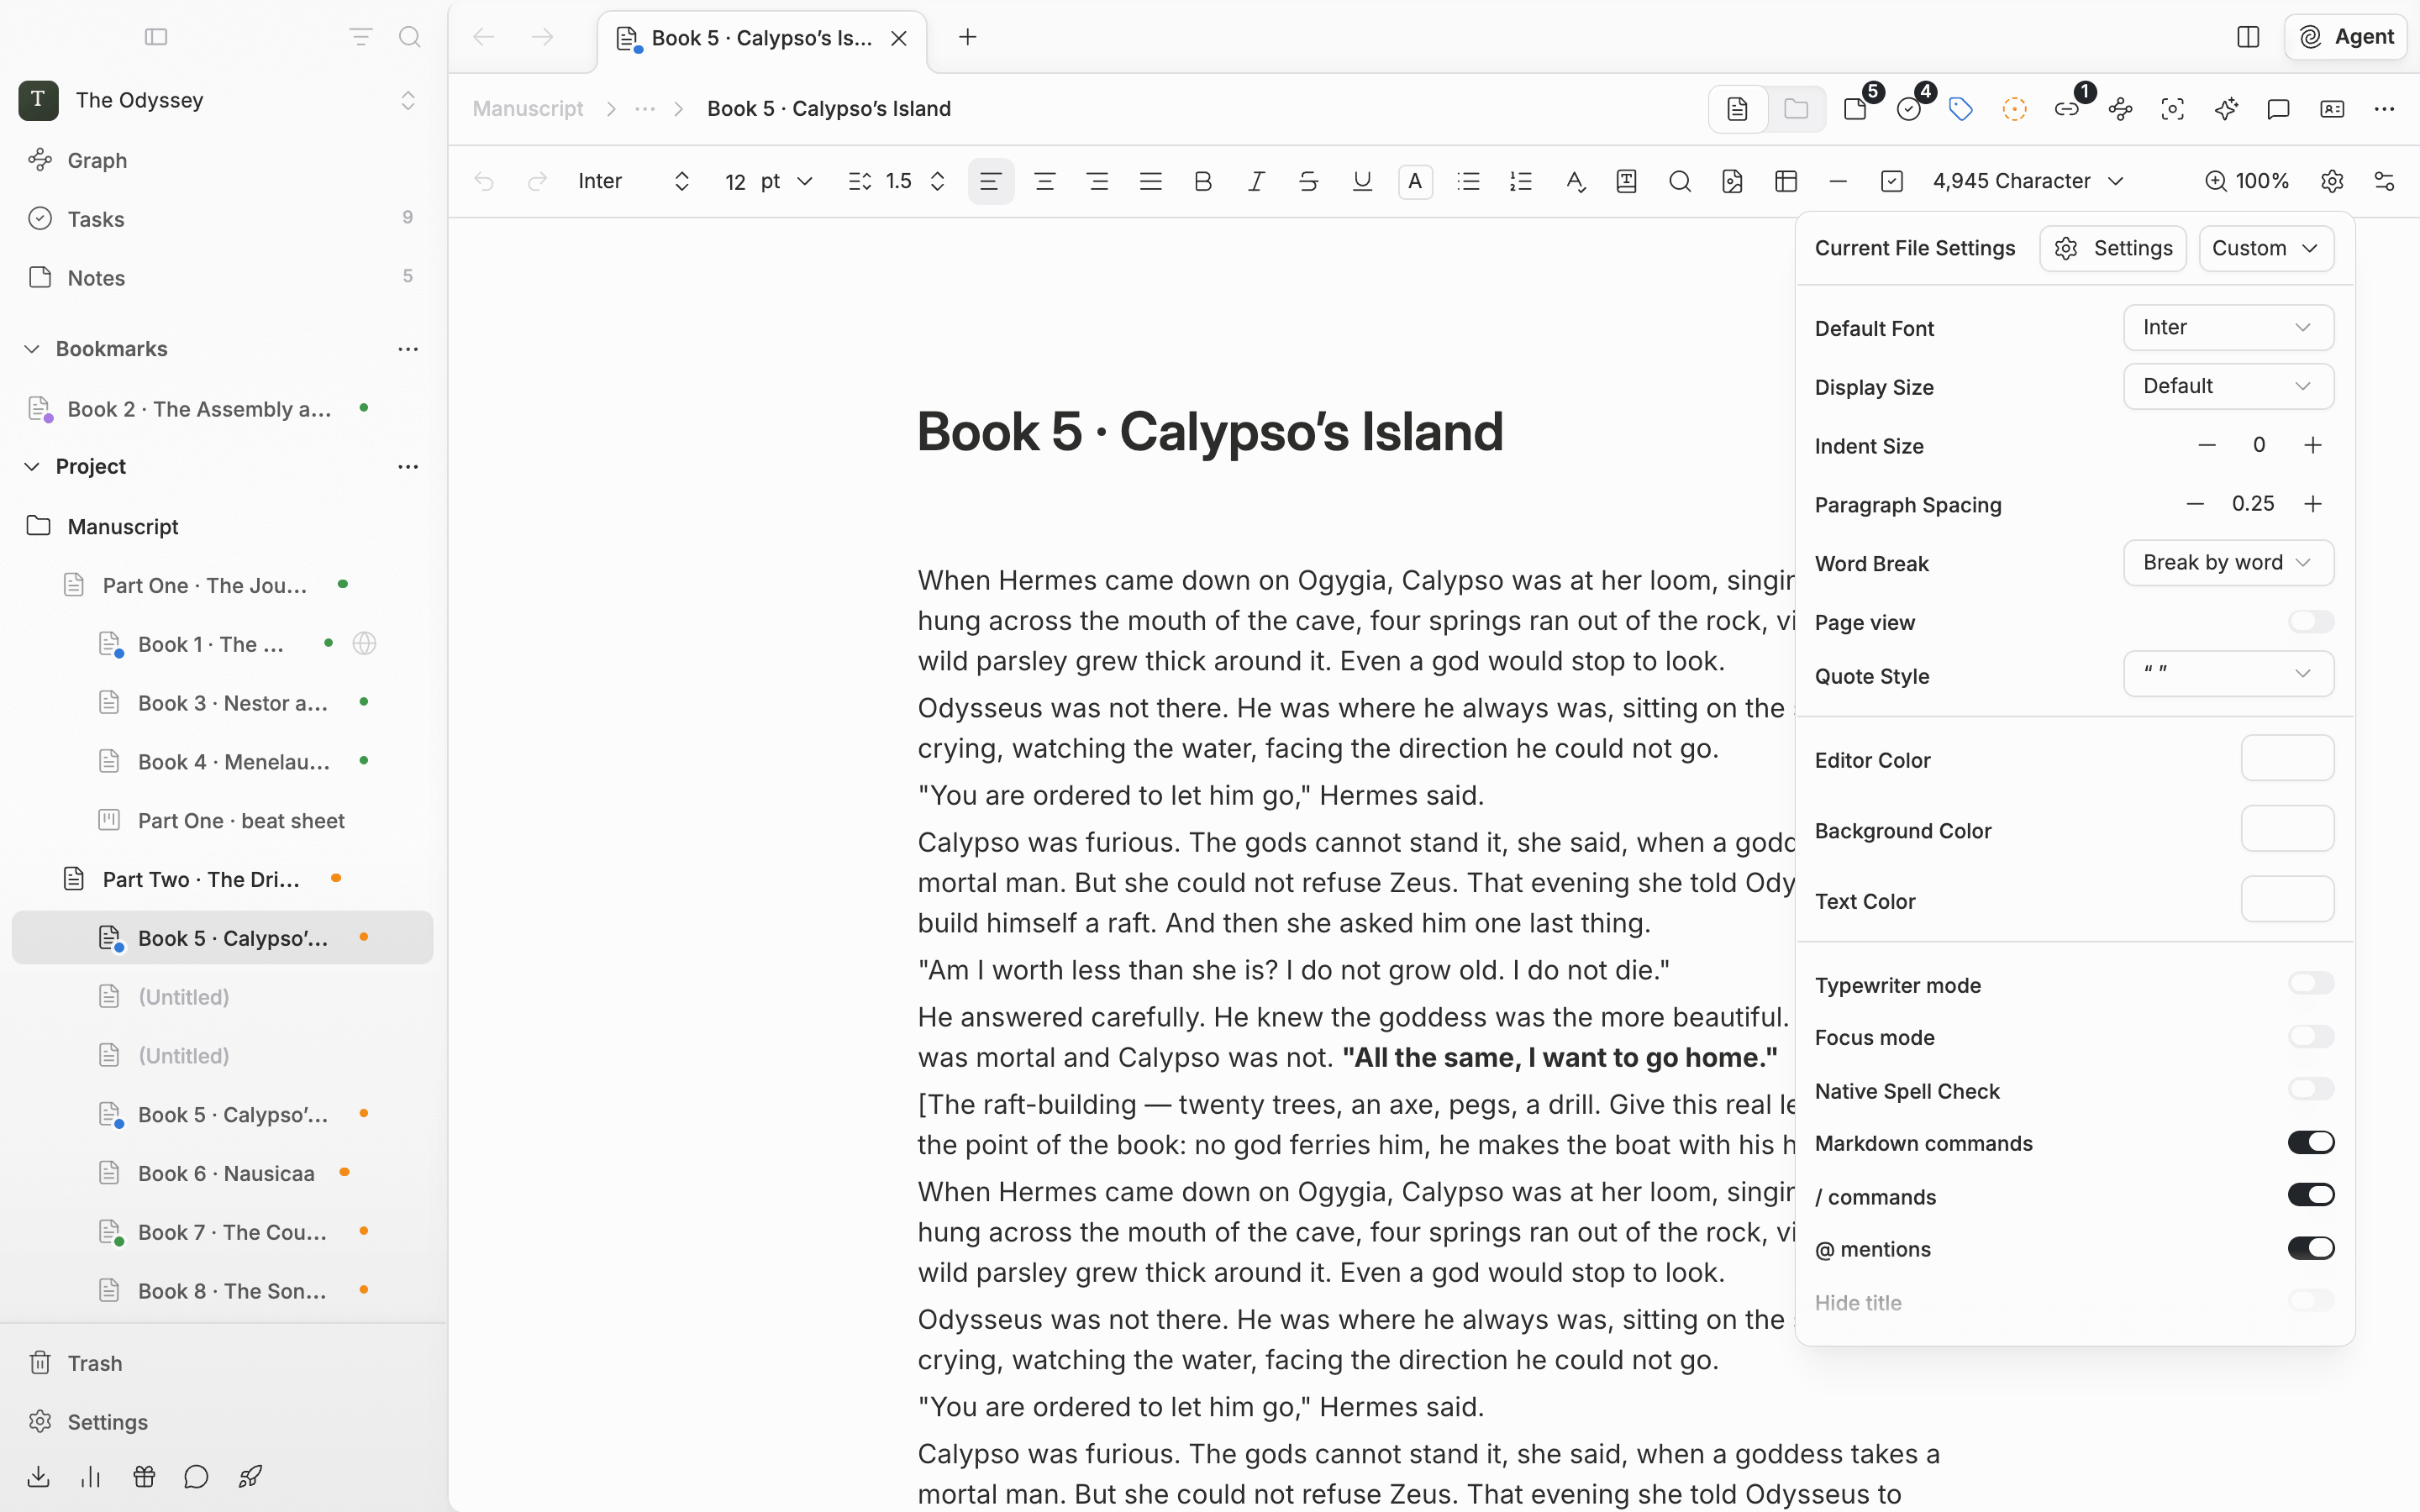
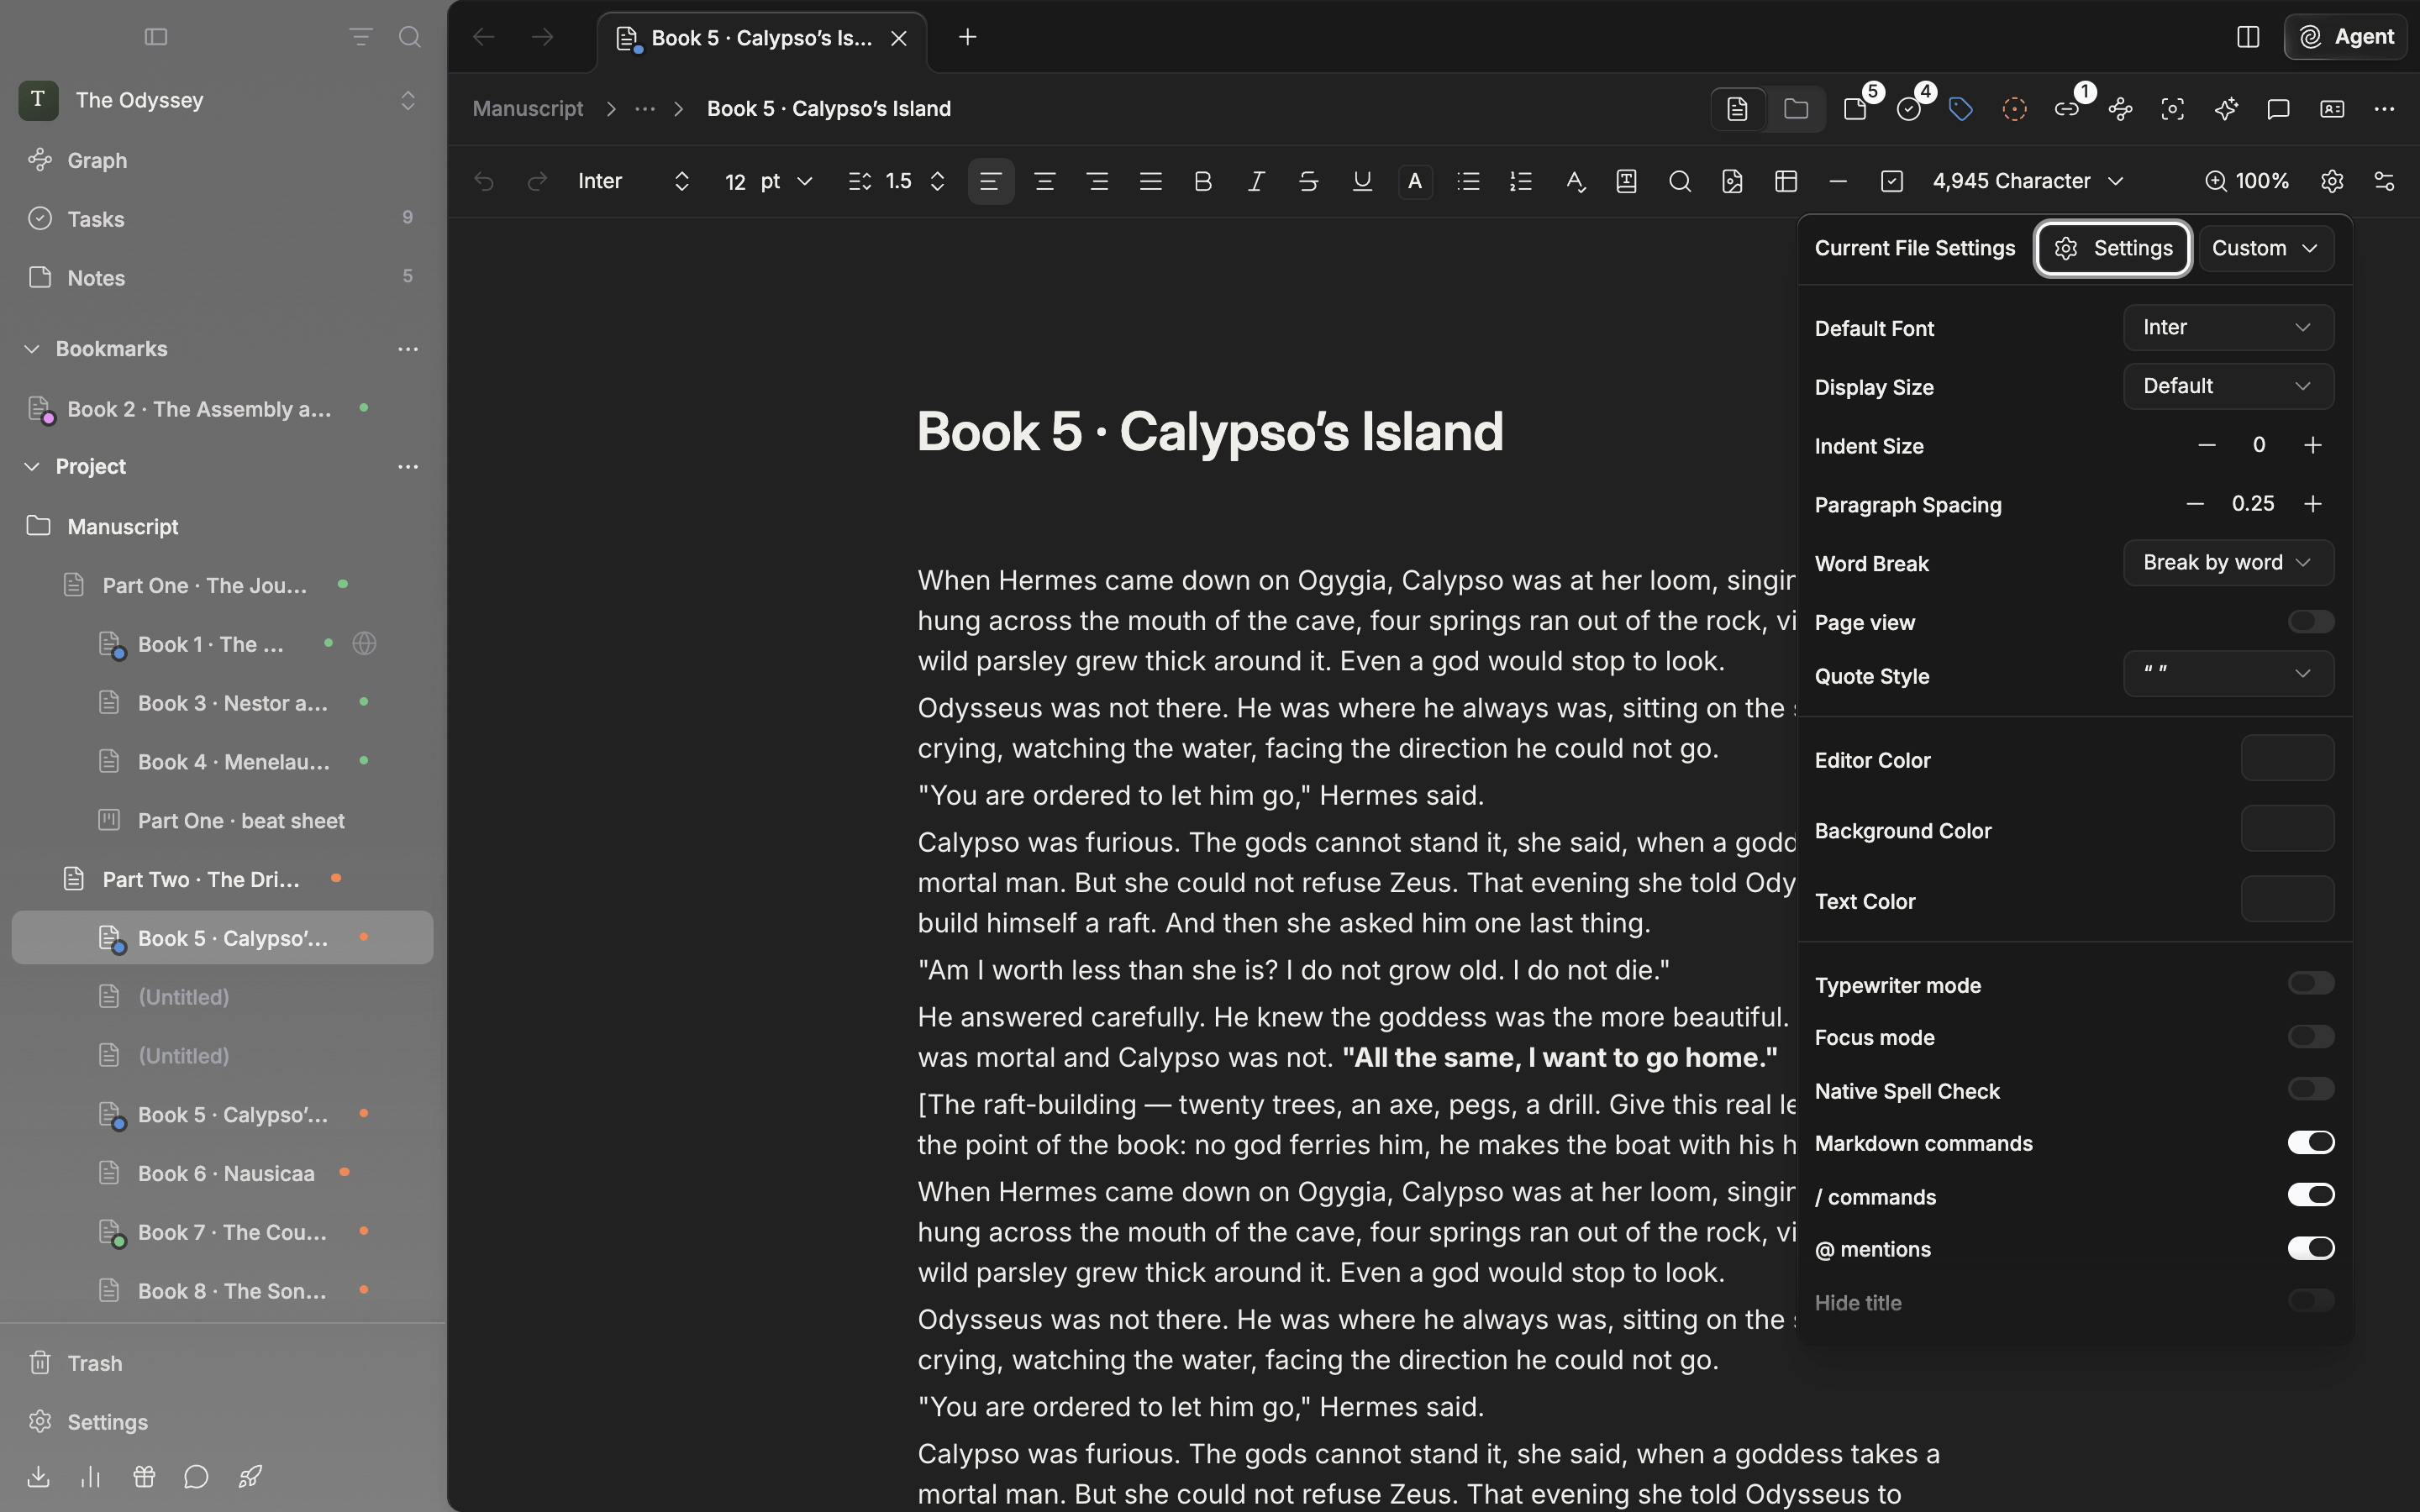
Current File Settings. The values that reach only the document you have open.
Page view — seeing it as printed paper
Page view sits inside Current File Settings. Turn it on and the manuscript is no longer one continuous sheet but cut into printed pages. It is the view for judging submission length by eye, or for reading pacing page by page. Turn it on and rows for pages per row, page numbers, and the ruler attach, and below them you set paper size, orientation, and margins. How to use the header, footer, and ruler is gathered in Page view and page setup.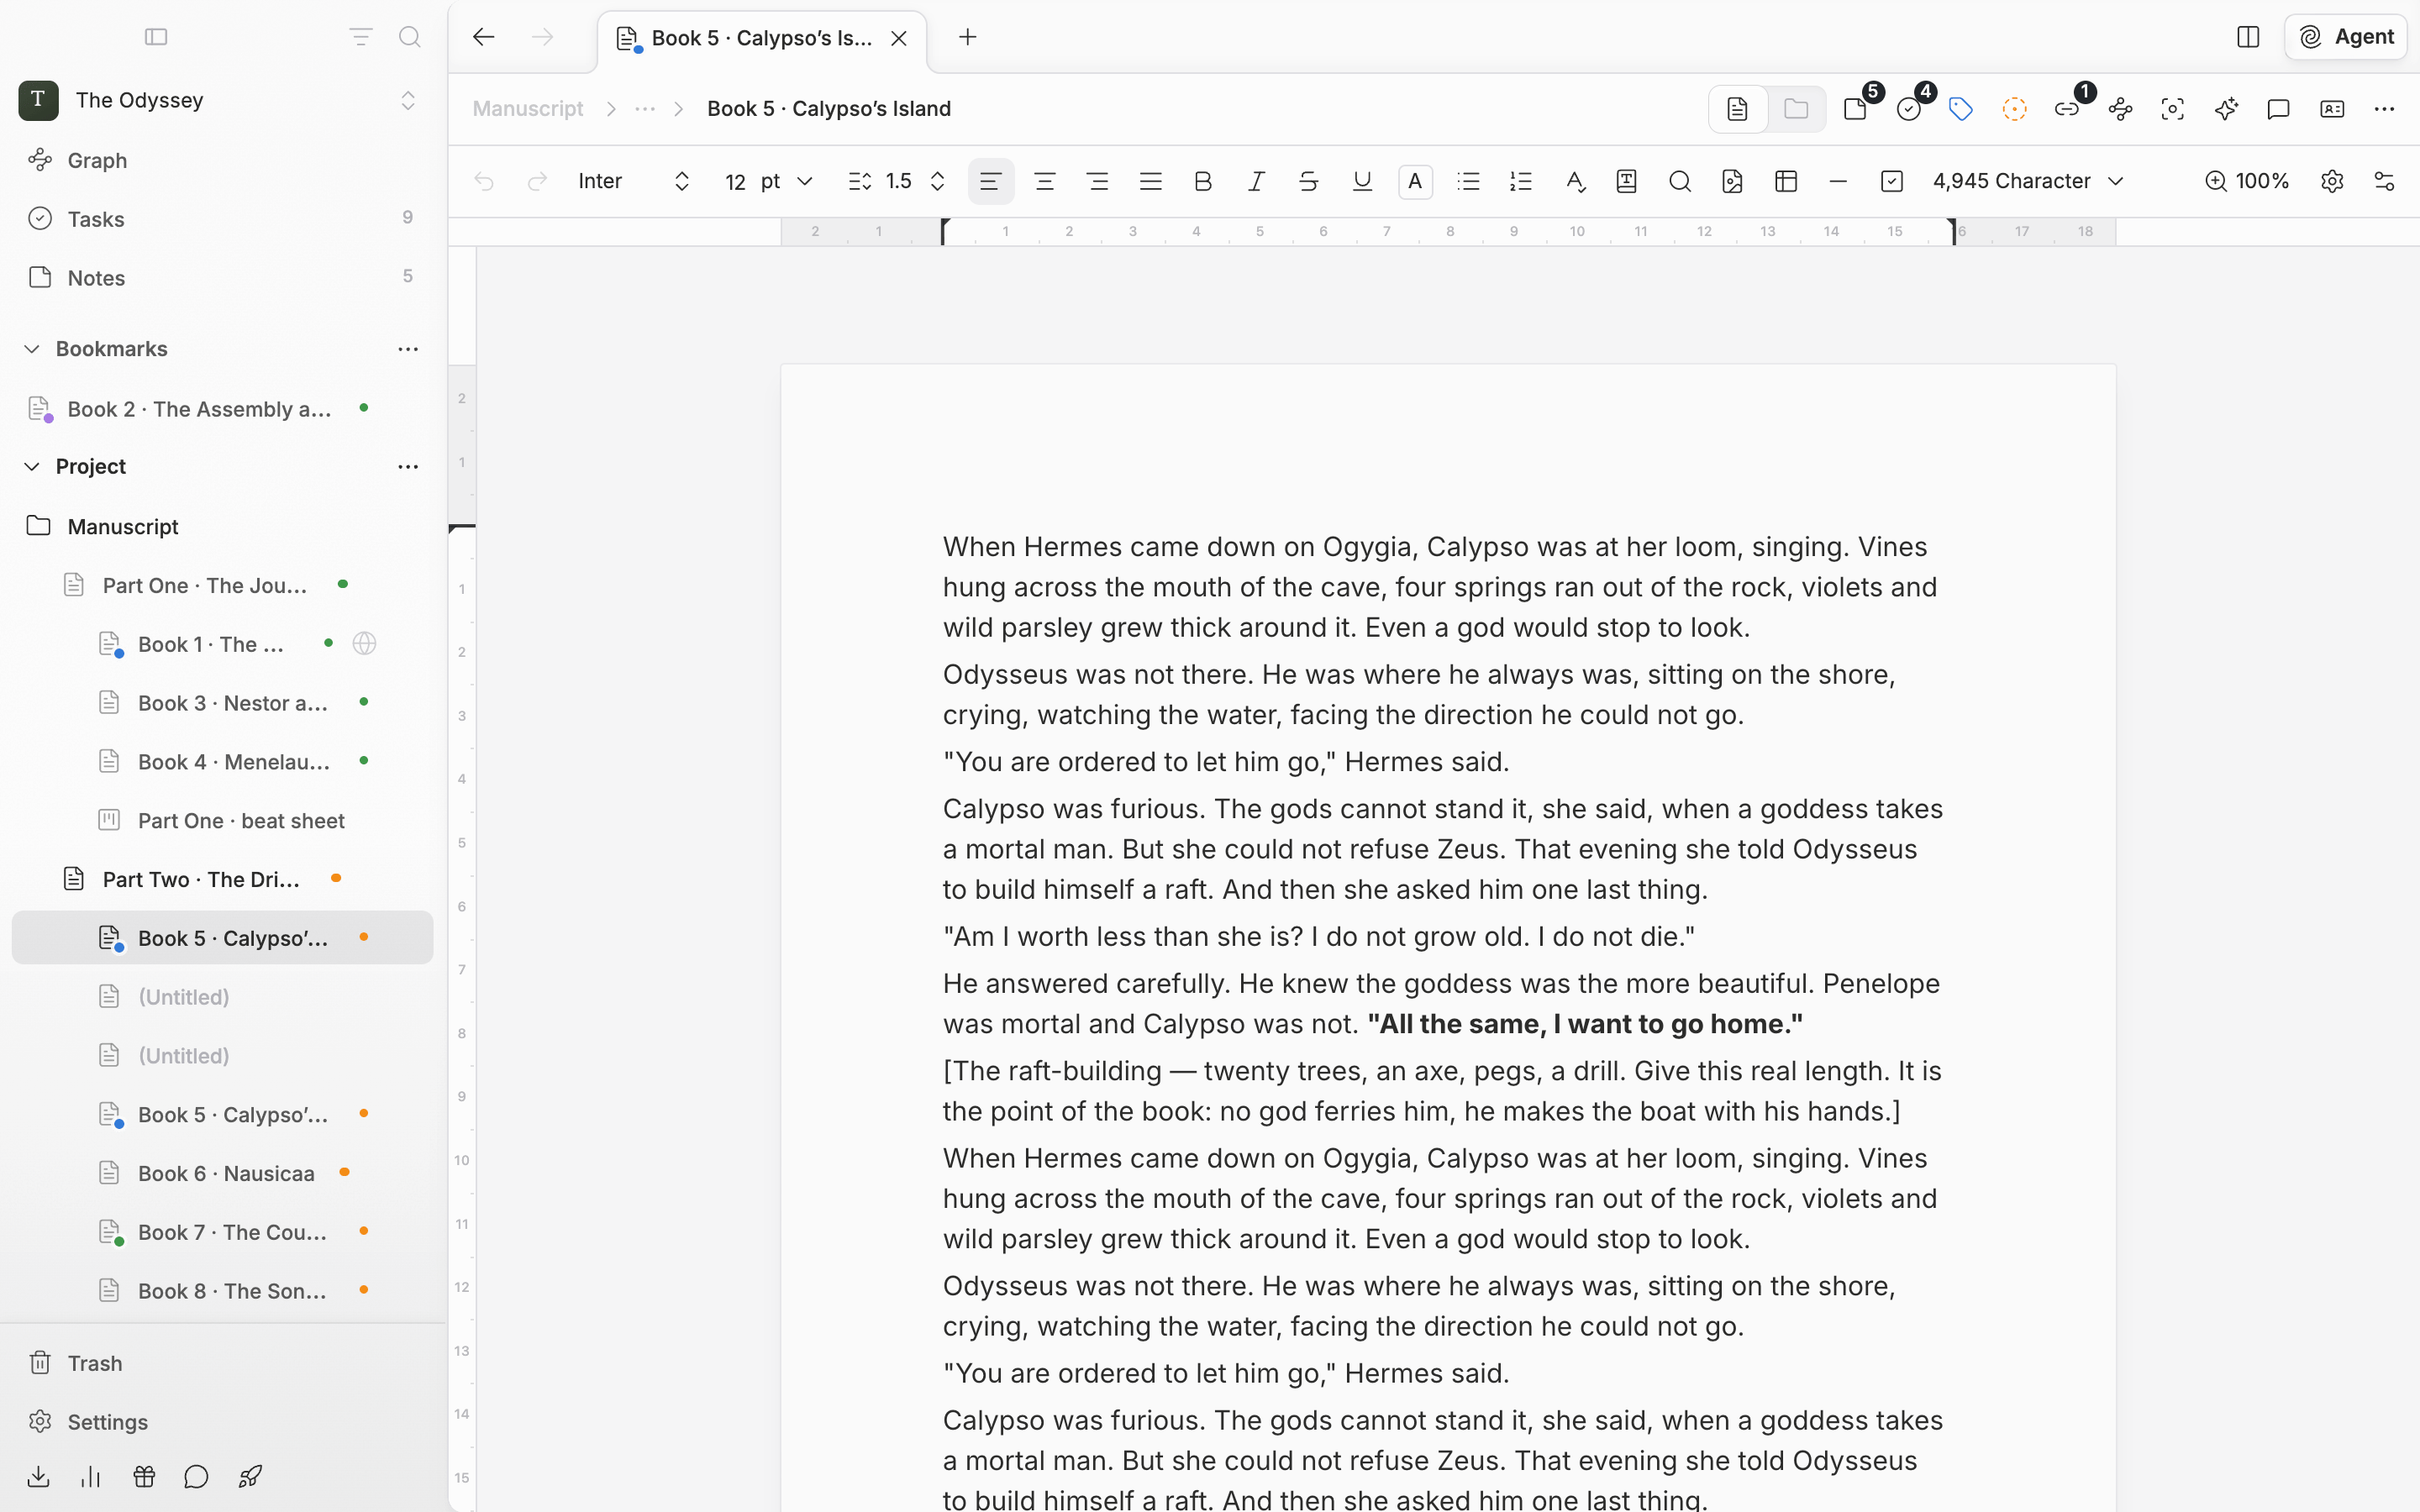
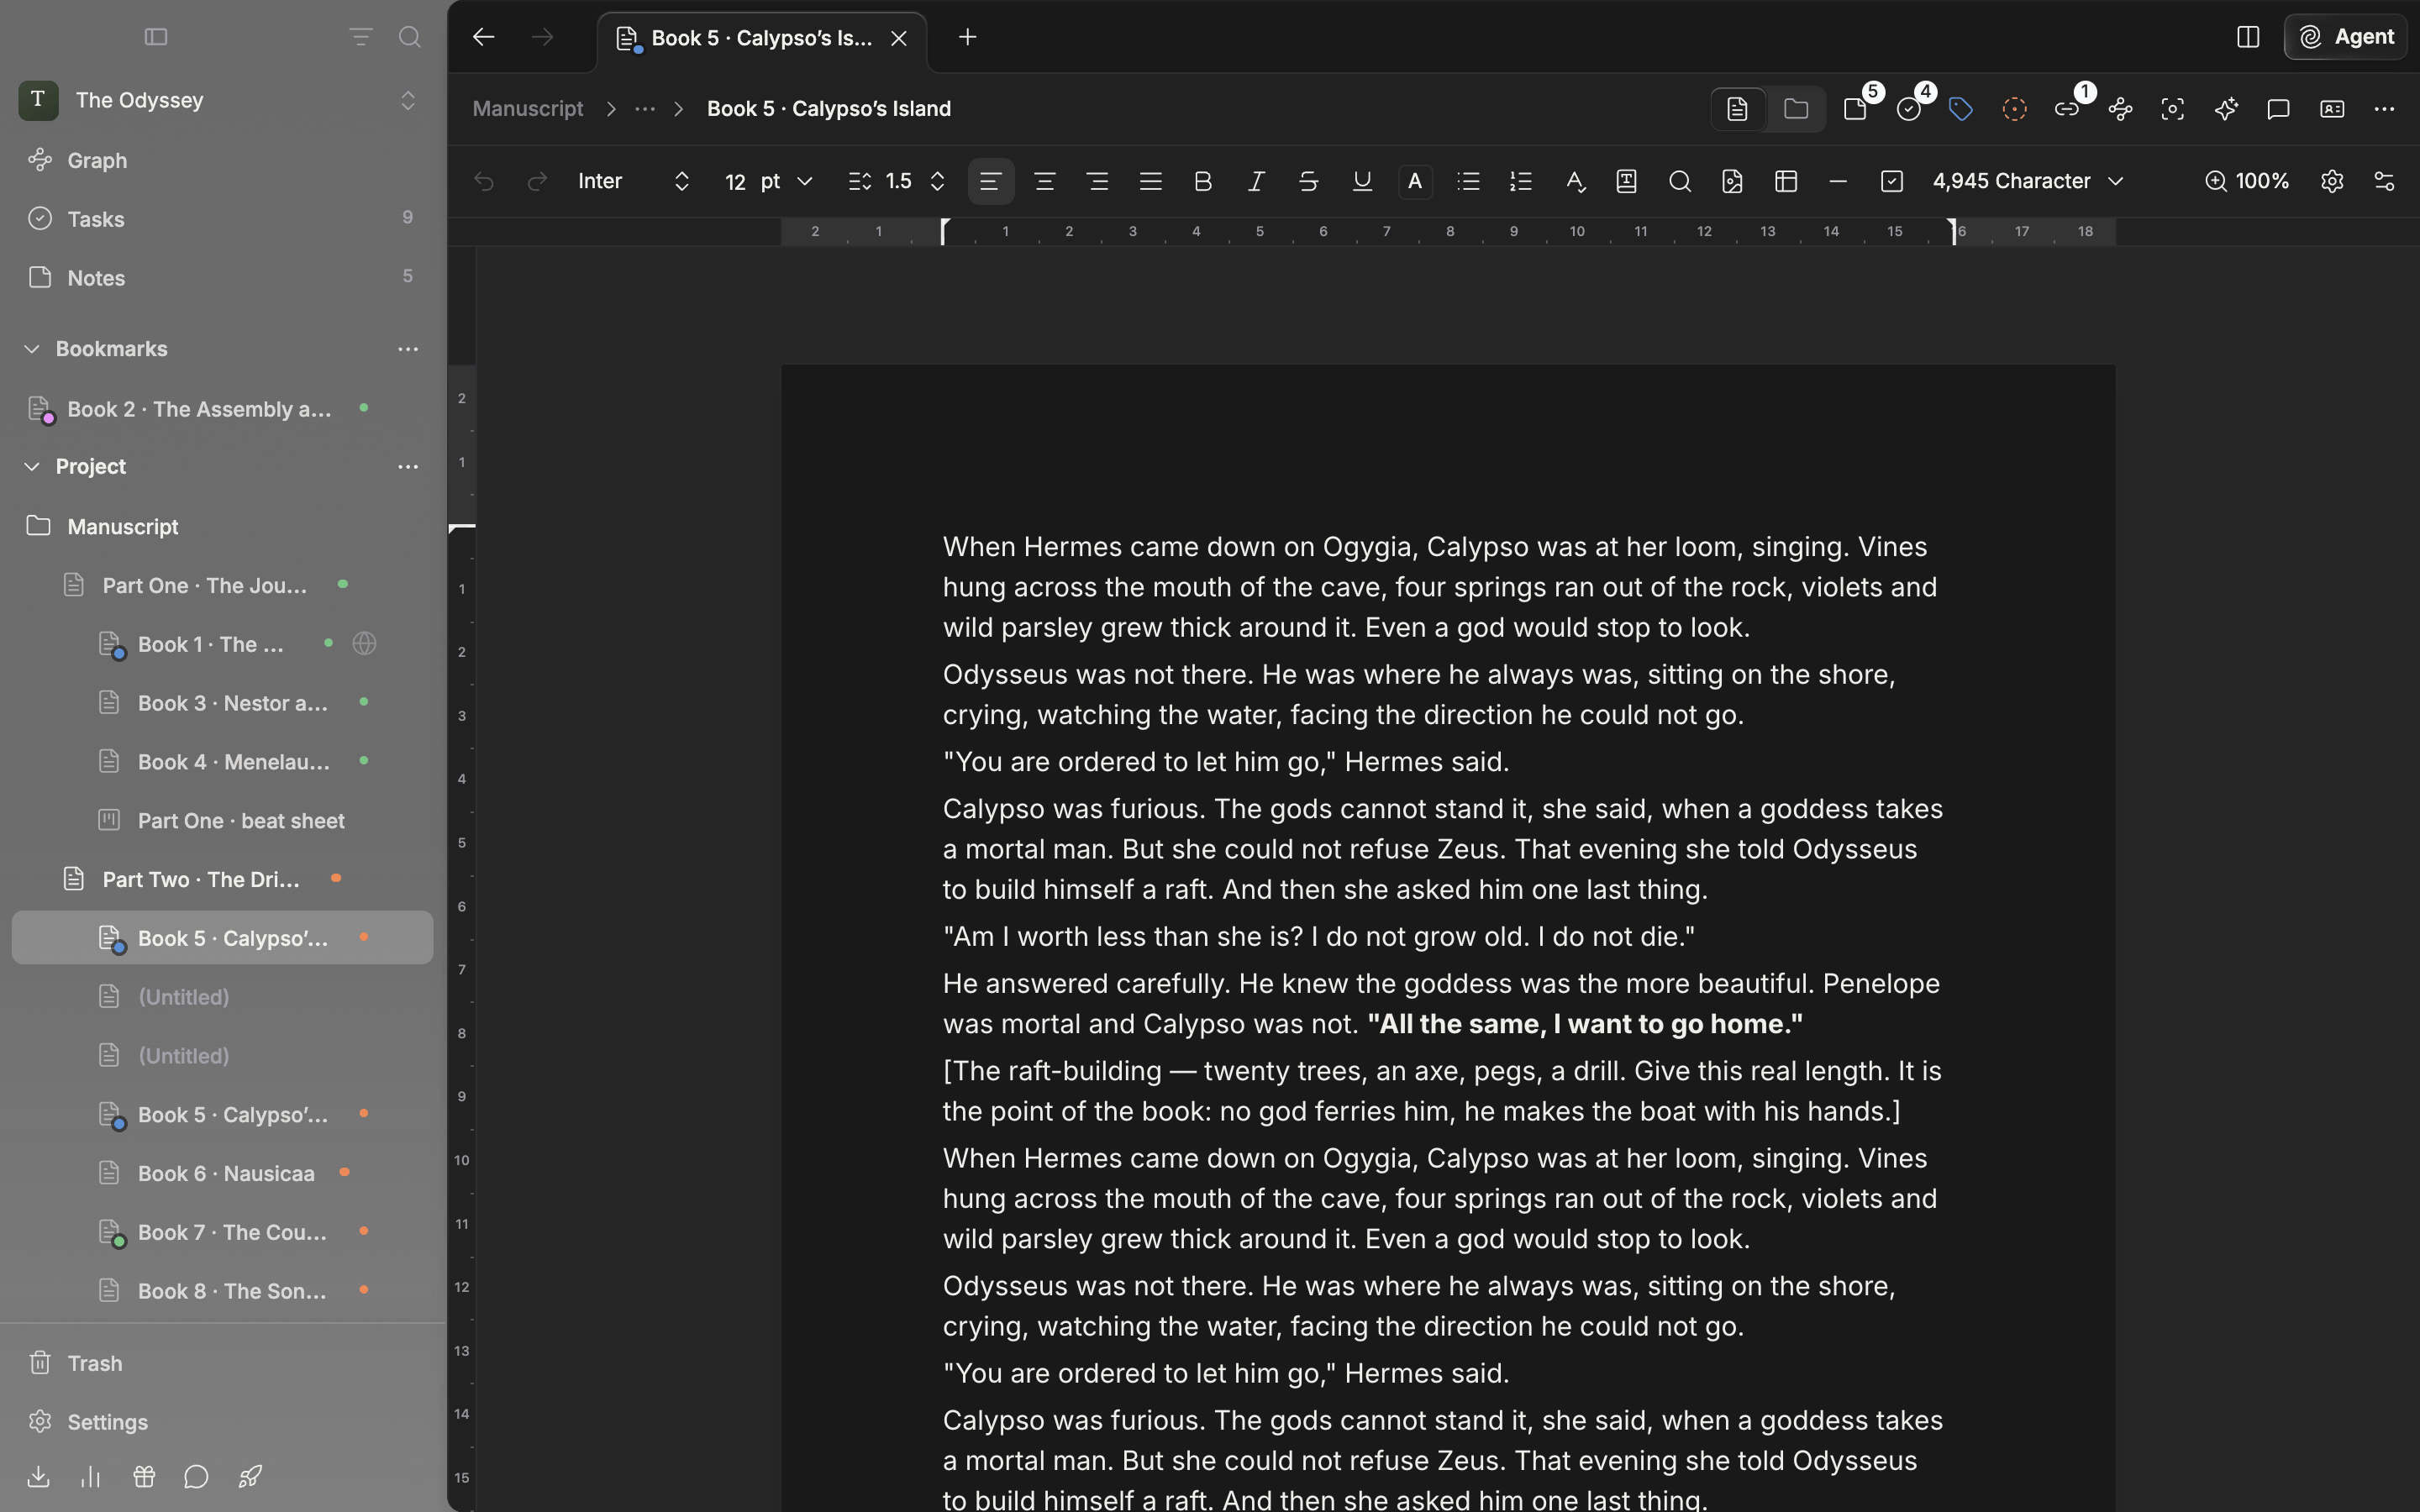
Turn page view on and the manuscript reads as cut into printed pages.
Page view and the paper settings go into a preset too. Lay a preset made with page view on over another document and that document switches to page view as well. Only the header and footer contents stay out of presets.
Bundling it into a preset
If you are going to repeat the same combination across several documents, choose Create new preset from the dropdown at the top right of the Editor screen in settings. A preset holding the current values is created, and you change its name with Rename Preset. There is one thing to watch. While a preset is selected, every item on this screen edits that preset rather than the default settings. The same goes for the Munpia, Novelpia, KakaoPage, Joara, and Naver Series buttons under Platform Shortcuts below. Press a platform button with a preset created and its specification fills in at once. To make this preset the starting point for every document, press Apply as default settings.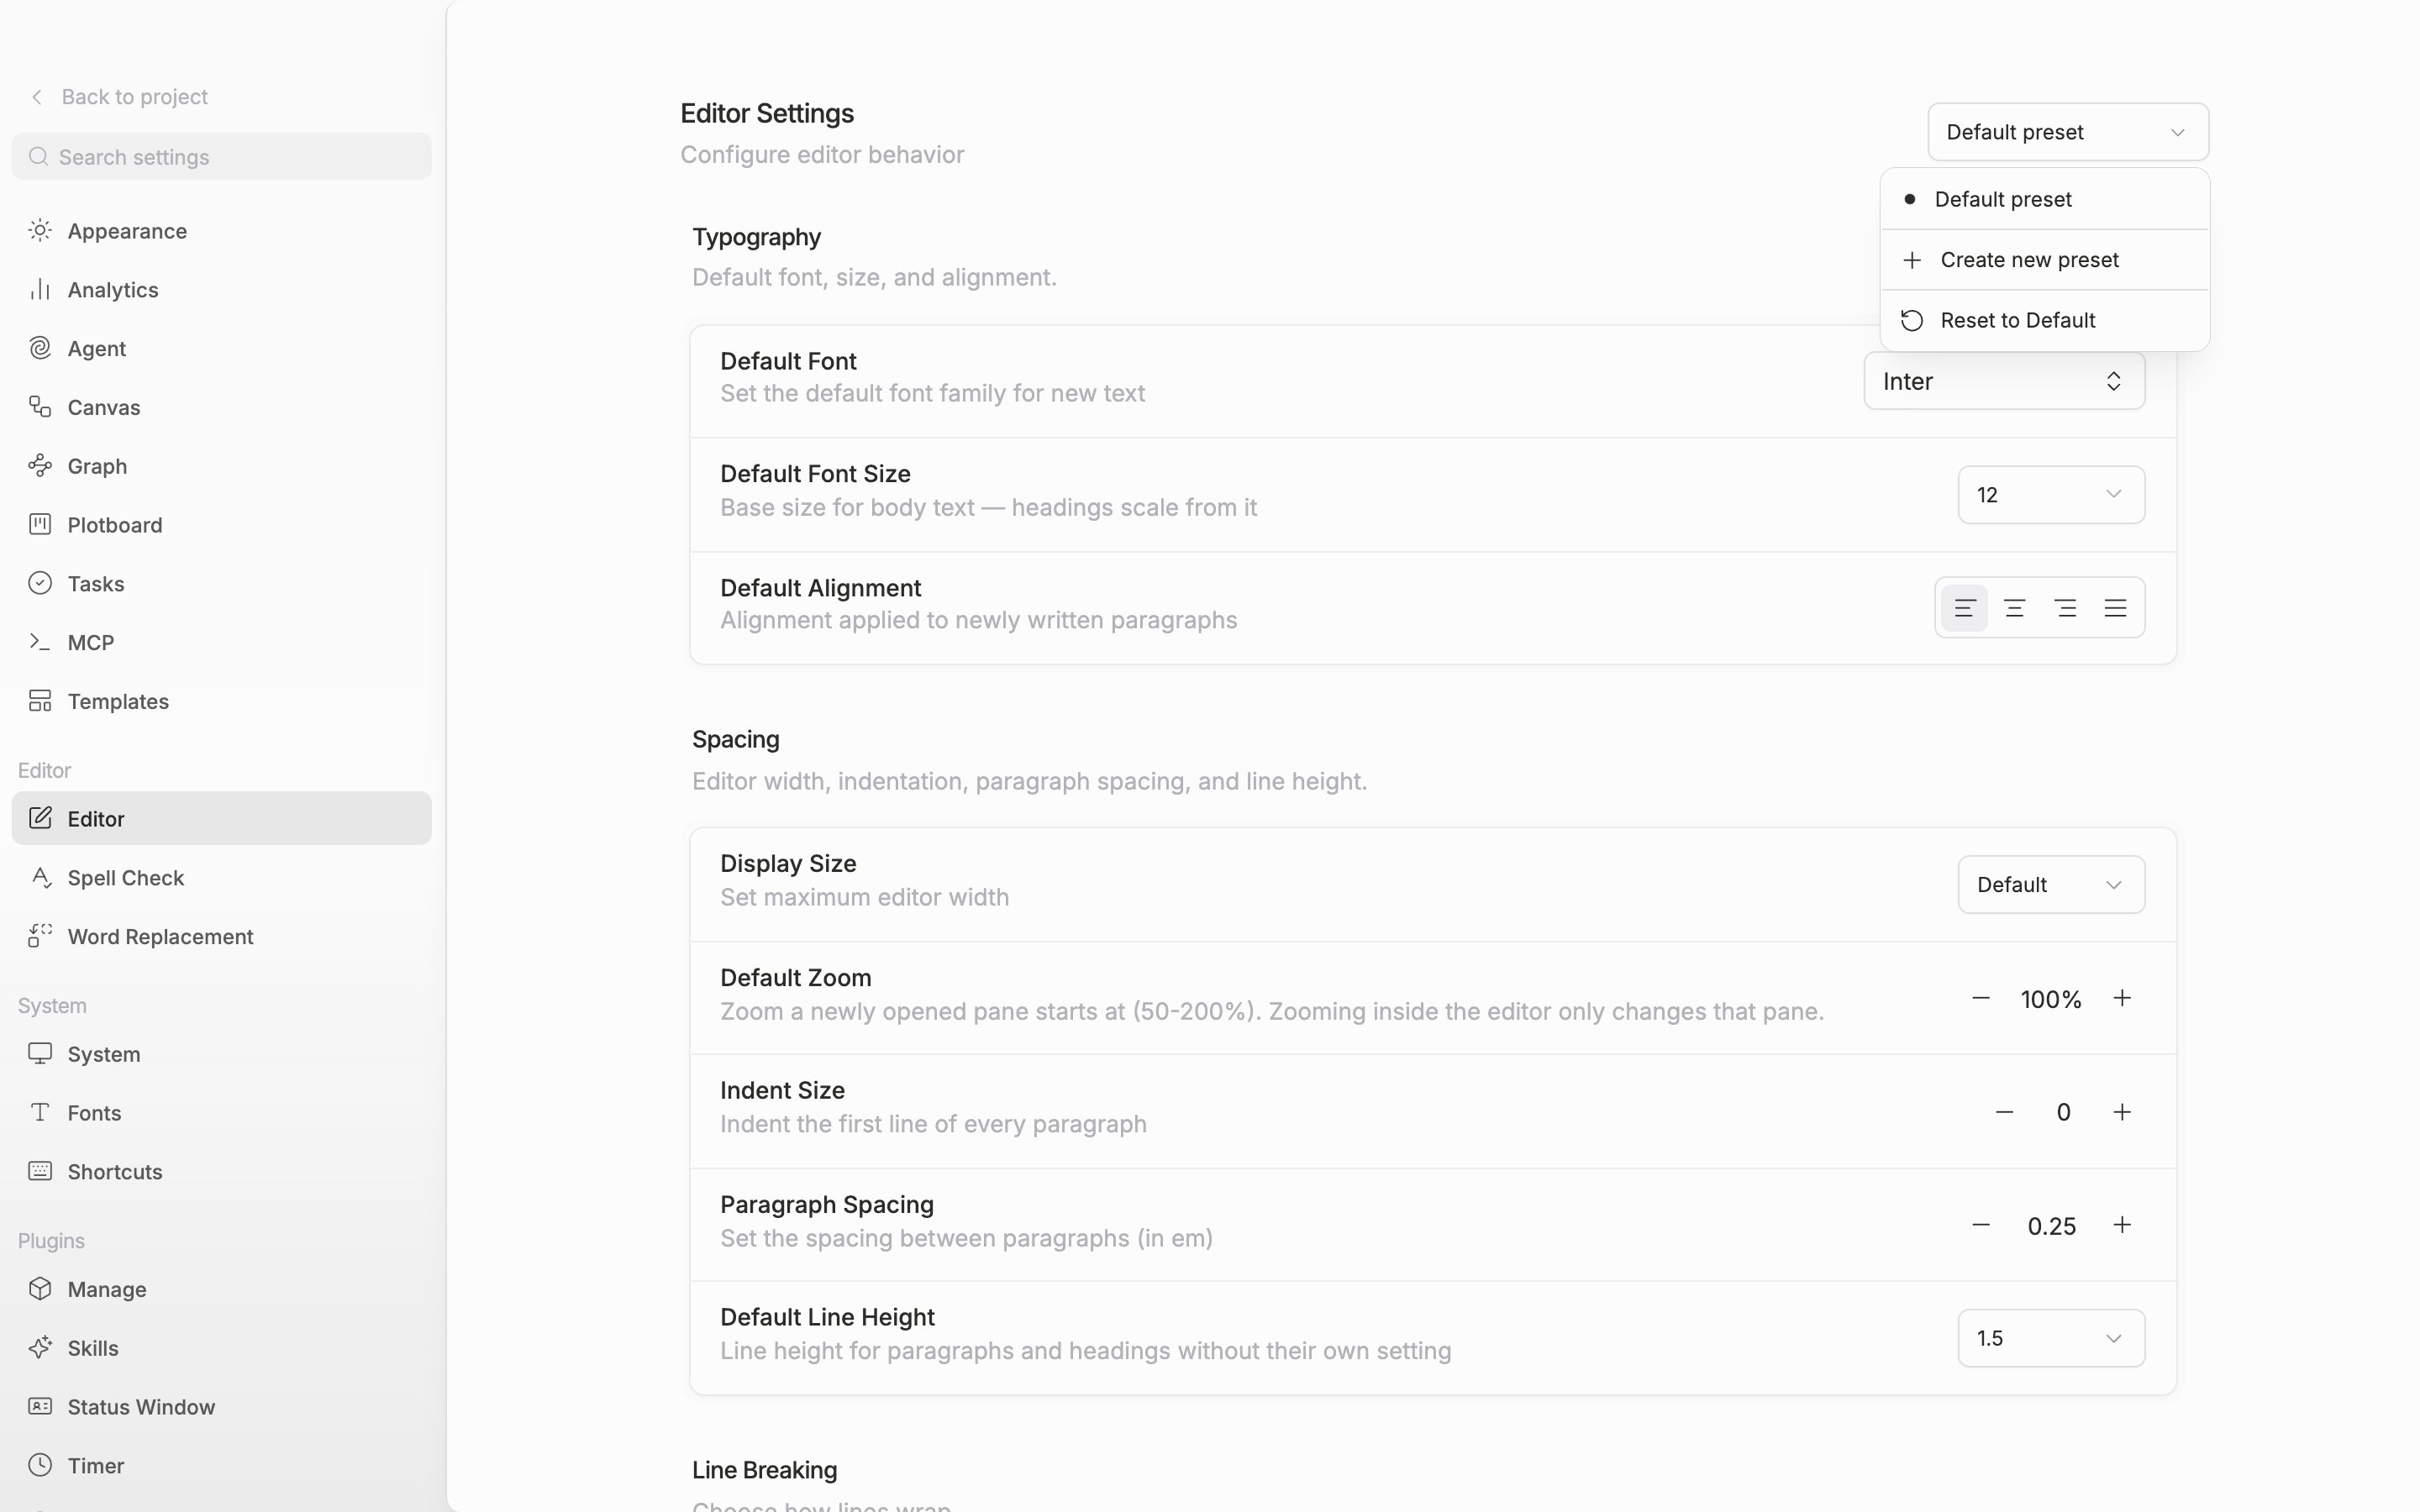
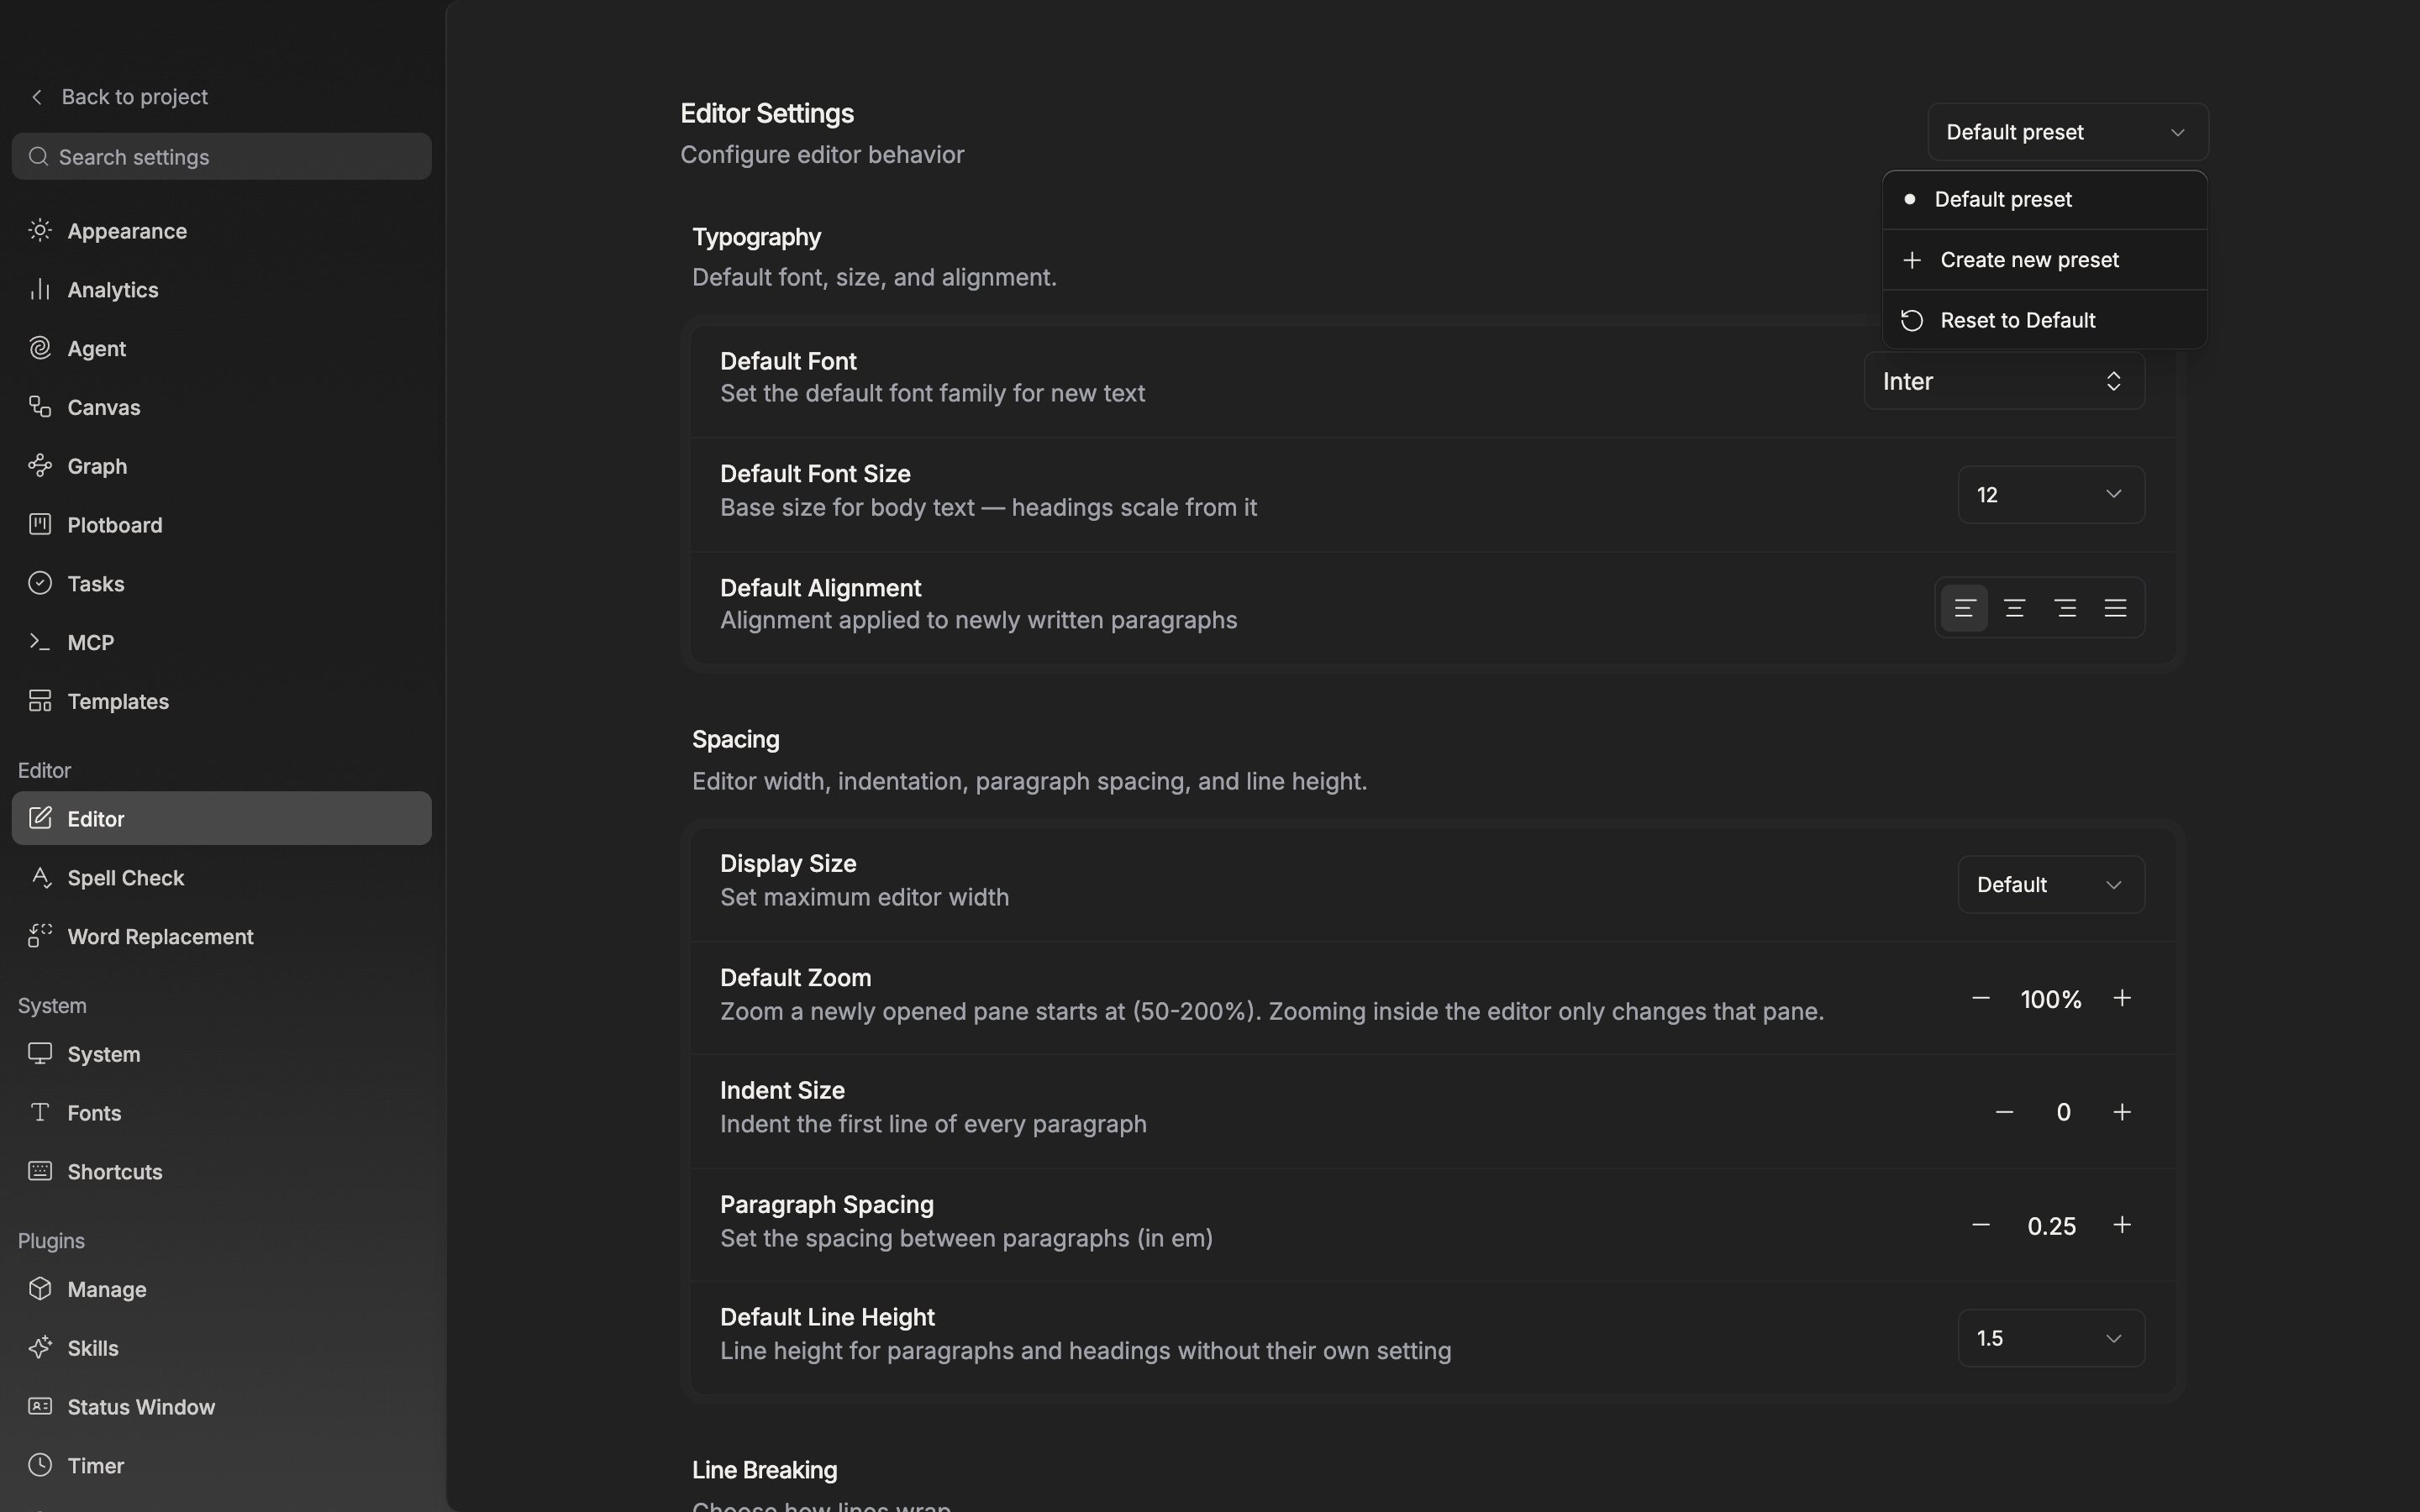
Presets are created and edited on the Editor screen in settings.
Swapping it into a manuscript
Back in the document, open Current File Settings and the current state shows at the top. Default preset when nothing has been touched, the preset’s name when the values match one, and Custom when they do not. Pick a preset from the dropdown and it is laid over that document; pick Default preset and the settings attached to the document fall away, returning to the defaults.A preset does not touch the personal settings that come with manuscript work. AI Review, Word Replacement, and the spell checker and dictionary all stay at the values you were using, even after a preset is applied.