

Turning it on
Open the gear button at the right of the document toolbar (Current File Settings) and turn on Page view. It applies only to the current document. If you want every document to start in page view, turn on Page view under Editor in settings. Documents follow that value unless you set it separately on them. While page view is on, Display Size and Show table of contents drop out of Current File Settings, and heading folding in the body is turned off, so everything shows expanded. Turn it on and three rows attach right below it.- Pages per row — Auto follows the window width and the zoom level; 1 to 4 lay out that many pages across.
- Show page numbers — puts a number at the bottom center of each page.
- Show ruler — on at first. How to use it is covered in the ruler section below.
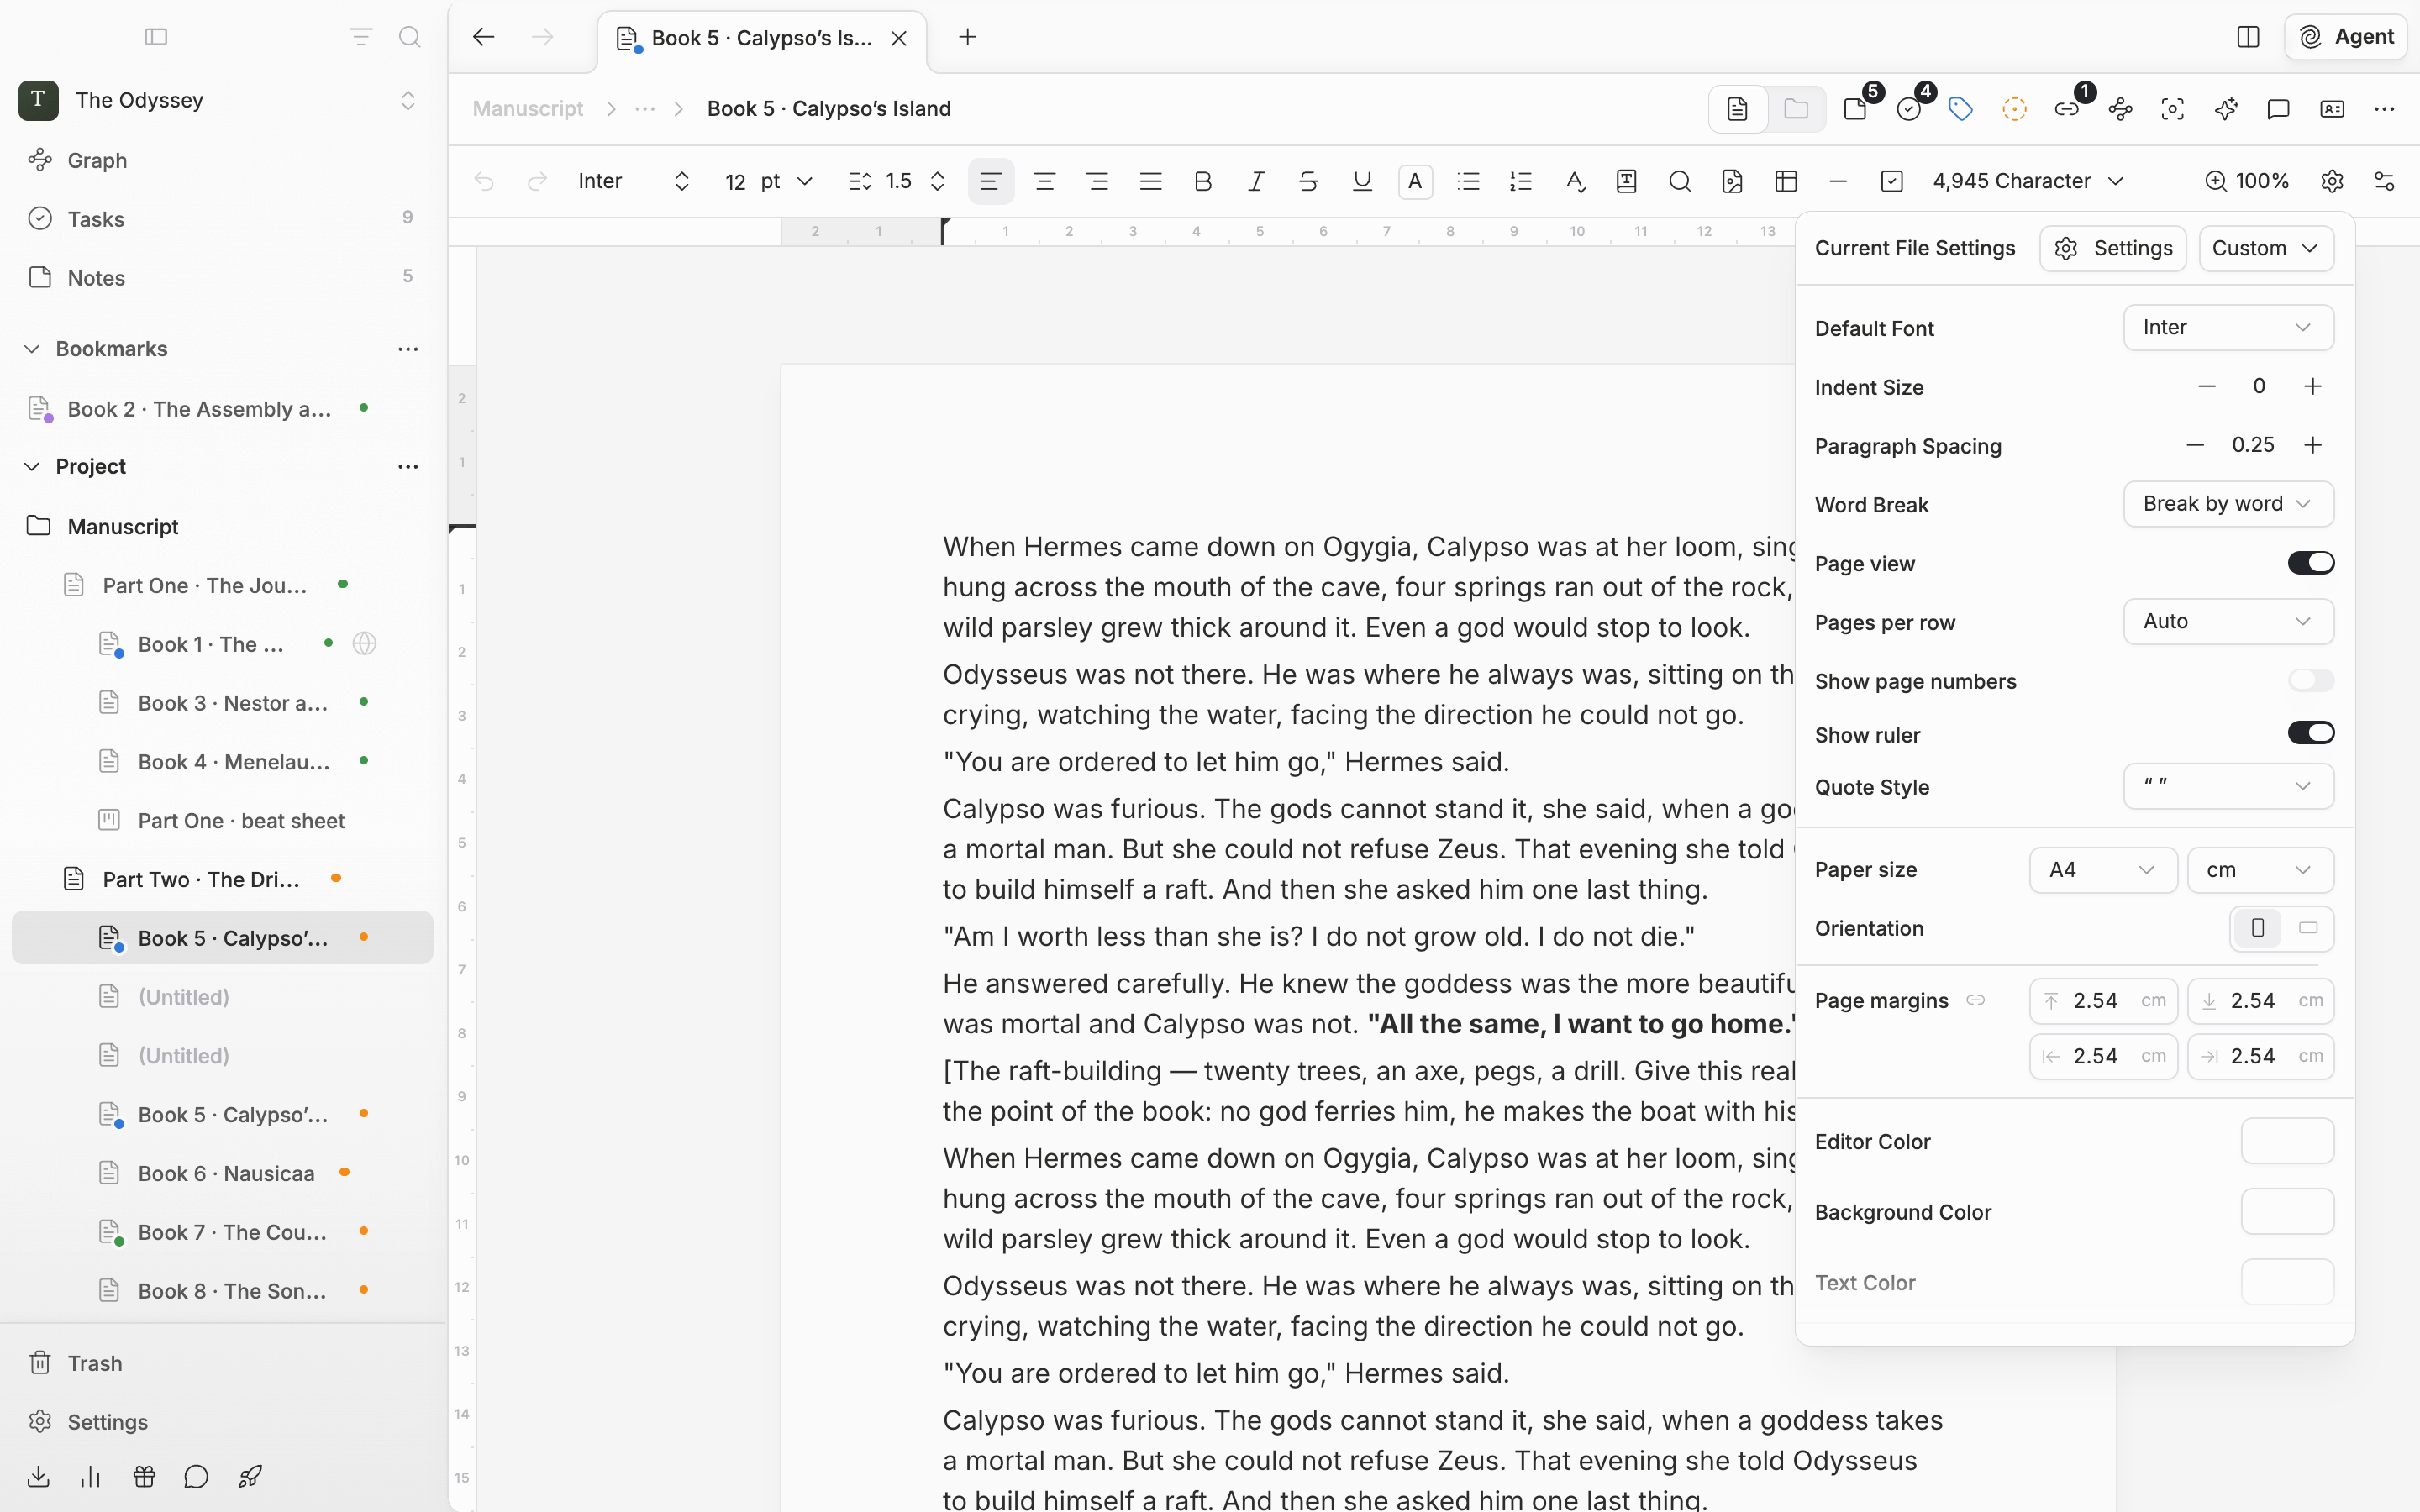
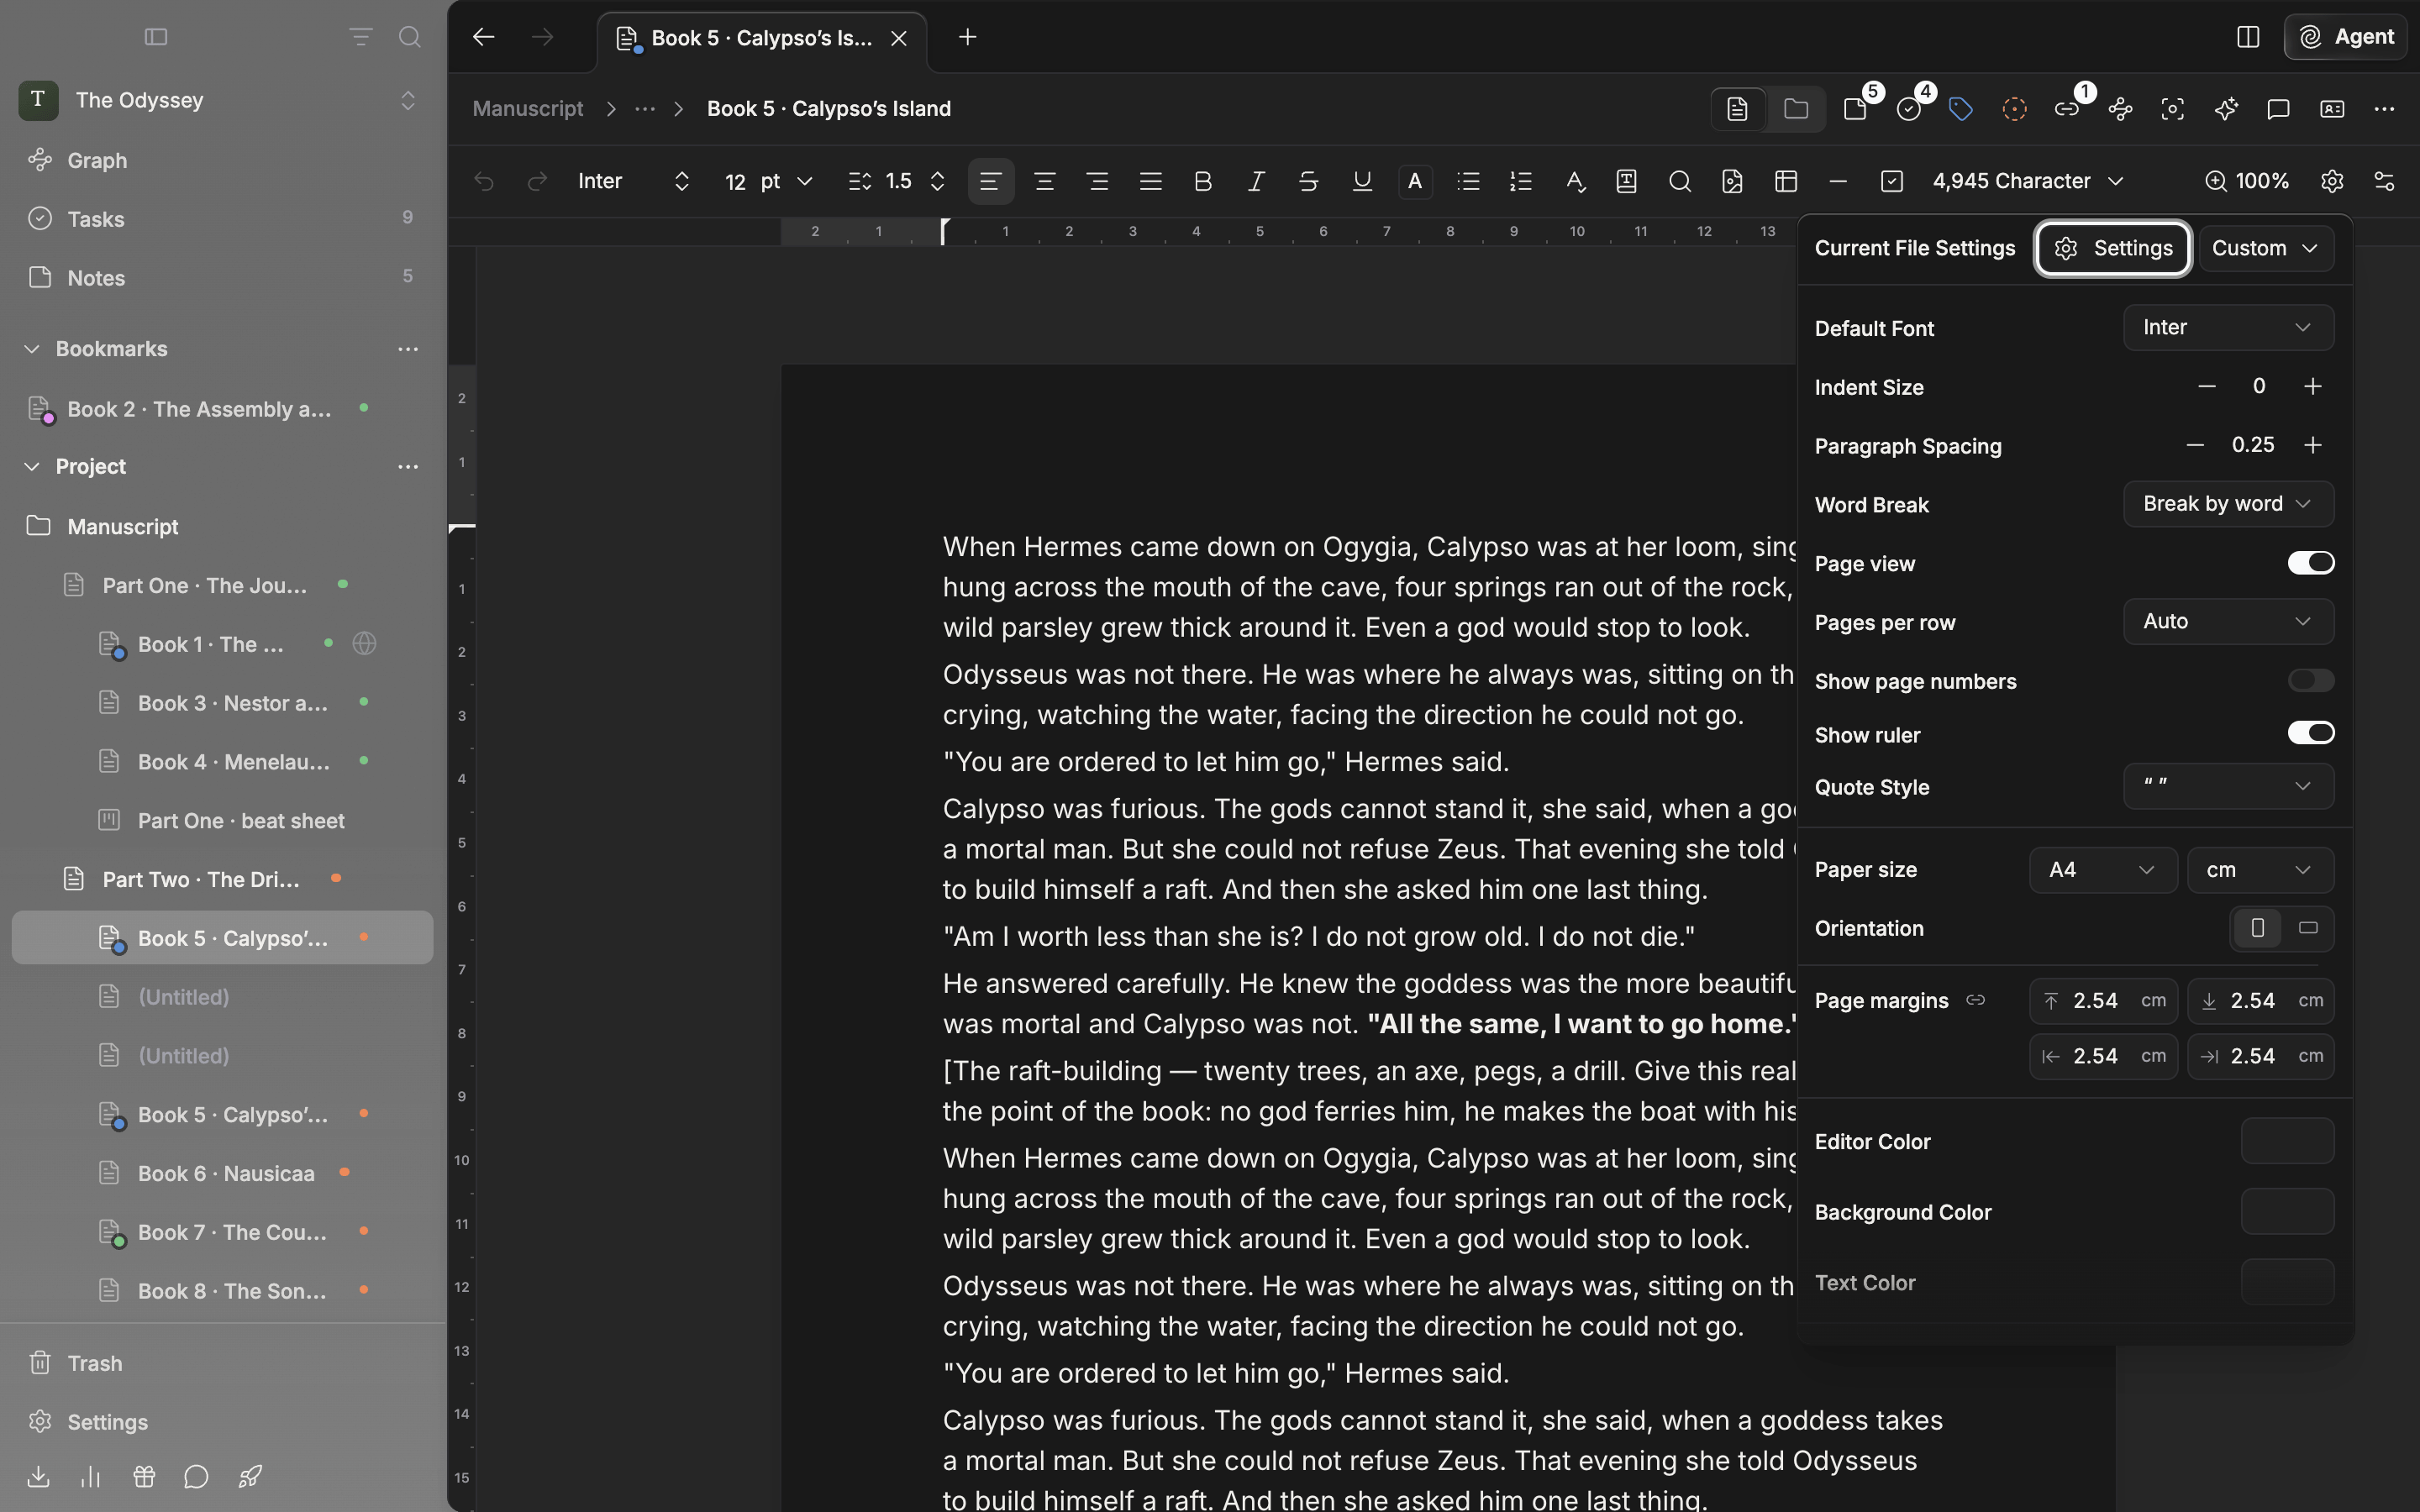
With Page view on, Current File Settings gains rows for paper and margins.
Paper size and orientation
Under Paper size, pick A4, A5, Letter, or Legal, or measure it yourself with Custom. Pick Custom and Width and Height fields appear, starting from the size currently shown. Each side can be drawn between 50mm and 1,300mm. The dropdown beside Paper size is Unit. Pick cm, mm, in, or px and every input field and the ruler switch to that unit. It starts at cm. The two buttons under Orientation switch between Portrait and Landscape. Pick Landscape and the width and height swap.Margins
Page margins has four fields: Top, Bottom, Left, and Right. All four start at 2.54cm. Change a number and press Enter or click elsewhere to save it; Esc puts it back the way it was. You can use a comma as the decimal point. Turn on the chain-shaped button beside the four fields (Edit all margins together) and changing one field changes all four sides. This button is not saved, so it is off again when you reopen the popover. Even if you make the margins too large, they shrink on their own so that at least 30mm is left for the text.Dragging margins on the ruler
A horizontal ruler sits above the page and a vertical one on its left. Zero is where the text starts, and the margin areas are shaded. The ruler follows the page the cursor is on. Drag the handles at either end of the ruler to change the margins. As you drag, the text reflows immediately and a value like2.5cm shows at the right end of the ruler. Margins snap to 1mm steps; hold Option (Alt on Windows) while dragging to move freely. Let go and it is saved.
Right-click the ruler to change the Unit or pick Hide ruler. Turn a hidden ruler back on with Show ruler in Current File Settings or under Editor in settings.
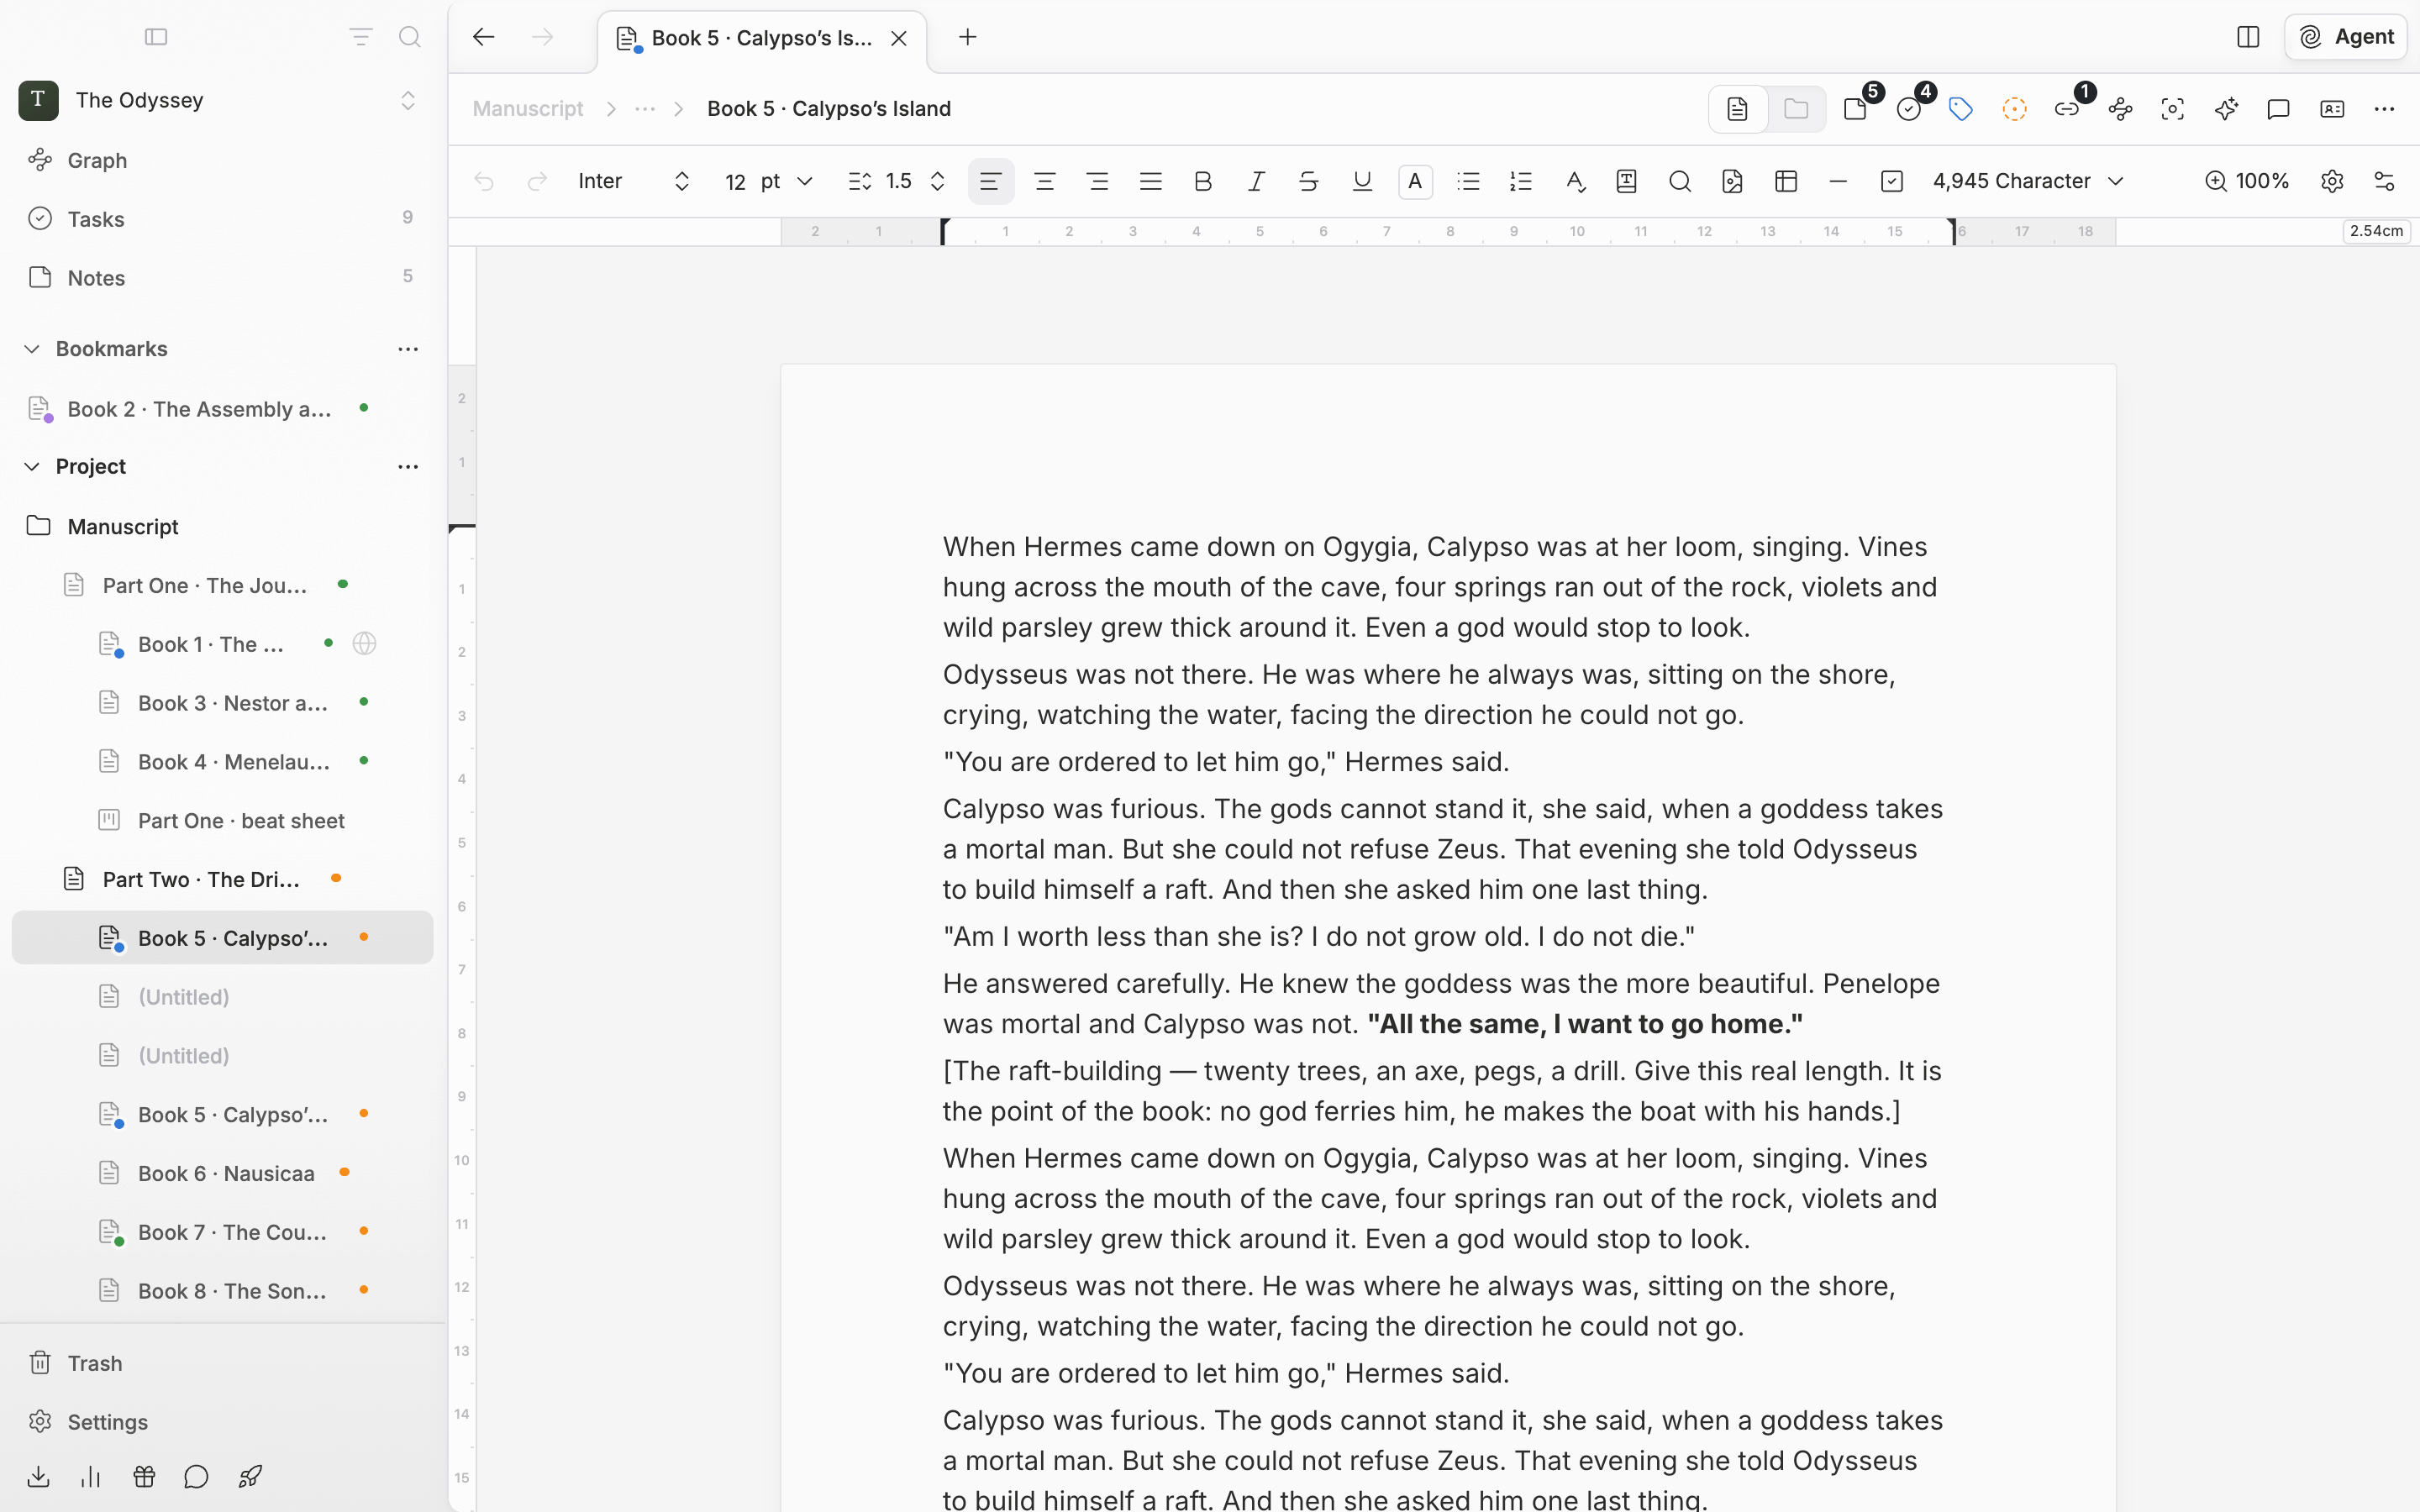
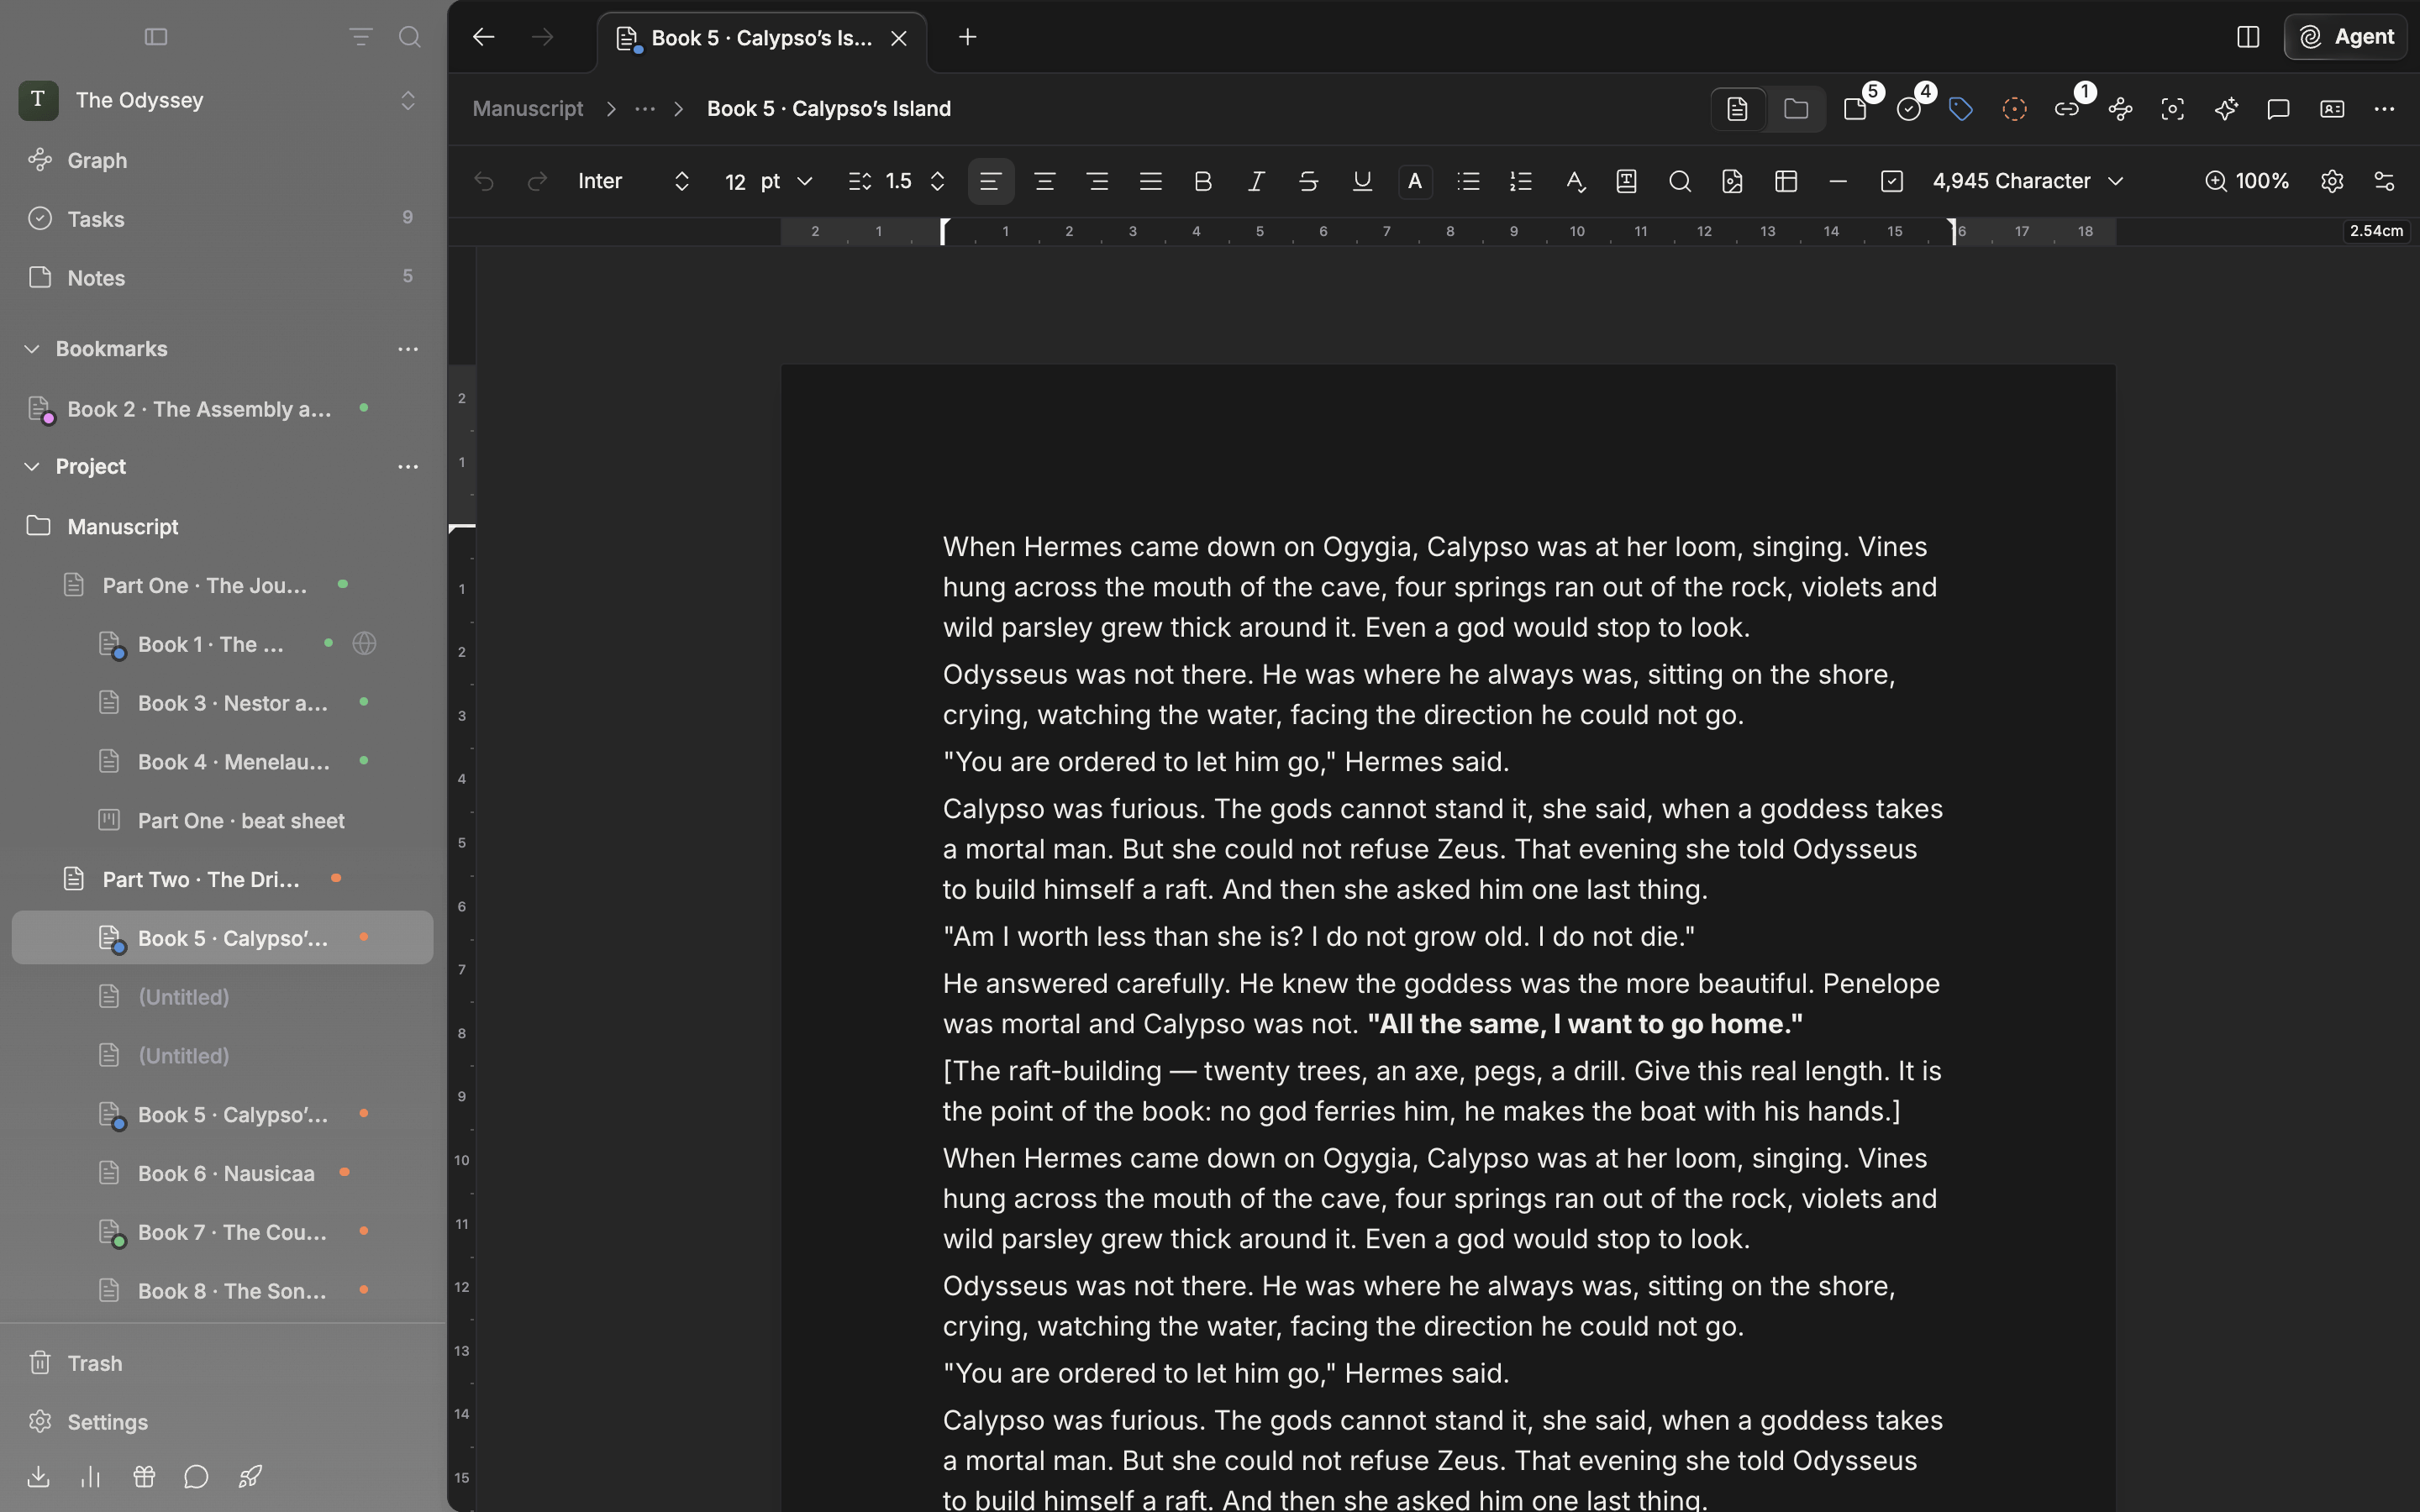
Drag a ruler handle to set the margin. The value shows at the right end while you drag.
Header and footer
Double-click the top margin of a page to write the header right there, or the bottom margin to write the footer. The same content goes on every page. When you are done, press Esc or click outside. Text formatting such as bold and italic can be applied with shortcuts. To put in page numbers, open Current File Settings while you are editing the header or footer. Only then does the Page numbers row appear.- Header / Footer — jumps to the other one on the same page.
#(Insert page number) — inserts that page’s number.#/#(Insert total pages) — inserts only the total page count. To write something like “3 / 10”, insert#, type ” / ”, then insert#/#.
# and ##, and on the page they turn into real numbers. The header and footer show only in page view. They work independently of the numbers stamped by Show page numbers, so if you also put a number in the footer, you may see two numbers overlapping.
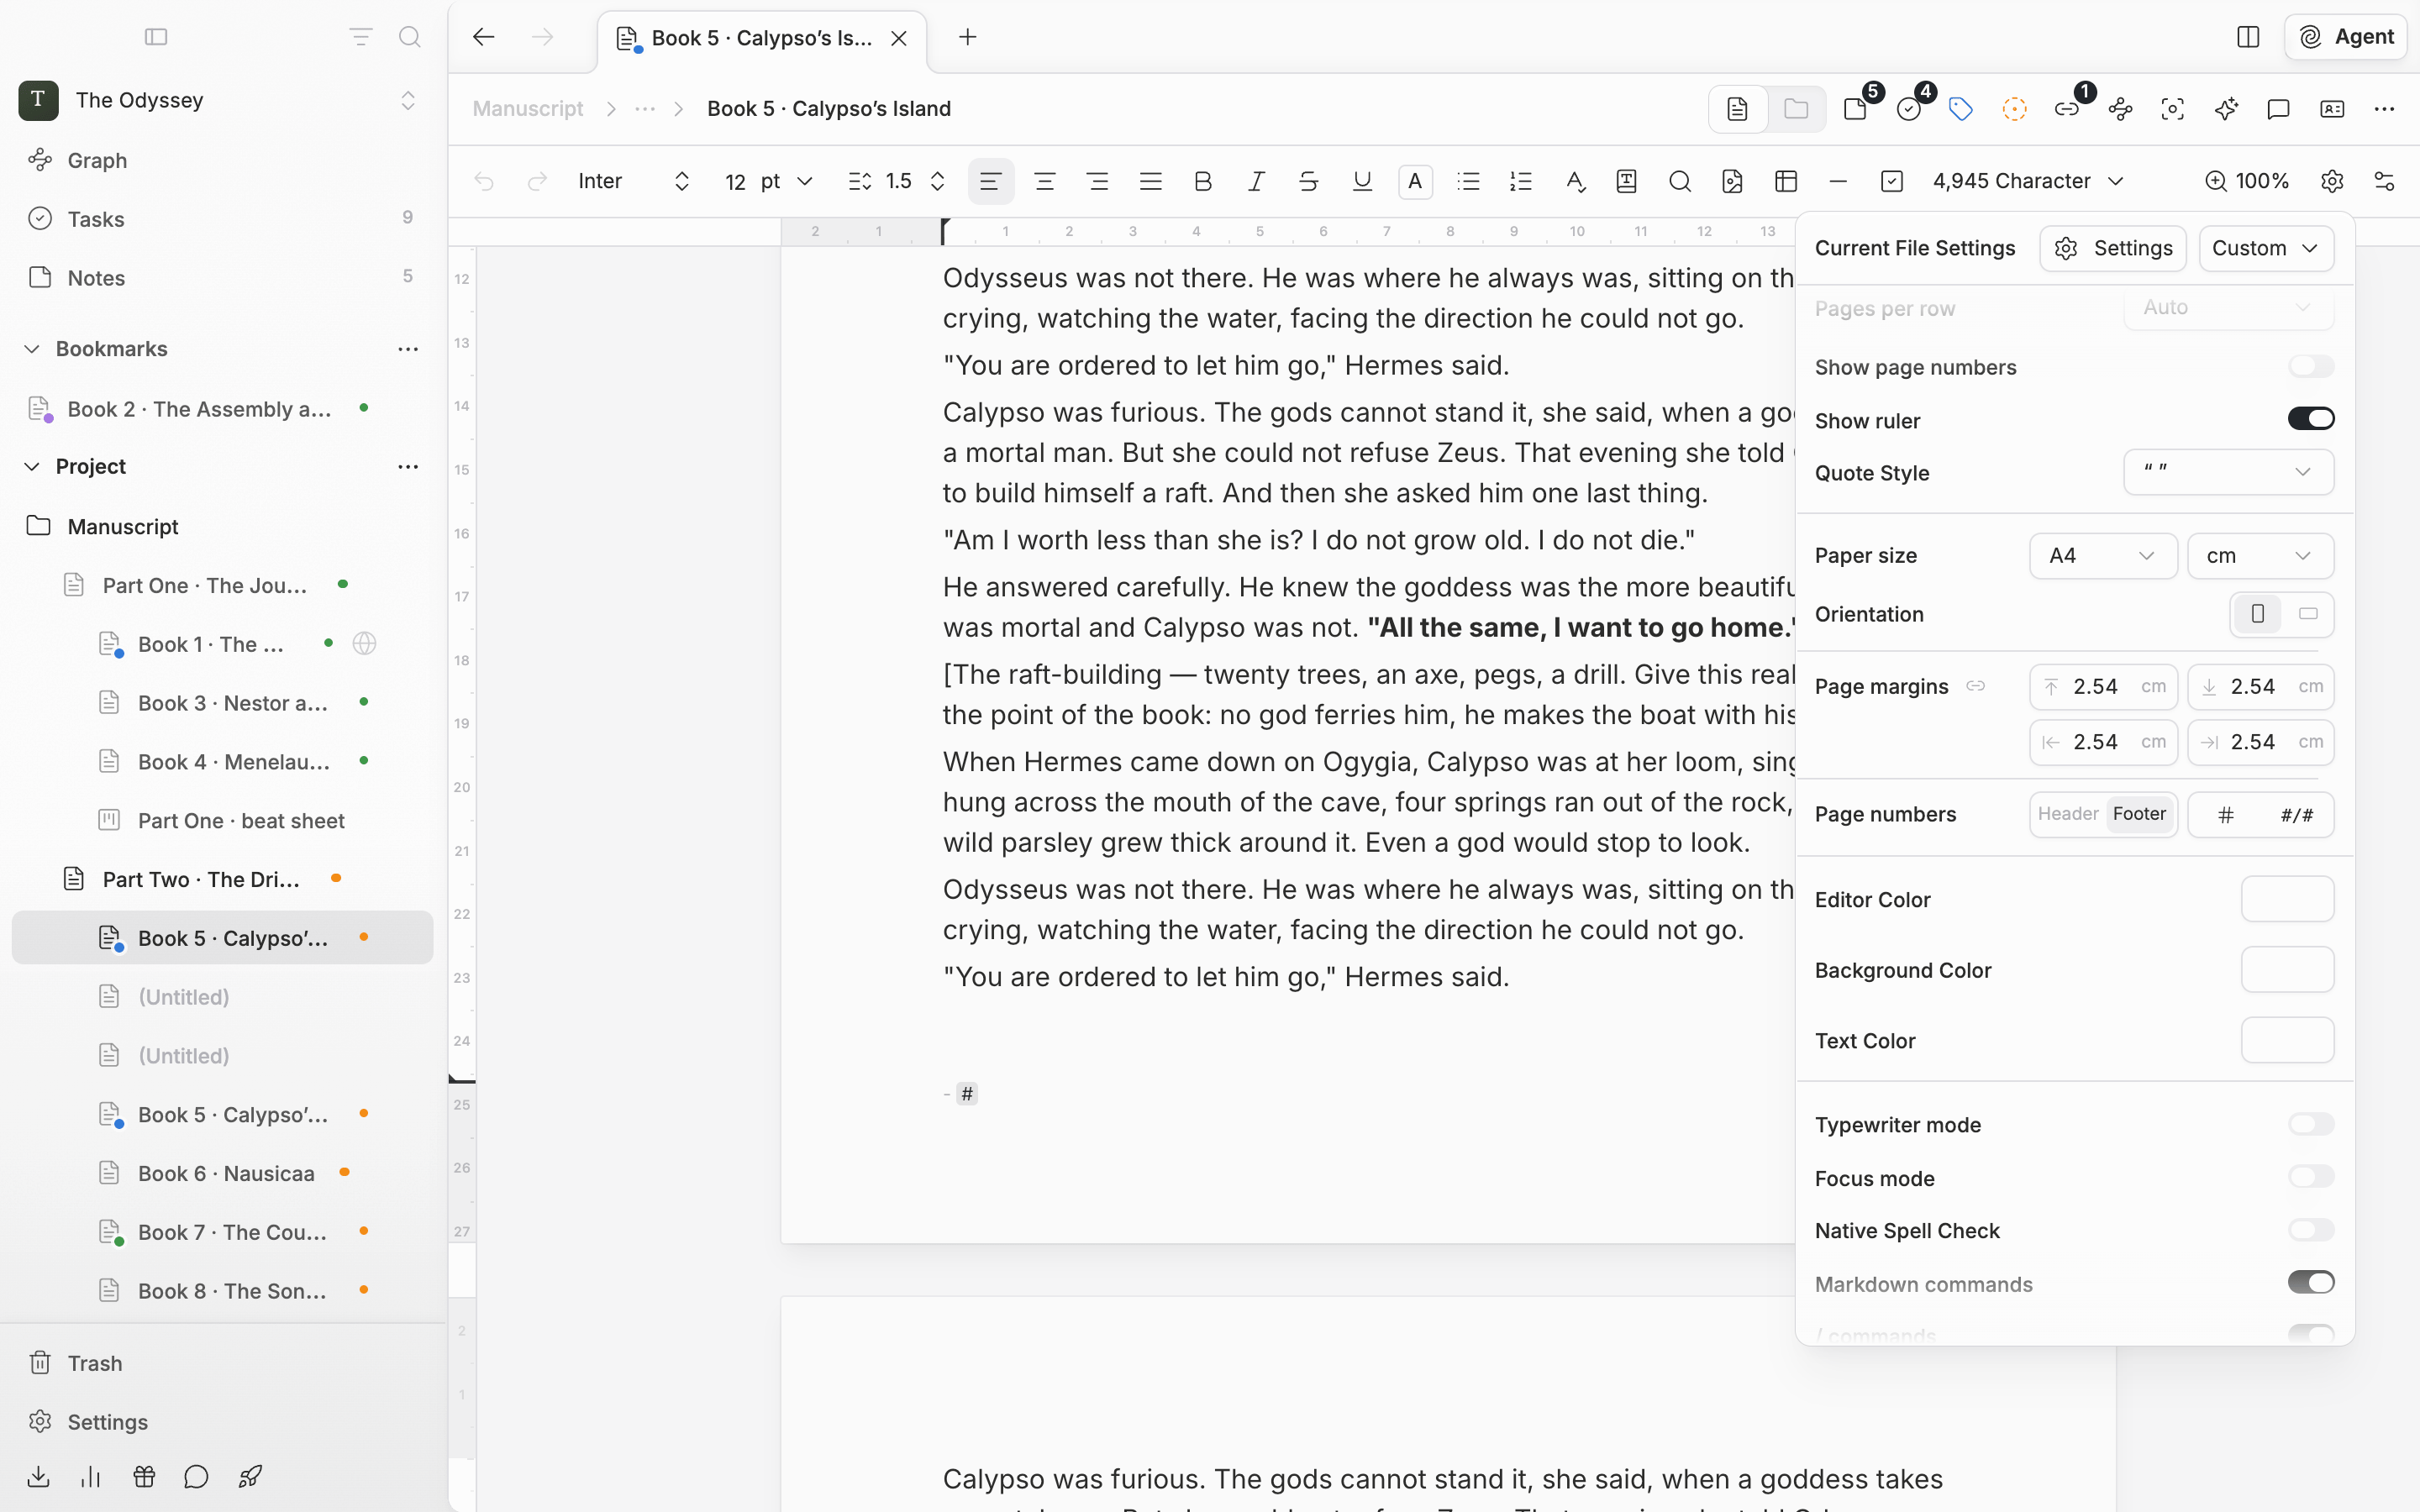
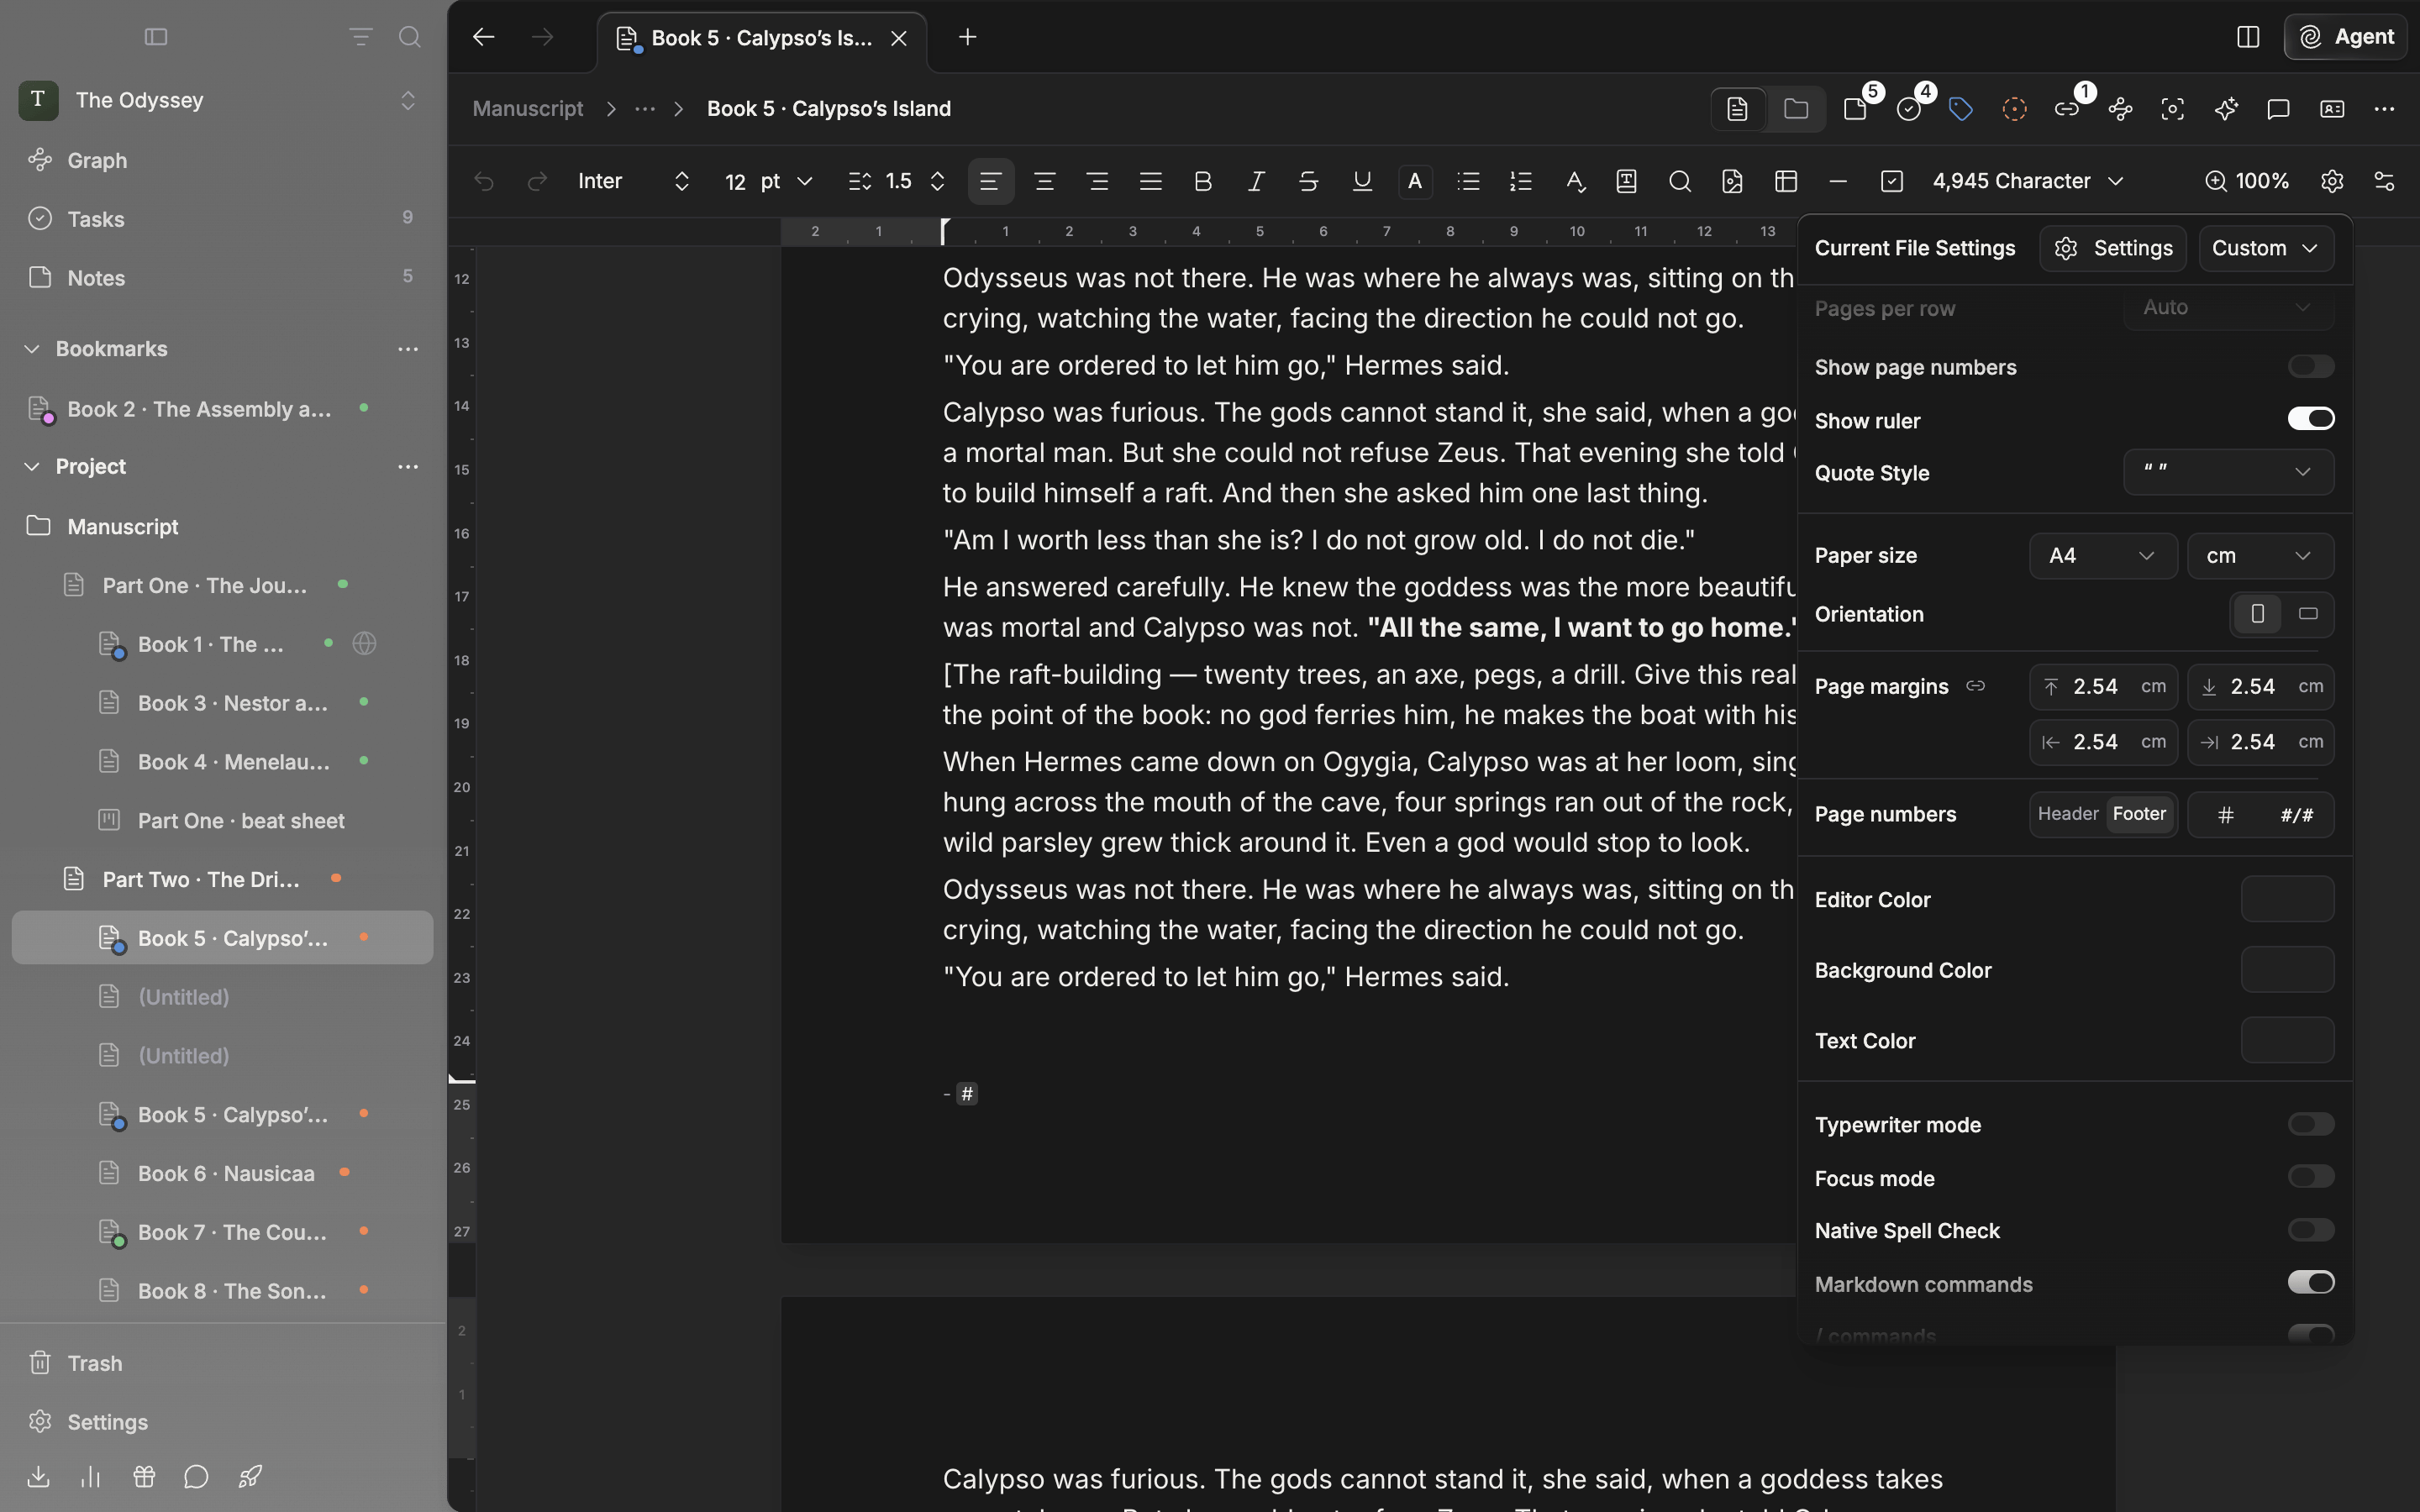
While you edit a footer, Current File Settings shows a Page numbers row.
What is saved with the document, and what applies only to you
Page view on or off, paper size and custom size, orientation, margins, pages per row, show page numbers, and the header and footer are saved with the document. People writing with you see the same pages. Unit and Show ruler are personal settings tied to your account, so other people’s screens don’t change. Editor presets include the page settings, except for the header and footer. Swapping presets can turn page view on or off.Page setup is used only for splitting the screen into pages. When you export to PDF, DOCX, or HWP, the paper, margins, header, and footer don’t carry over. For PDF, you pick the paper in the print dialog.