

Making a plotboard
Press the More button at the far right of the Project row in the sidebar and pick New Plotboard.Cmd/Ctrl + Shift + P makes one directly as well.
A newly made plotboard already has one set of cards on it: one plot card called New Card, with one New Part Card inside it. In the title field at the top, write the range this board takes on.
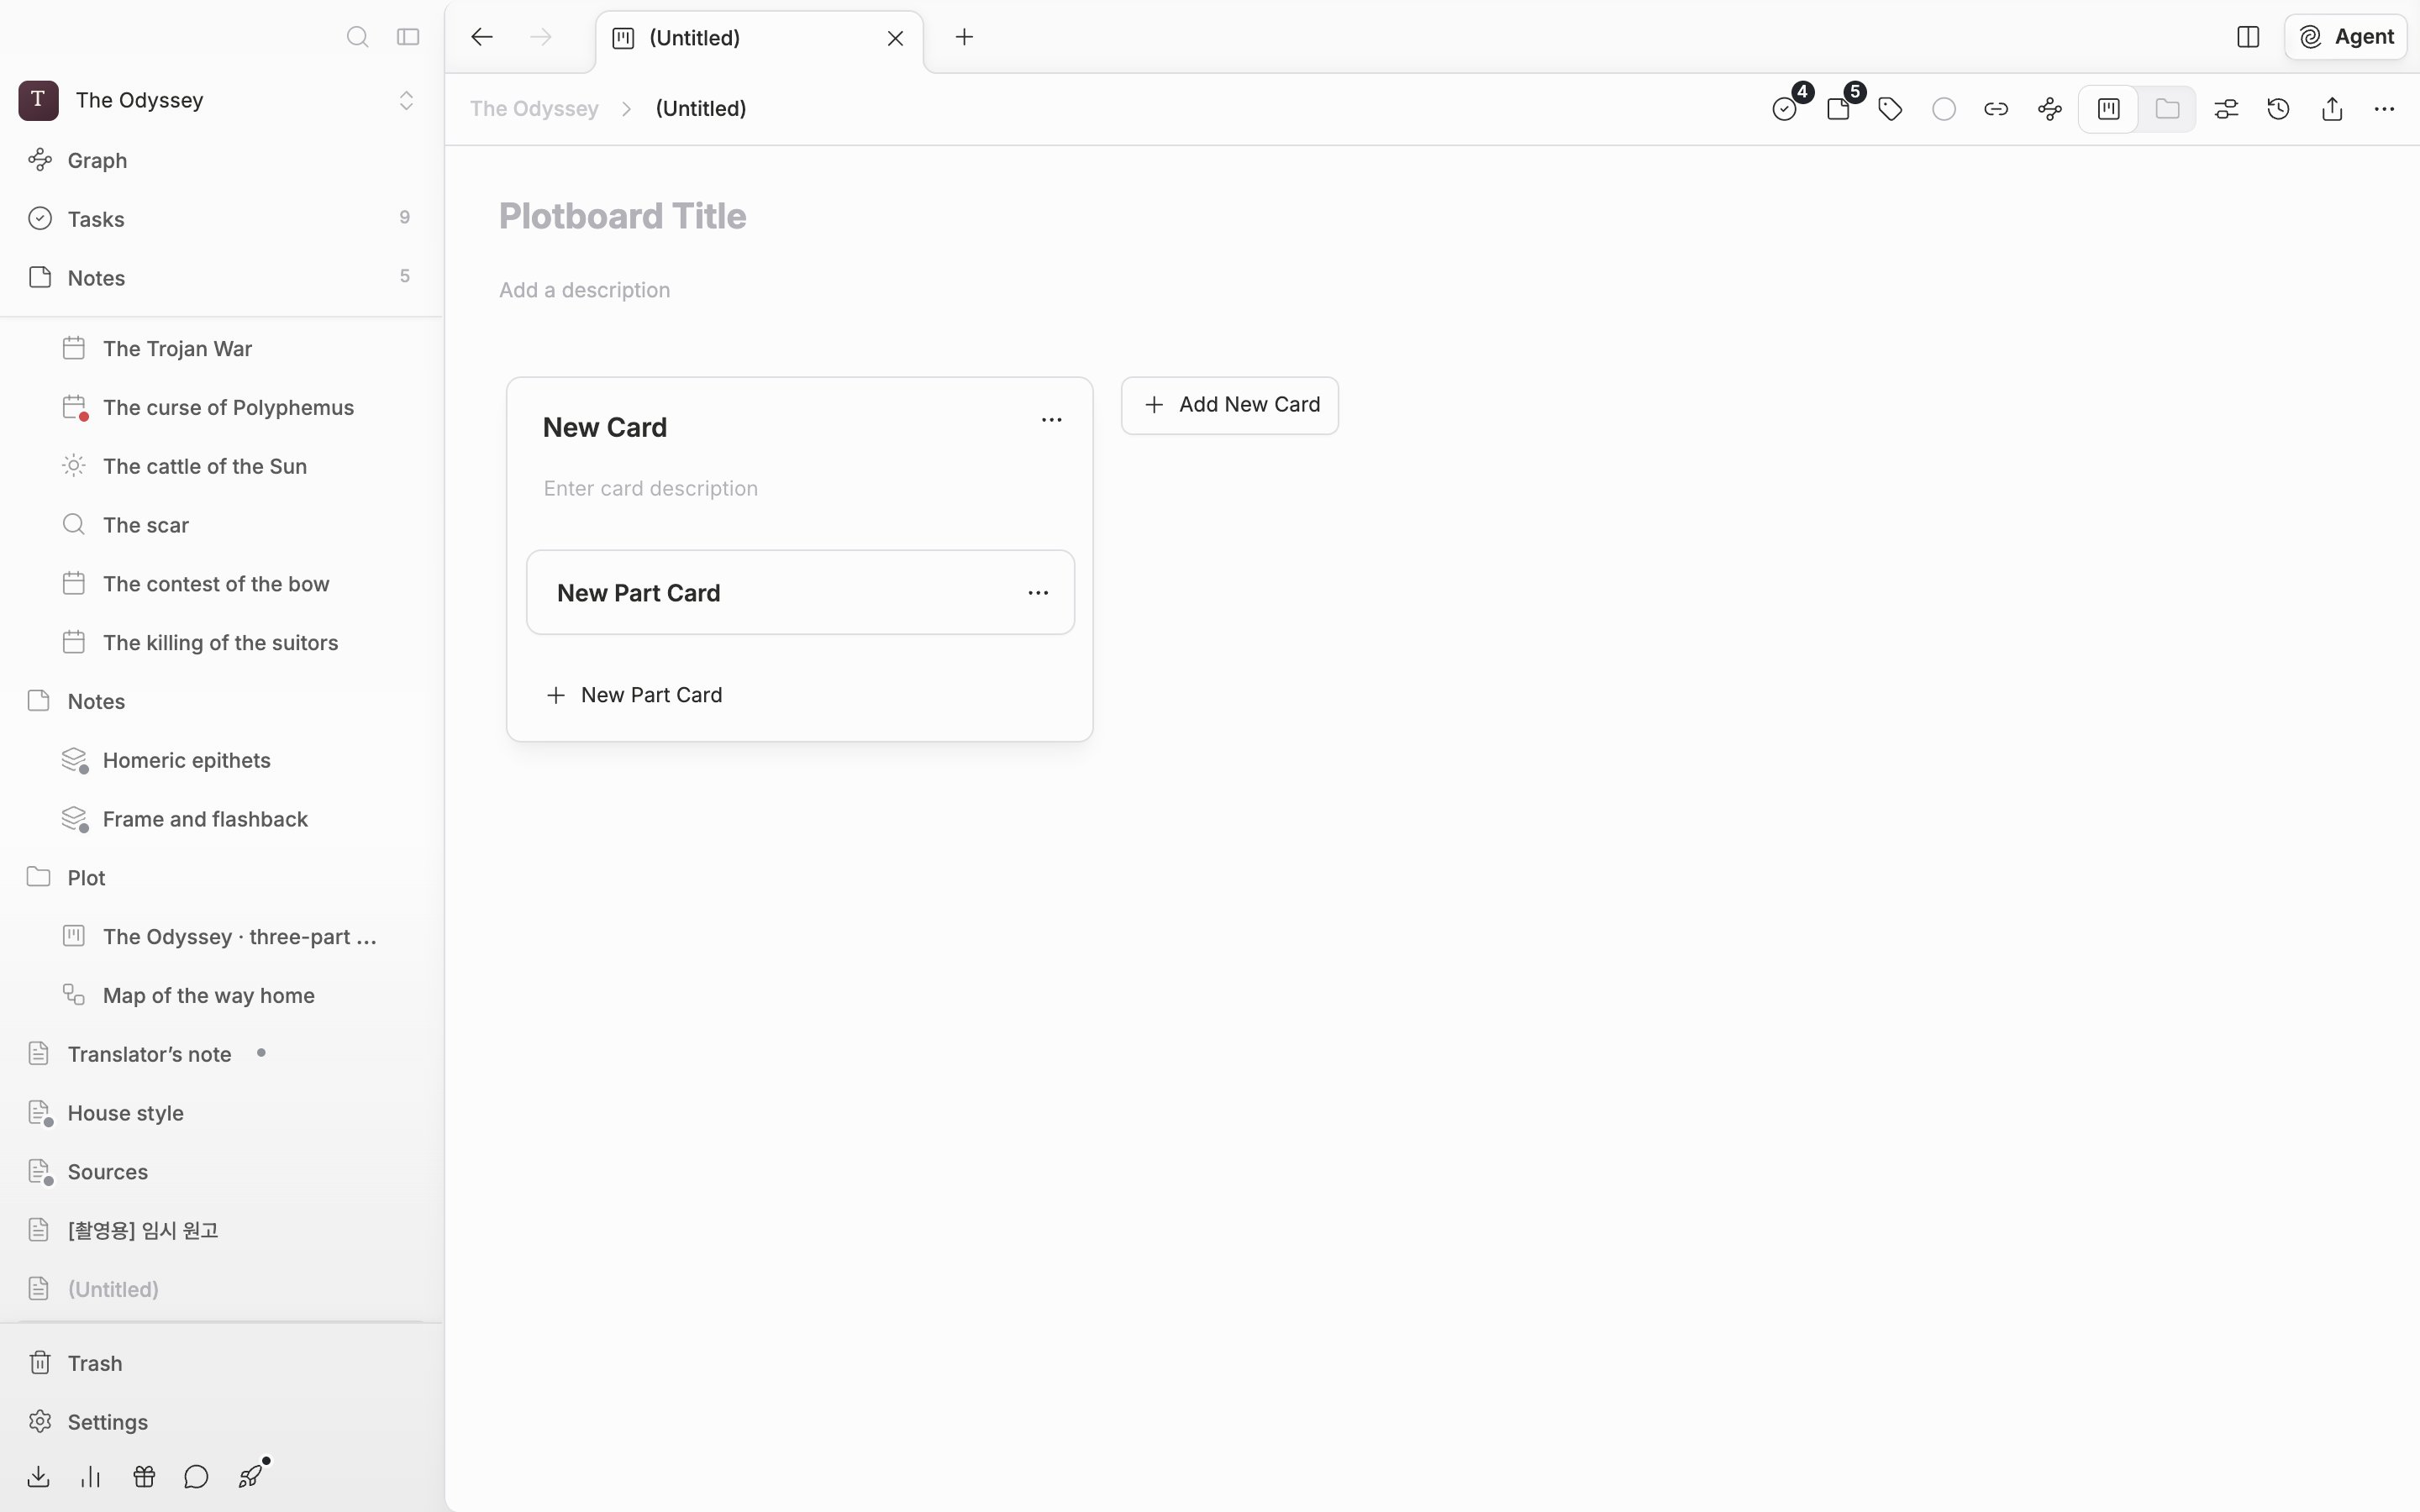
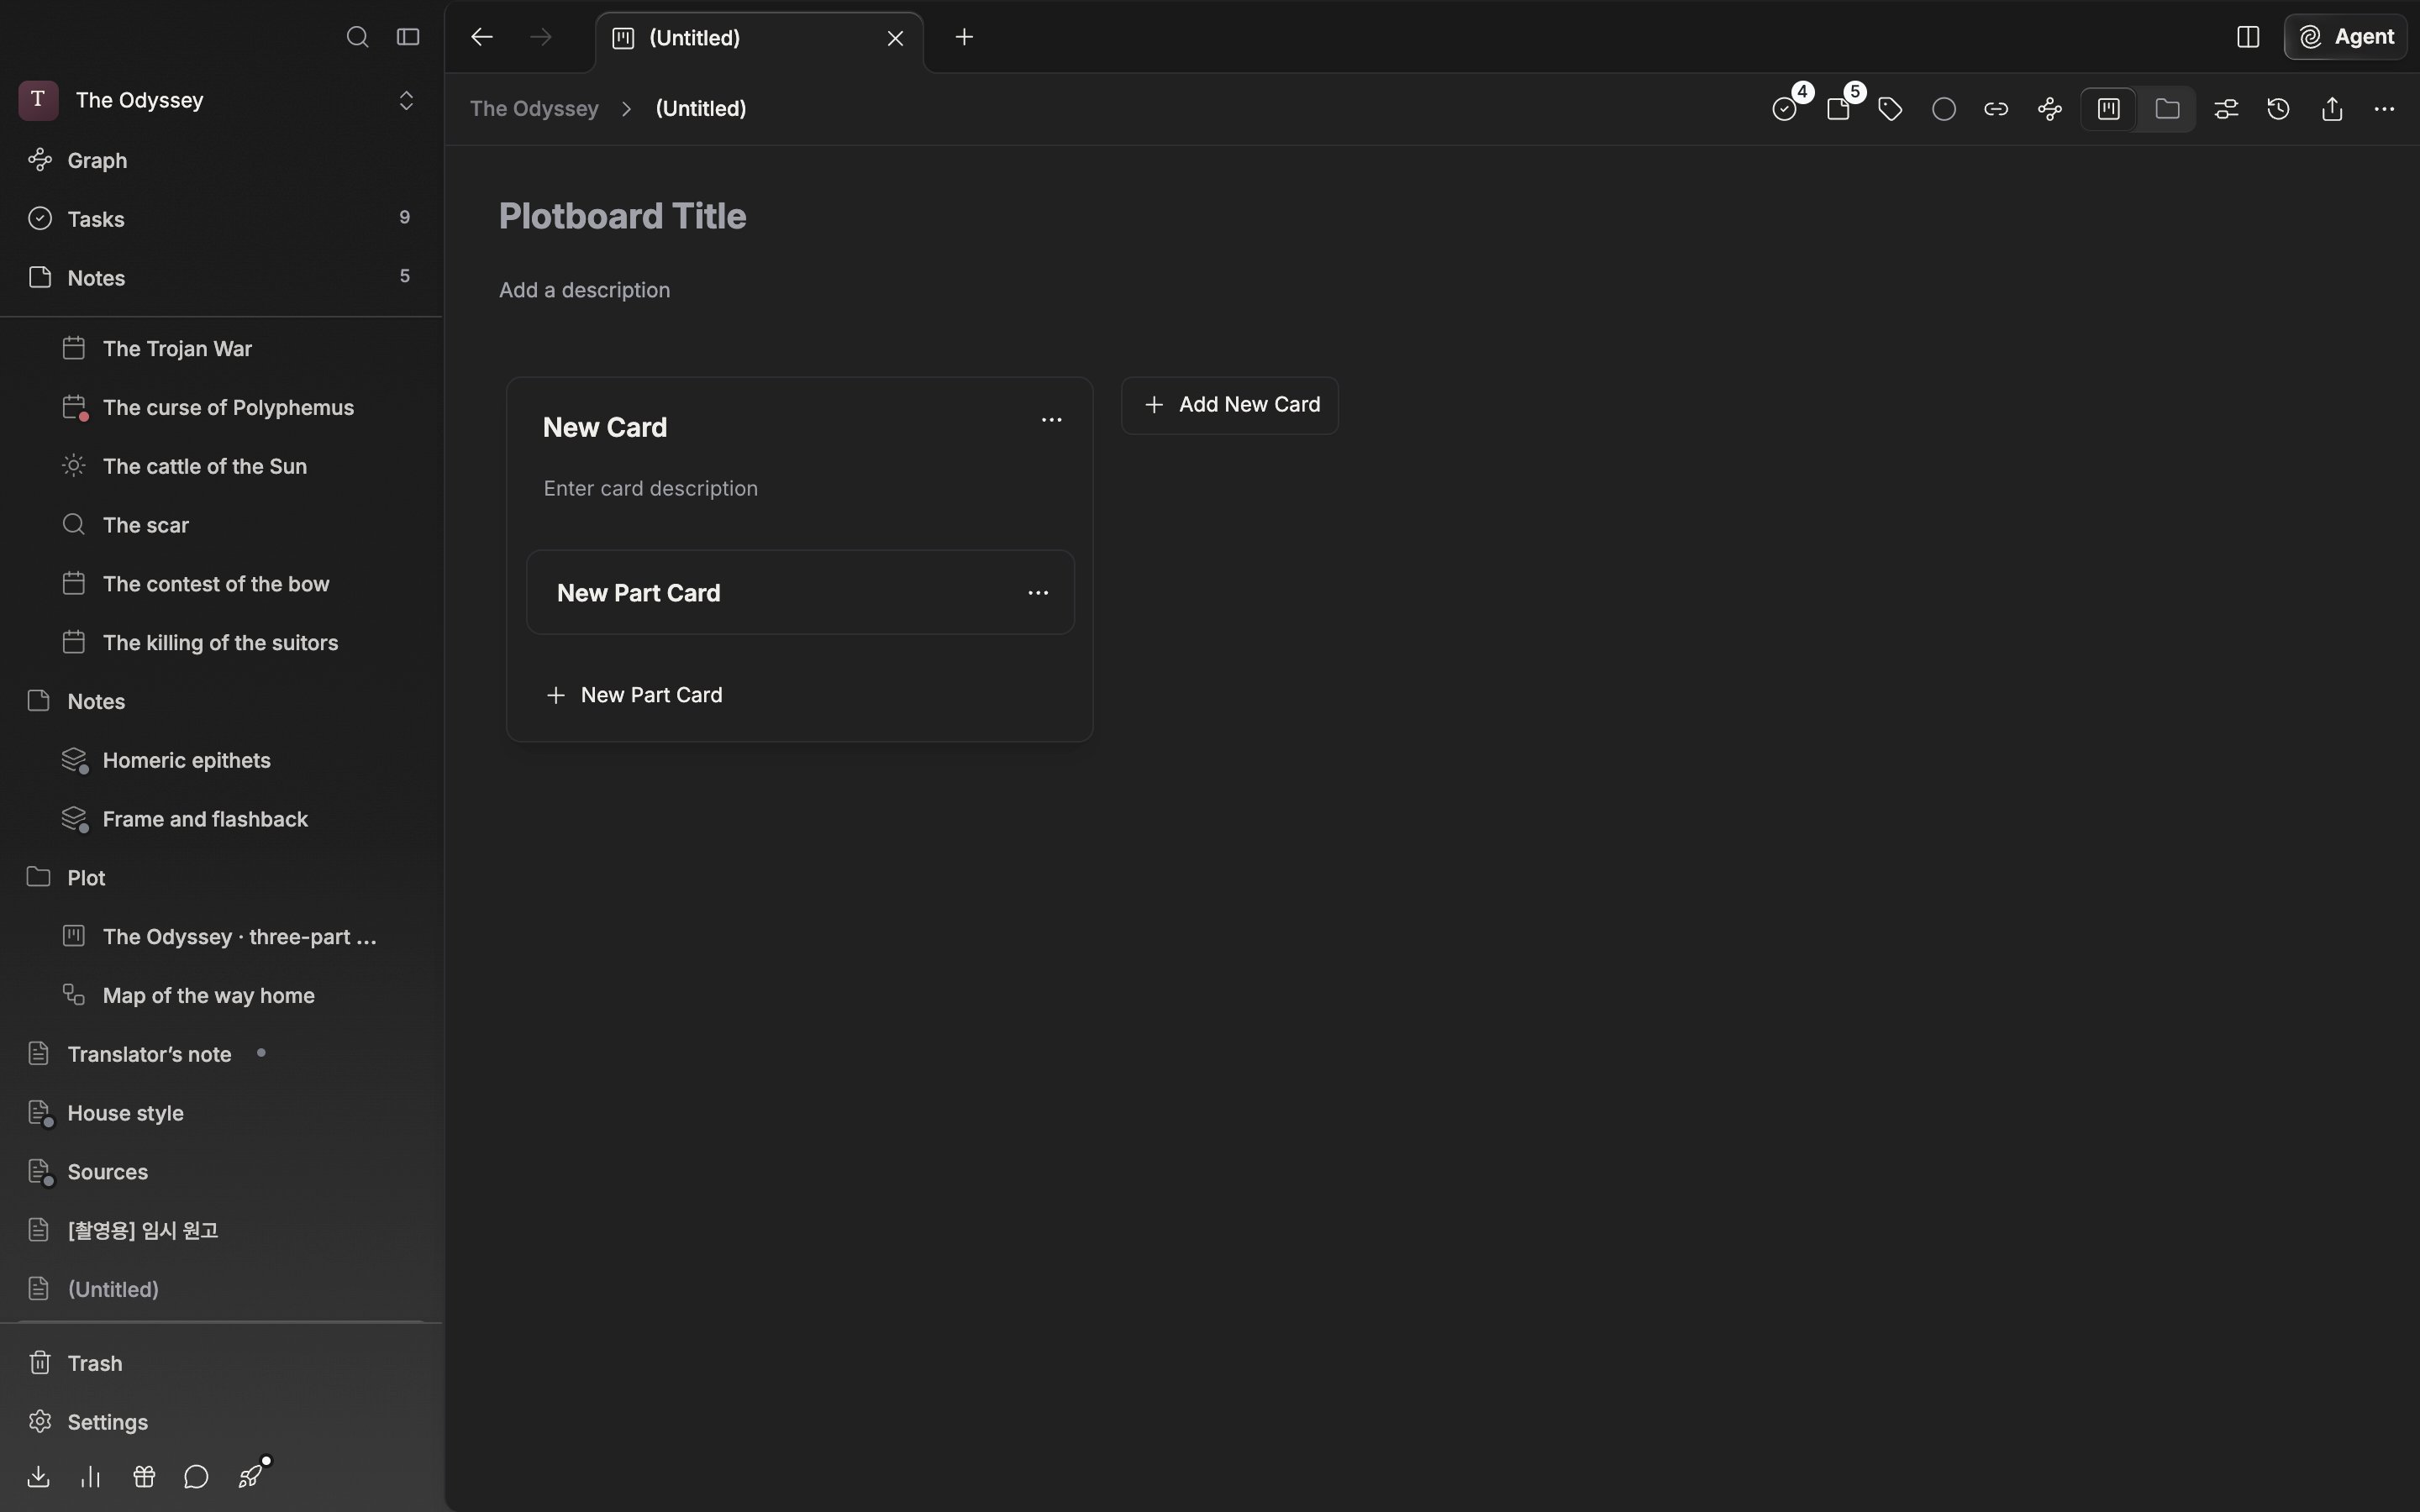
A new plotboard opens with one set of cards already on it.
Splitting it across two layers
A plot card is one column. Hand it a large chunk, like a part or a chapter. Part cards are the scenes that pile up inside that column.- To add a column, press Add New Card (
Cmd/Ctrl + Shift + A) at the end of the card row. - To add a scene, press New Part Card (
Cmd/Ctrl + Shift + M) at the bottom of the plot card.
Changing the order
Drag and drop a card and the order changes. Part cards can move to another plot card as well, so a decision to push a scene back gets carried out on the spot. Press a part card once and the Tags and Mentions fields open up. Put the character sheet you made earlier into Add mentions and the card keeps a record of who appears in that scene. Handling the links properly is the next page.Adjusting the view
When cards pile up and the screen gets tight, the Orientation button in the header switches between a horizontal and a vertical layout. Plotboard Settings under the gear button lets you adjust Card Width and Zoom Level. HoldingCmd/Ctrl and rolling the wheel over the board also moves it between 50% and 200%.